Help! My hot tub heater is leaking!
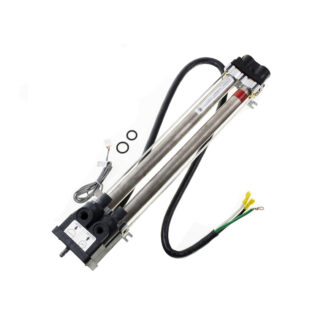
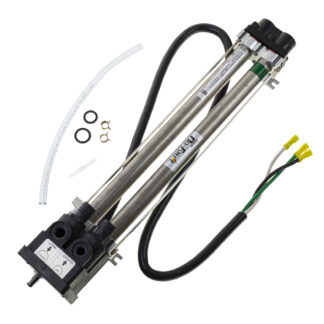
Often times when there’s a leak in one of the double-barrel heaters that belong on a Hot Spring, Tiger River or Limelight spa, it can be repaired with a simple kit. In this post, we’ll show you how to replace your heater end cap and complete the repair of your PDR Titanium Heater’s end cap so that your spa can get up and running and you can get back to relaxing.
Table of Contents
Signs That You Need a New End Cap
- Heater is leaking near the o-rings due to deterioration over time.
- End cap is cracked. This is the most common complaint and is usually caused by freeze damage where the water expands and the small end cap cracks from the pressure.
Warning- Read the Following Before Attempting This Repair
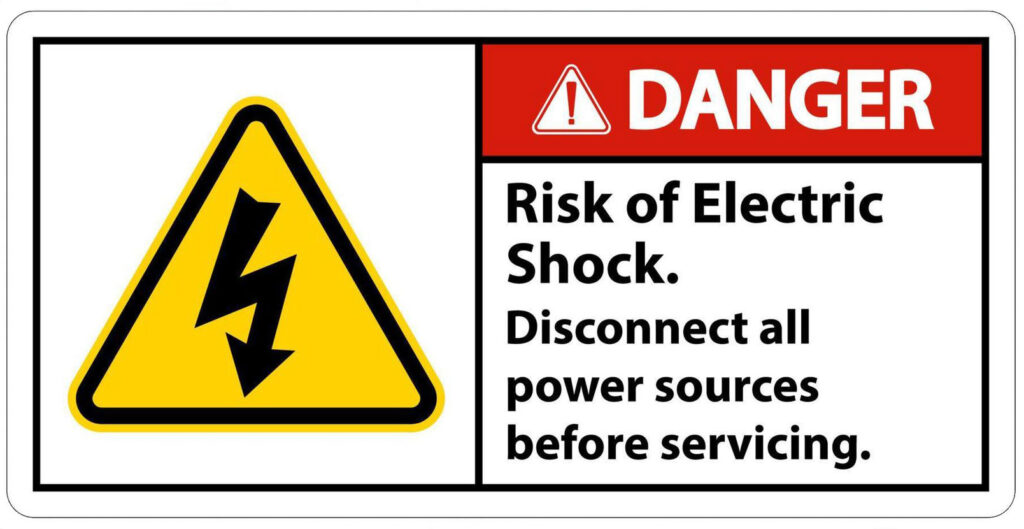
1.) This procedure should be performed by a qualified technician.
2.) Make sure electrical power is turned OFF when working on this equipment.
3.) Serious injury or death may result from touching live electrical circuits.
4.) Turn off the circuit breaker in Main Electrical Service Panel before removing the spa heater.
5.) In order to work on replacing the heater and cap, all power to the heater must be disconnected, and all water hoses must be disconnected from the heater.
Preparation
Do I Need to Drain My Spa?
For this repair, it is best to remove your heater completely from the equipment compartment, and draining the spa makes this process easier. However, you can attempt to clamp the plumbing lines off with a hose clamp and wine corks, but we recommend that you drain your spa. Another risk of not draining the hot tub is possible damage to the bleed line fitting on the circulation pump when moving the plumbing lines around.
Tools/Parts Needed:
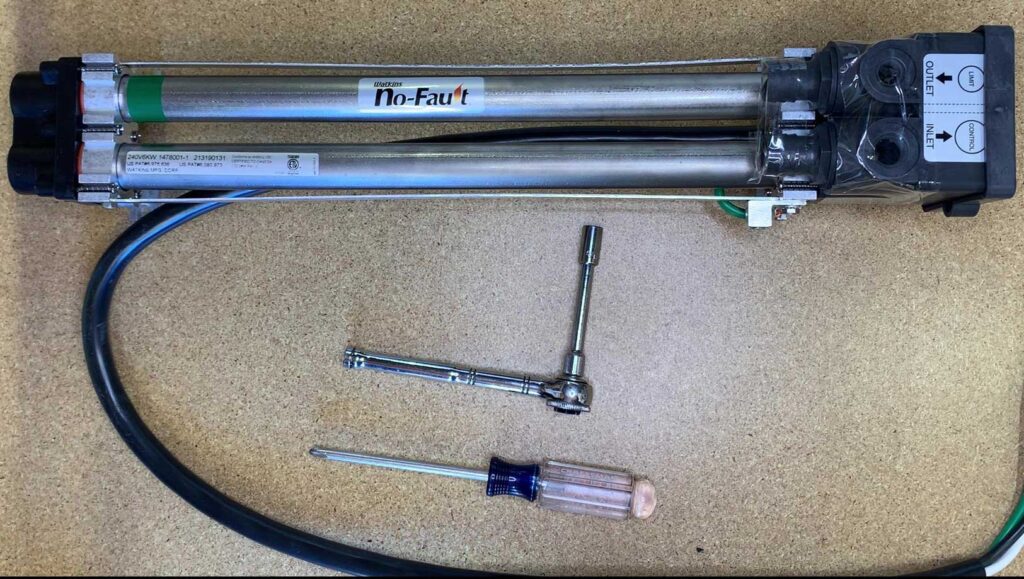
- Phillips Head Screwdriver
- Socket Wrench 5/16
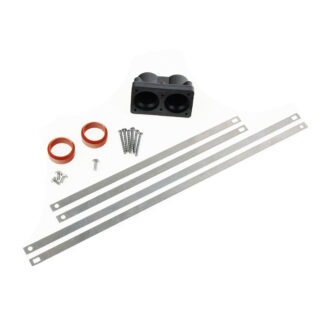
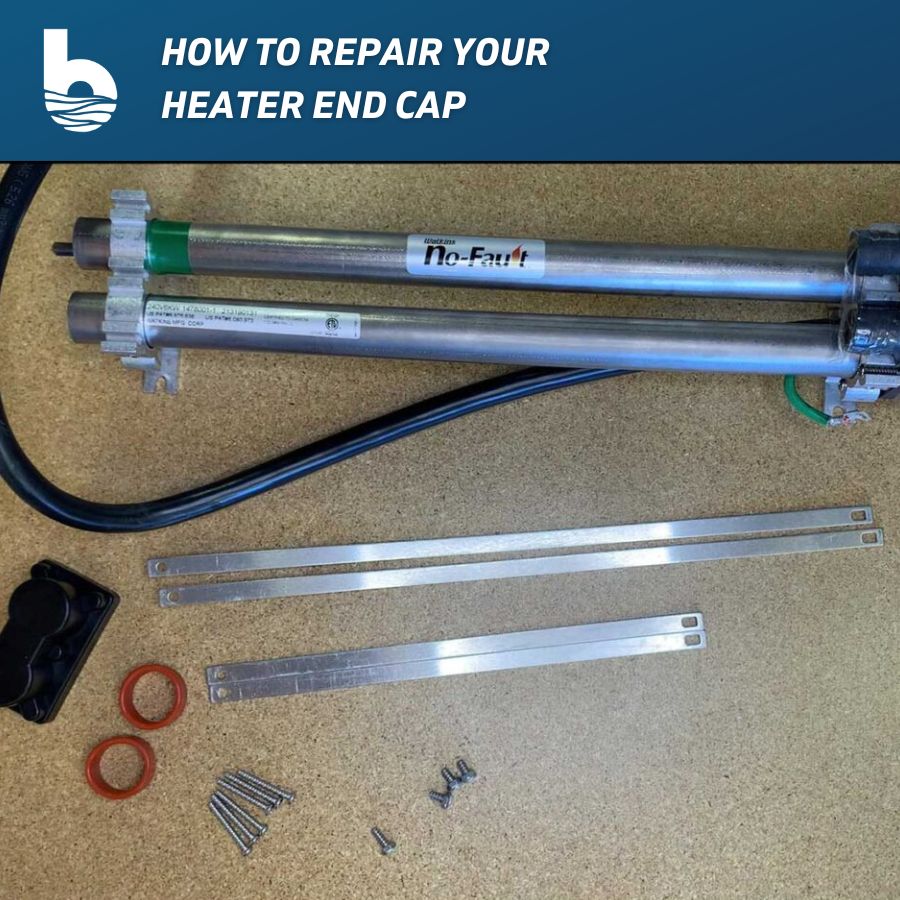
- End Cap Repair Kit- 78077
Kit Includes:
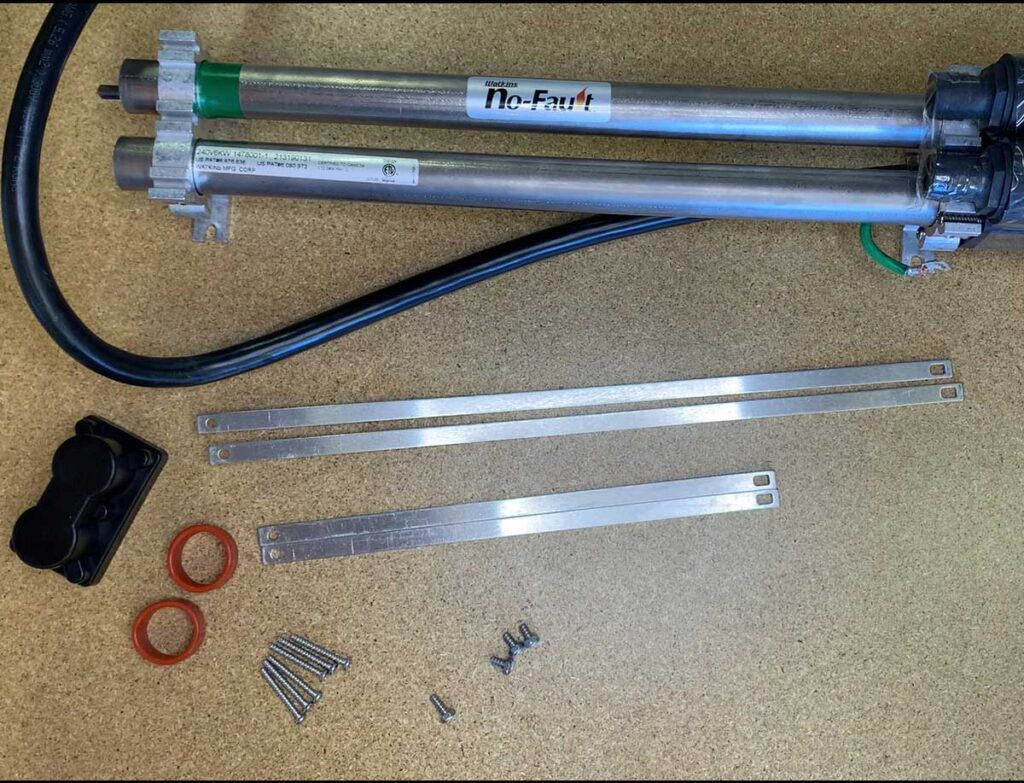
- End Cap x 1
- Compression Washers/O-rings (orange) x2
- Retaining Screws x6
- Barrel brace screws x4
- Barrel Braces for 73790, 73791, 76227, 76228 (Domestic Version) x2
- Barrel Braces for 73792 ( smaller Export Version) x2
Directions:
Step 1: Disconnect power to the tub & remove the heater
As mentioned before, it is best to drain your spa and remove the plumbing connections from the heater. After disconnecting power to the hot tub, remove the heater from the equipment compartment and place on a flat surface.
Step 2: Remove ground lug
Using your 5/16 socket wrench, remove the ground lug from the heater. Save both washers (tooth washer and small washer) that fit between the grounding lug and the screw. This kit does not include new ones.
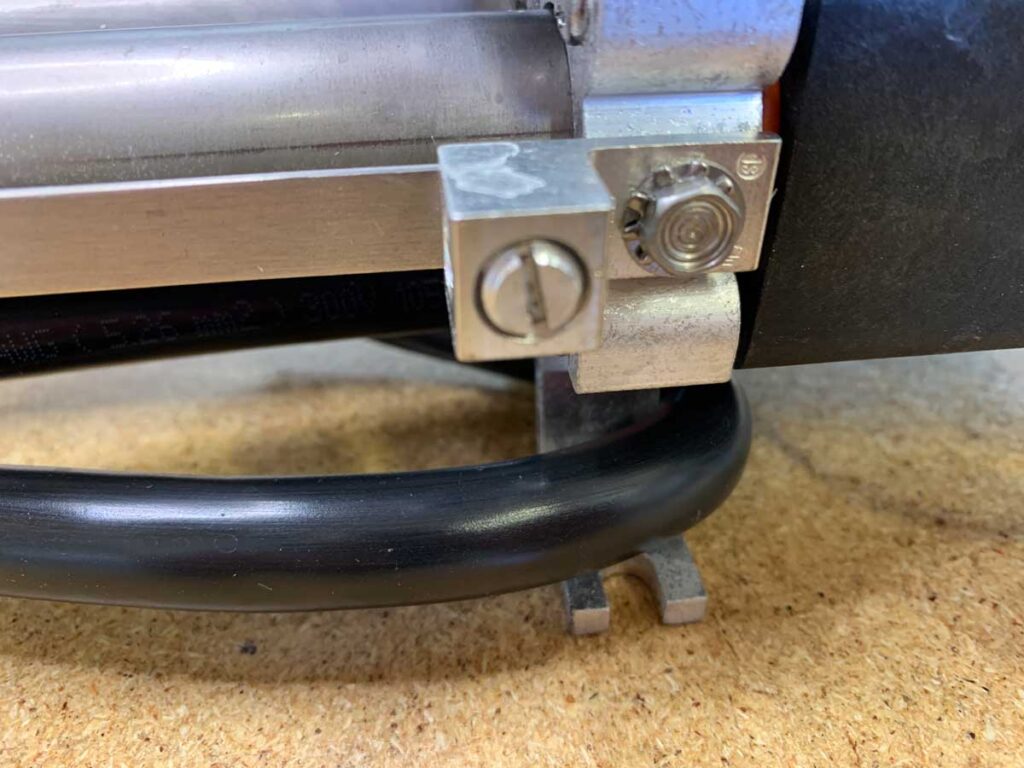
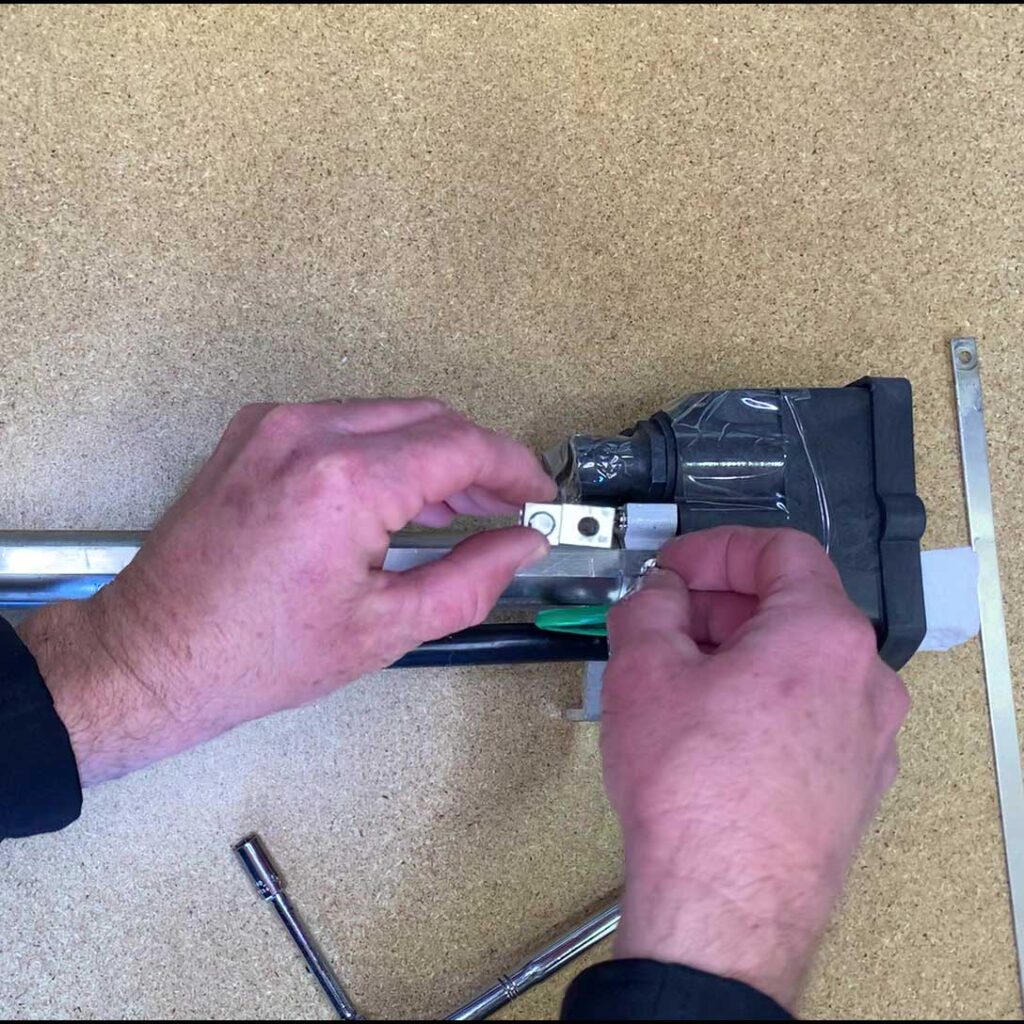
Step 3: Remove screws retaining barrel braces.
Using your socket wrench, remove the screws retaining the barrel braces.
Note: This kit includes two sizes of barrel braces. The longer ones are for repairs to the 73790, 73791, 76228, 76227 heaters and the shorter ones are for the export heater 73792 model which is much smaller and compact.
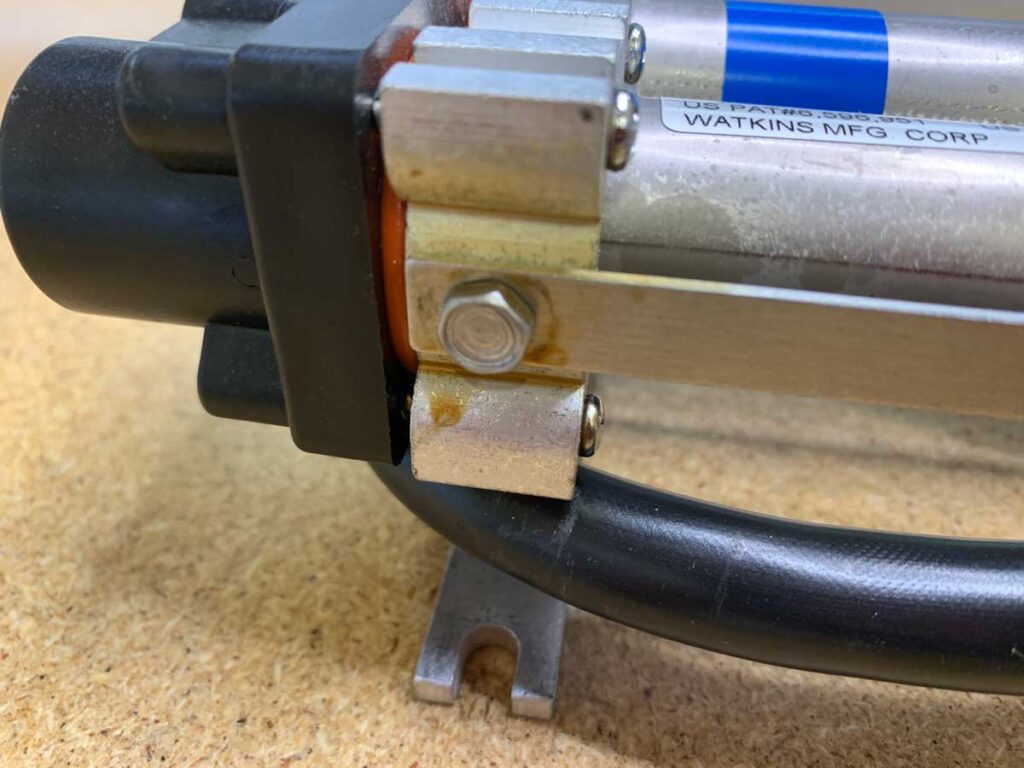
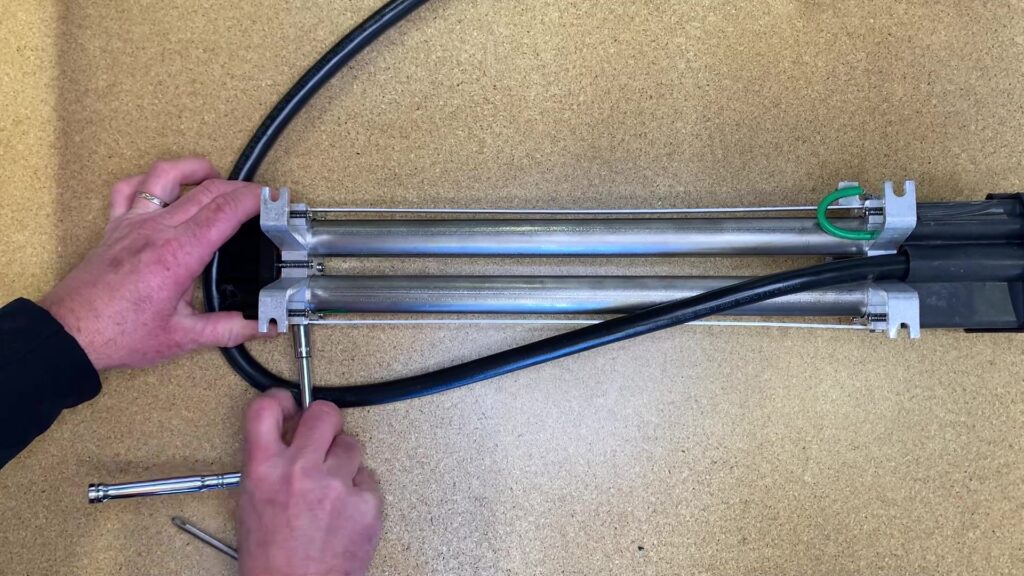
Step 4: Remove all (6) screws at the end cap.
Using your Phillips head screwdriver, remove all (6) screws holding the aluminum brackets and the heater end cap together.
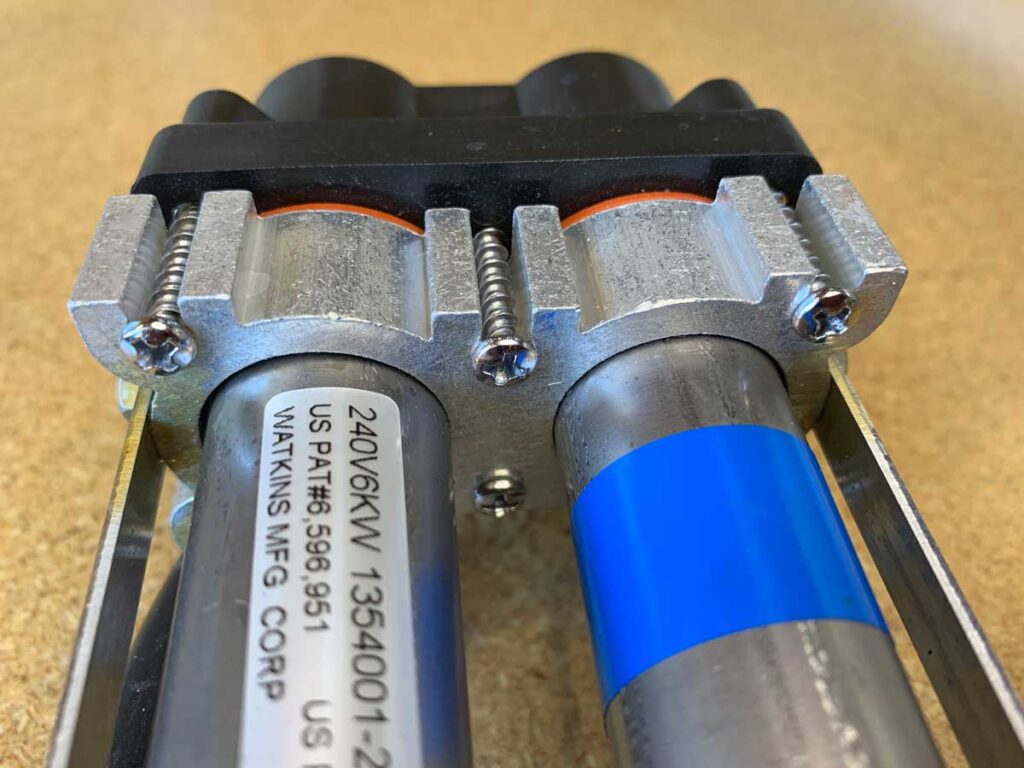
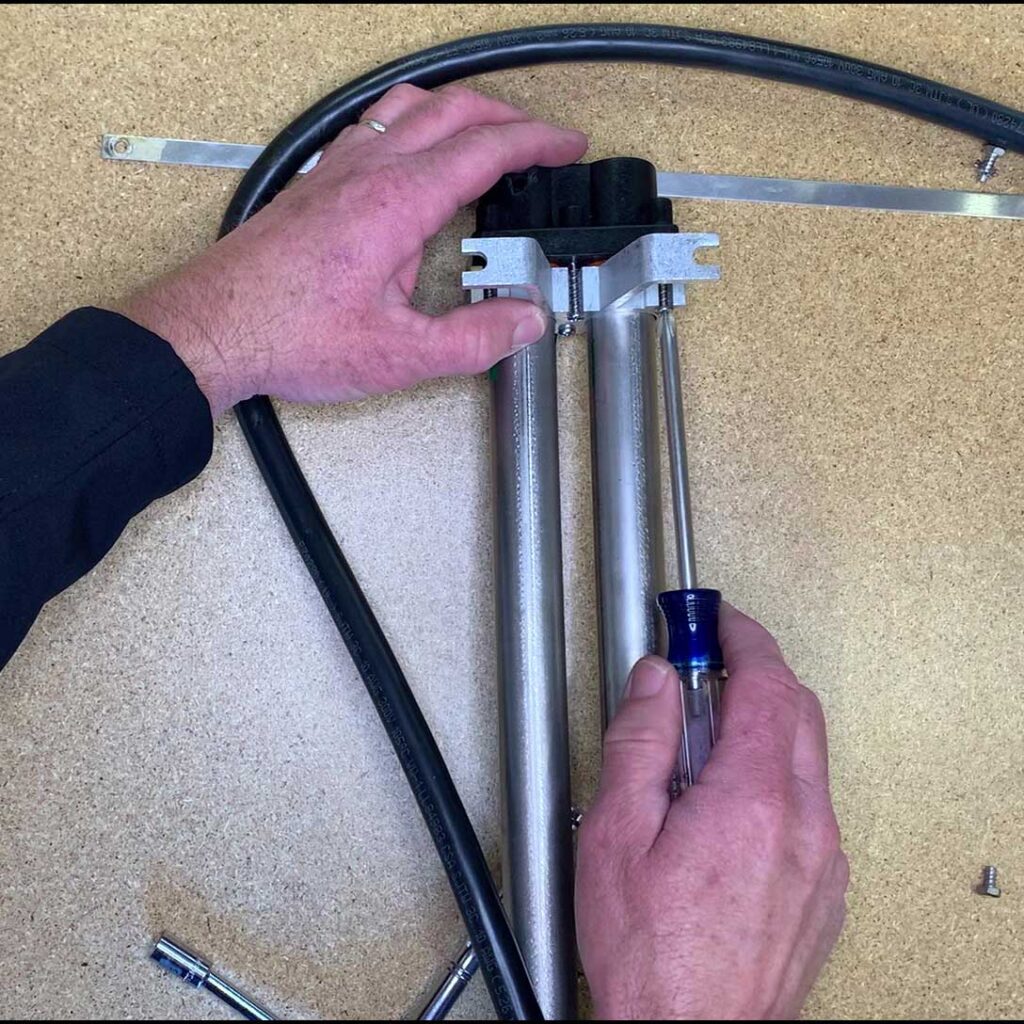
Step 5: Pull the damaged heater end cap from the two barrels
After removing the screws (6), remove the damaged end cap from the two barrels. It may be easier to remove the end cap if you shimmy the mounting bracket/retaining bracket away from the end cap. Pulling the mounting bracket/retaining bracket back will make it easier to install the new heater end cap.
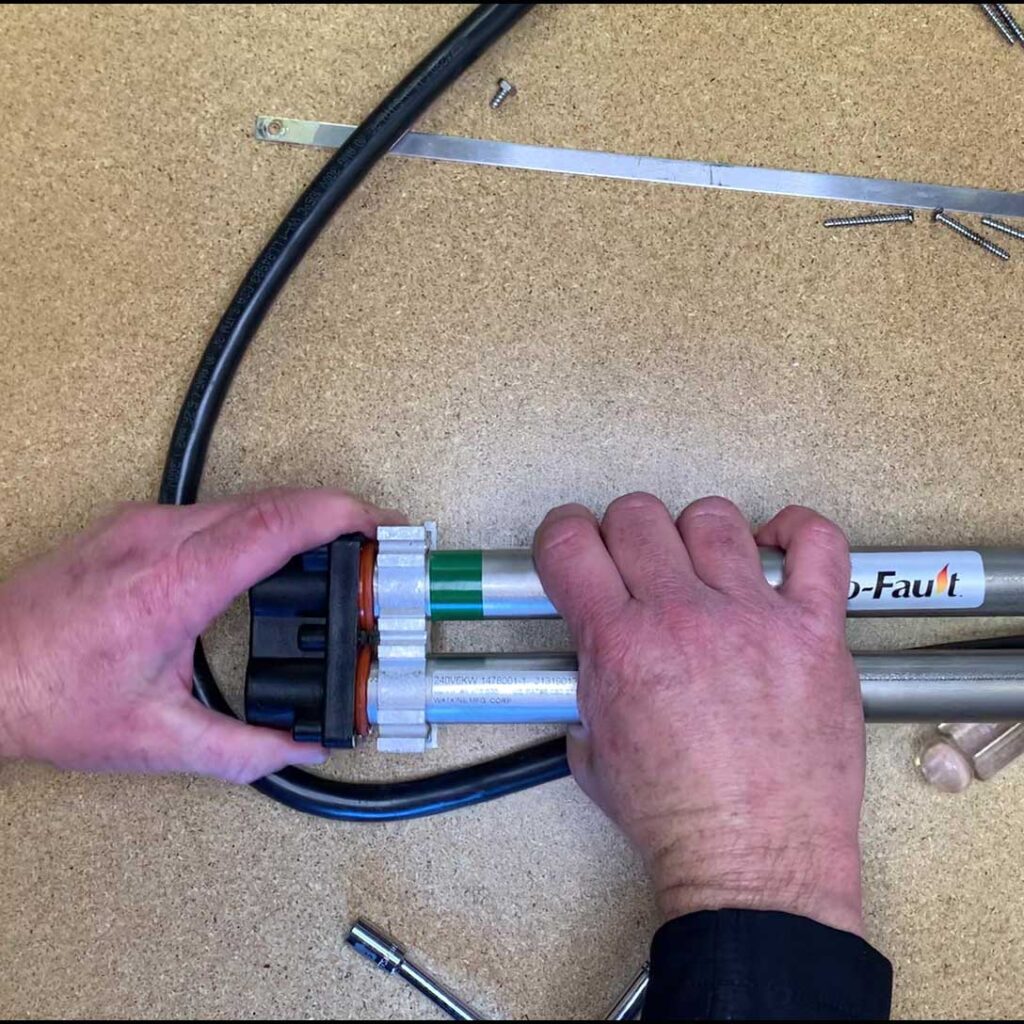
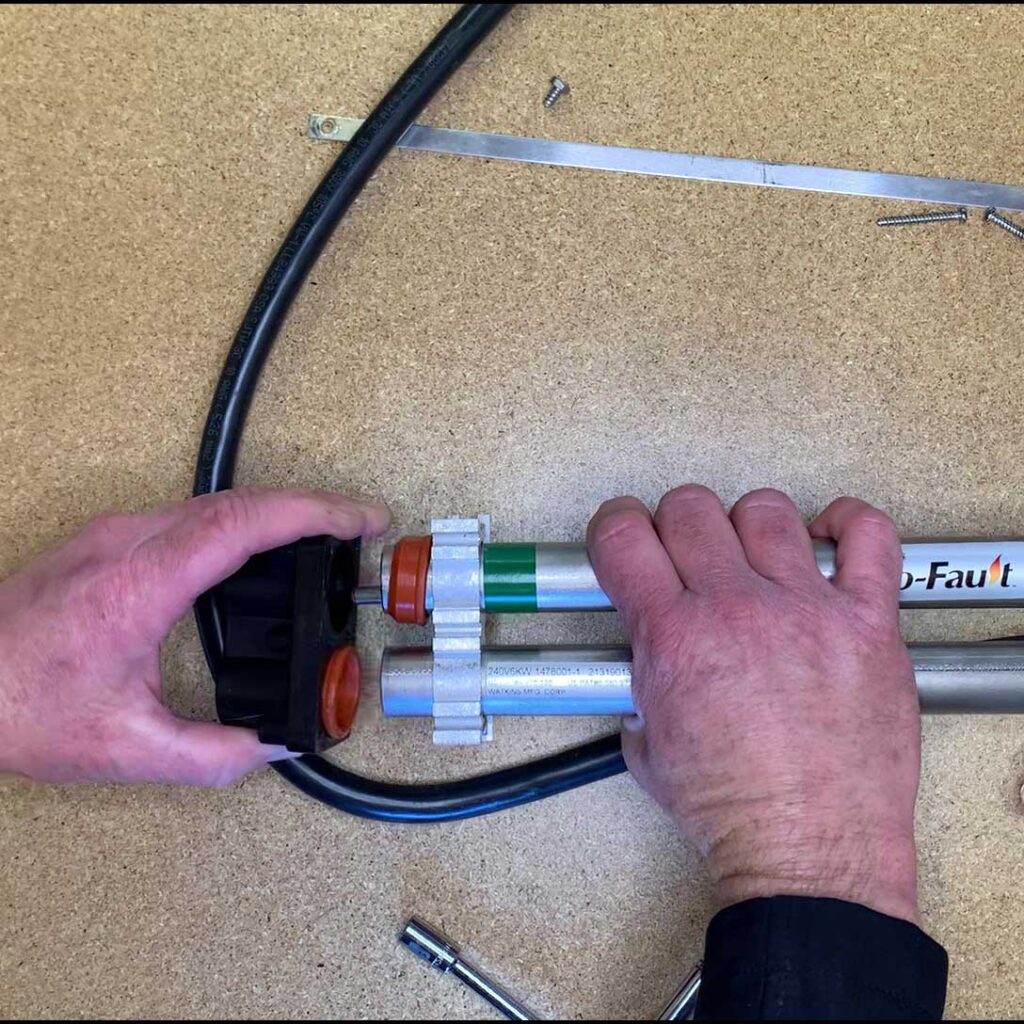
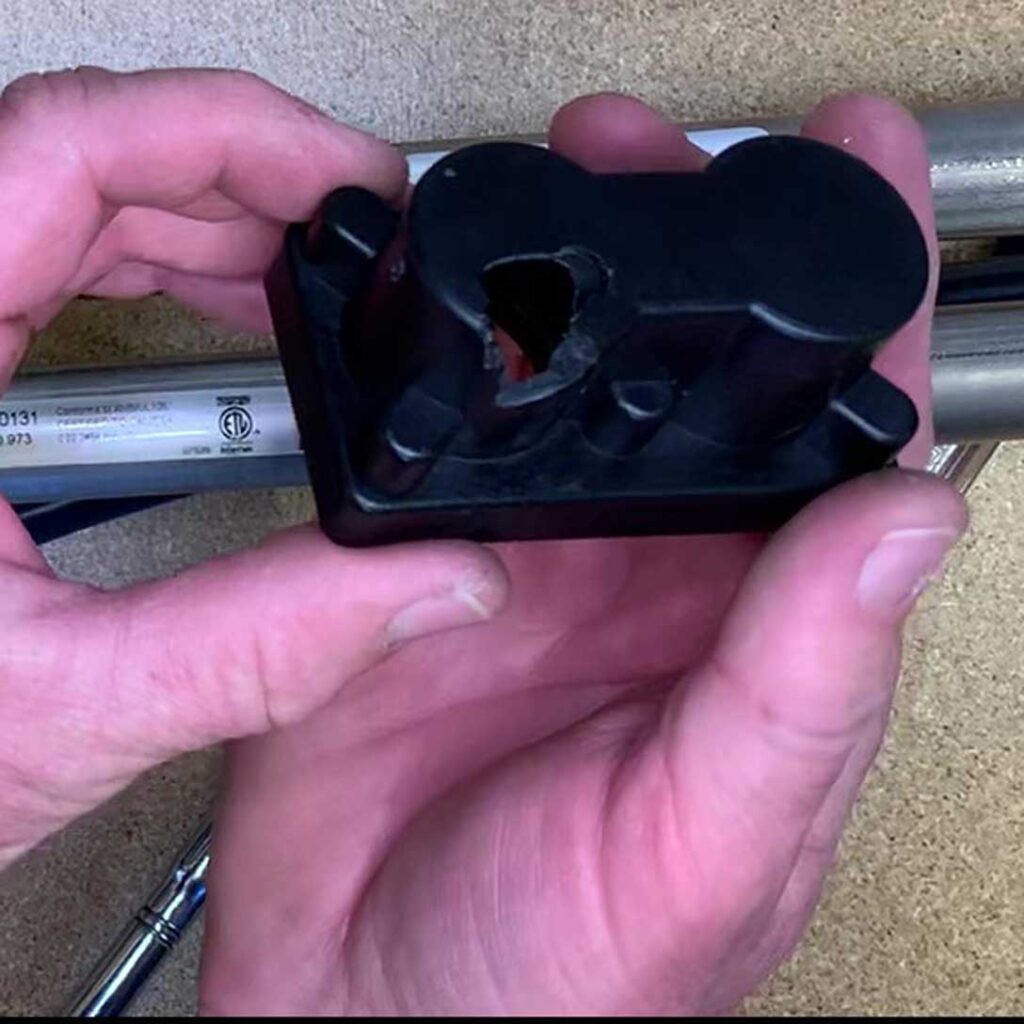
Step 6: Prep new heater end cap
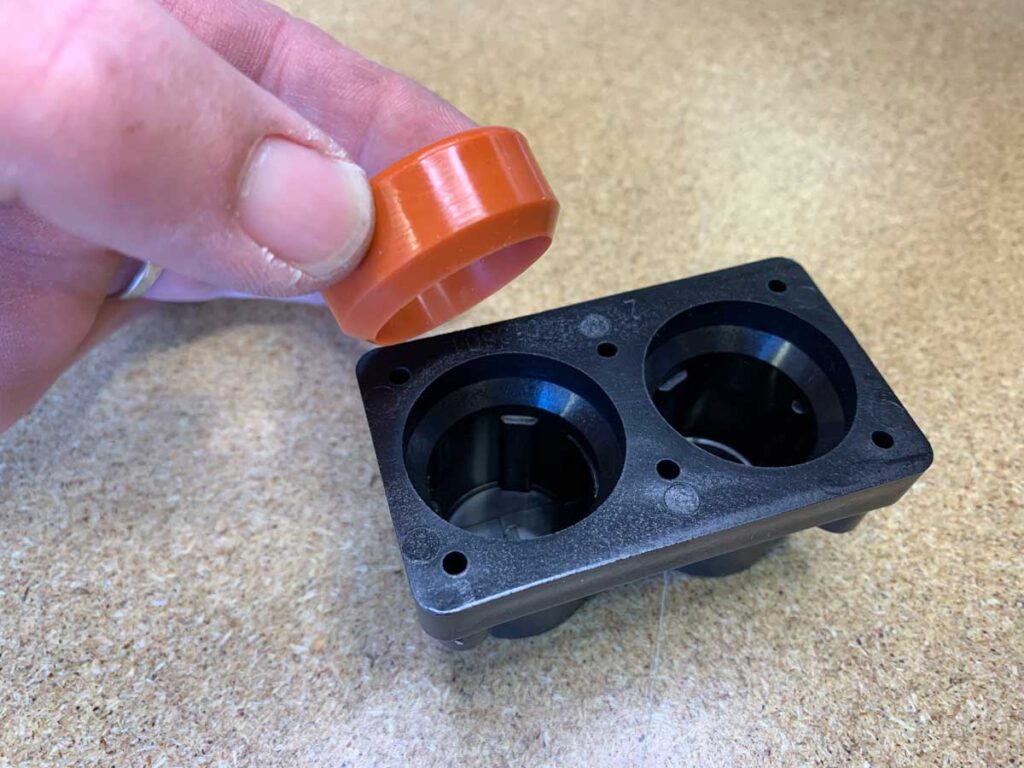
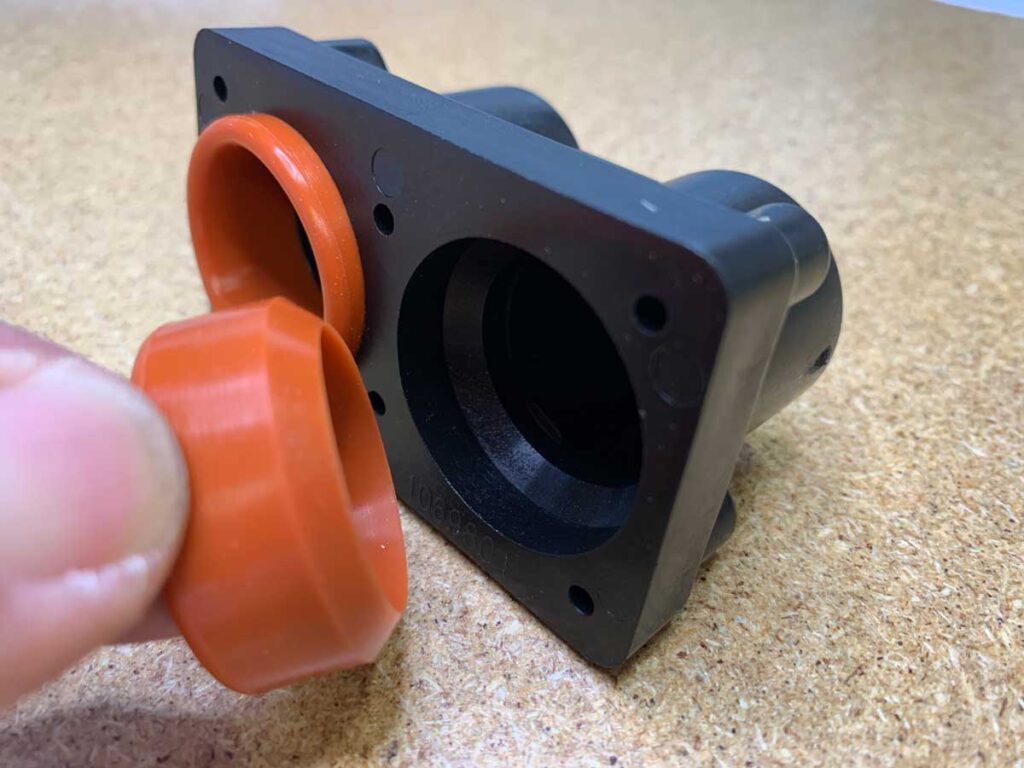
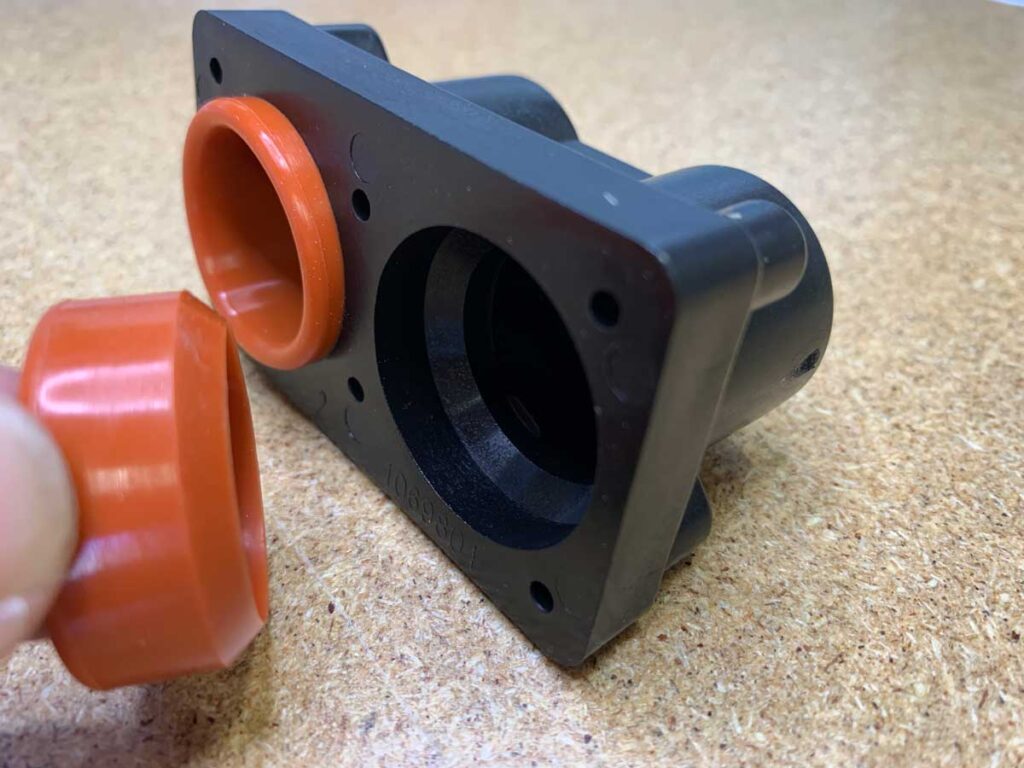
Insert the two orange compression washers aka O-rings (flange side down) into the heater end cap. Press the two orange washers down until they sit tight against each slot of the new heater end cap.
Step 7: Attach the new end cap
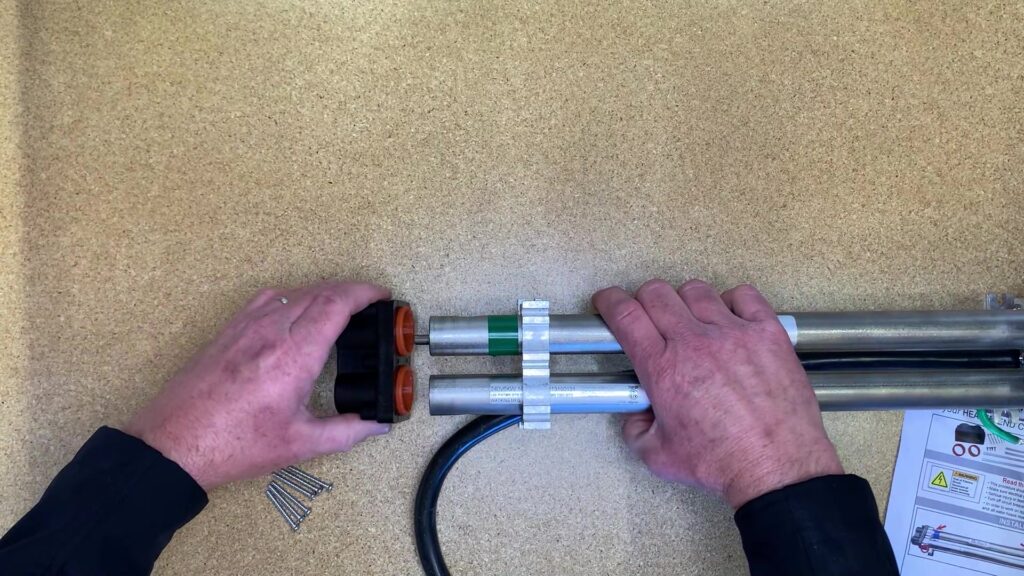
By pressing firmly, attach the new end cap to the two barrels of the heater. It helps to move the mounting/retaining bracket away from the end cap before attaching the end cap.
Step 8: Attach the end cap to the bracket
Using your Phillips head screwdriver, attach the end cap to the bracket using all (6) screws. Don’t tighten the screws all the way down yet (we will do that at the end; see step 10).
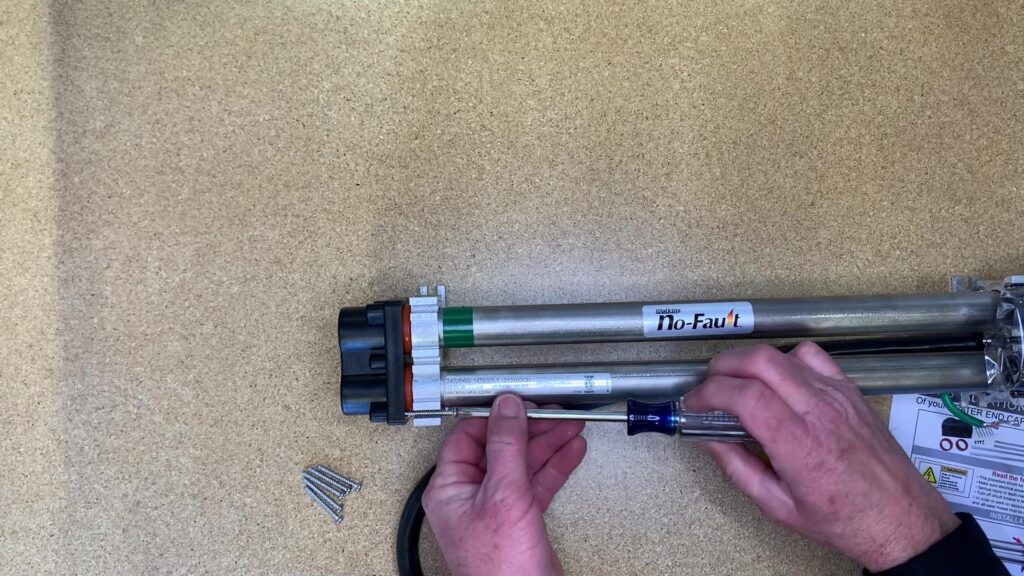
Step 9: Install barrel braces and ground lug
Using your 5/16 socket wrench, attach the barrel braces and ground lug (make sure the round holes of the barrel braces are by the end cap).
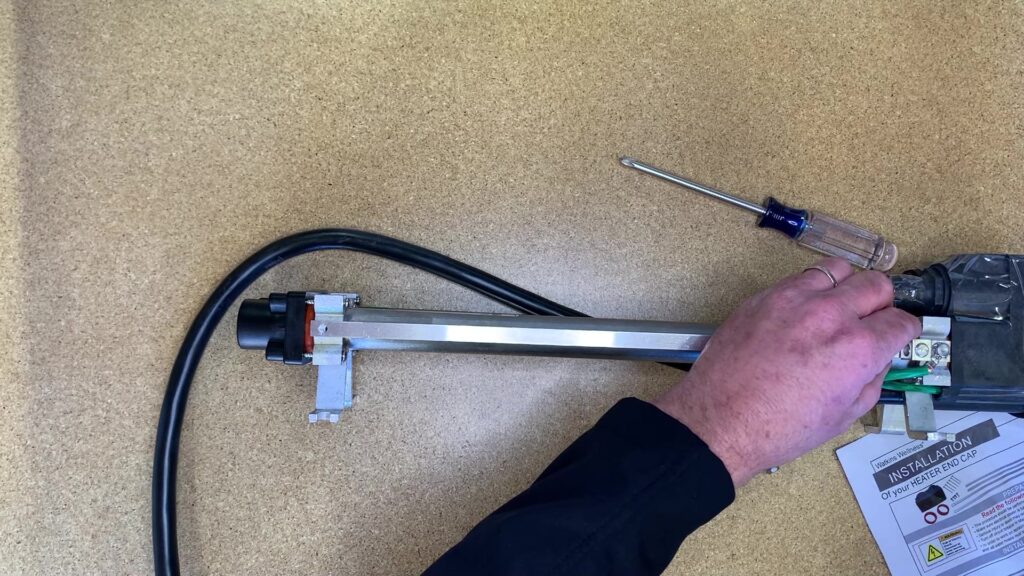
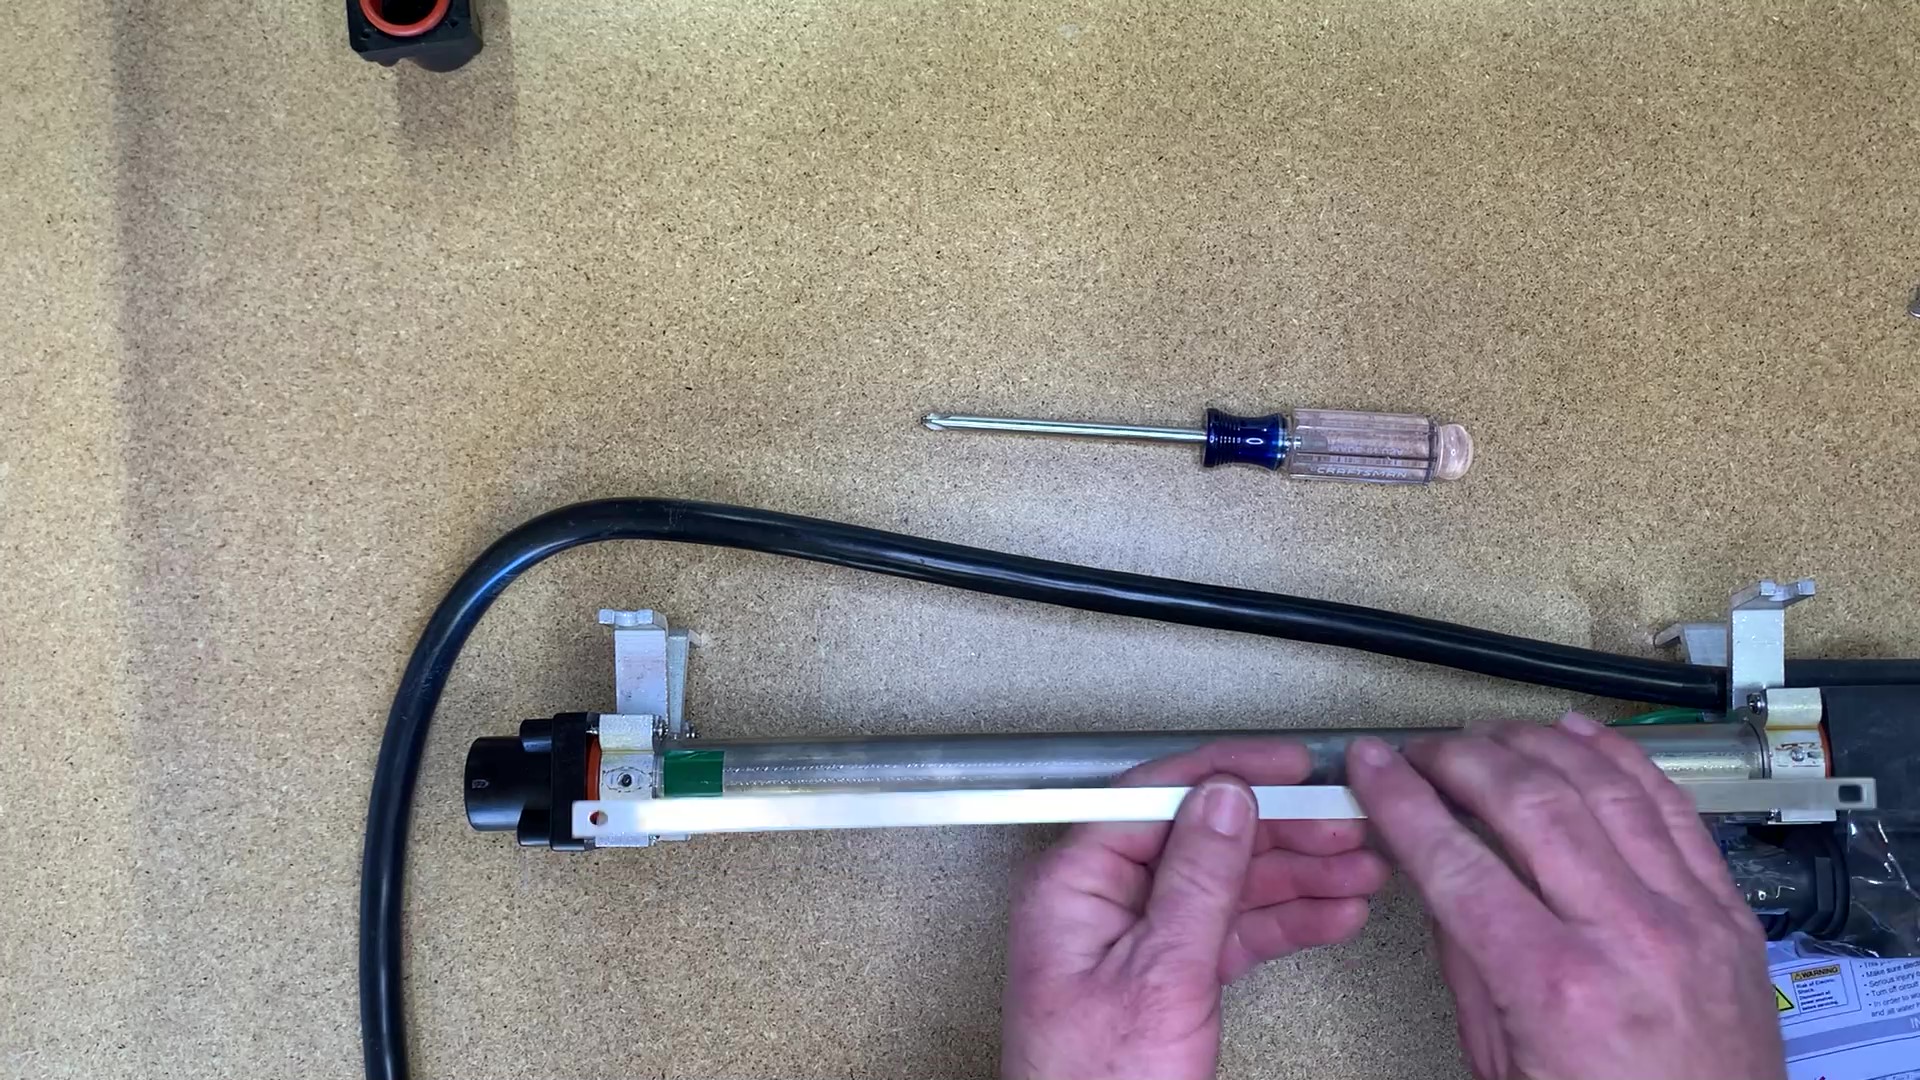
Step 10: Finish tightening the end cap screws
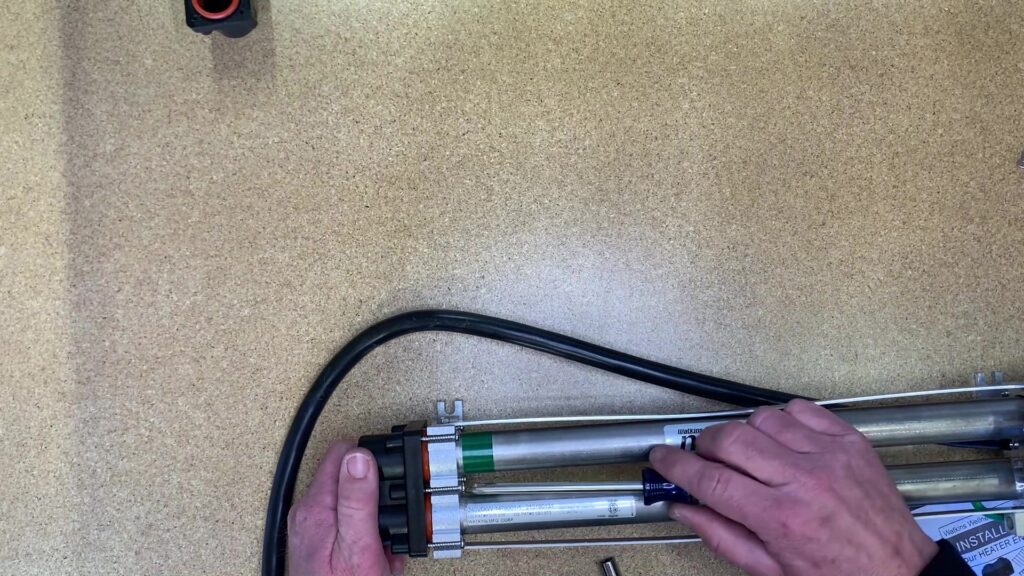
Using your Phillips head screwdriver, finish tightening the end cap screws. NOTE: Make sure heater barrels are fitted all the way into the heater end cap to avoid any leaks. Once, you’ve determined that the end cap is snug you are all finished!
Related Products
Backyard Plus is Here to Help You Be the Hero.
Questions about your spa? Contact us! We are the top Hotspring spa parts retailer on the web.
We offer:
- Our Parts Finder which allows you to find exact-match replacements for your hot tub
- Free technical support that will allow you to maintain and repair your own spa accordingly
- Information regarding your products and their usage through our blog posts.
- Tutorials and assistance through our videos
- Follow us on our Facebook page
Our goal here at Backyard Plus is to help save you money by avoiding costly service calls for repairs that you can easily do yourself!
