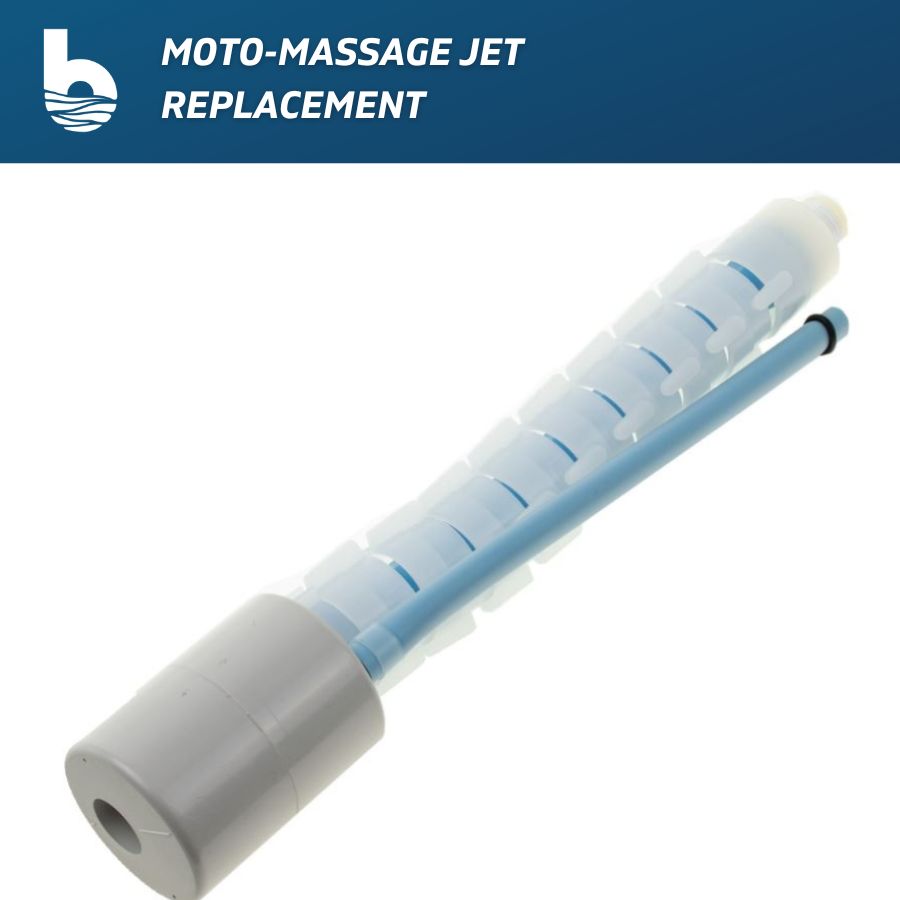
In this post we walk you through the Moto Massage Jet replacement on your Hot Spring Spa. Typically the jet needs to be replaced when the up and down massaging action stops.
Table of Contents
To view the “How to Replace the Moto-Massage” video click HERE
Tools needed:
- Phillips Screwdriver
- Flathead Screwdriver
NOTE: This can be done with or without water in the spa, although it’s easier to see what you’re doing with the spa drained.
Step 1
Check filters and Moto-Massage air controls

The first thing you’ll want to do is remove the filters and check the position of the air controls. If you remove the spa filters and the Moto-Massage Jet begins to work properly, then you need to clean or replace the spa filters. If you have removed the filters and opened the air controls and there is still no change, you will need to replace the Moto-Massage Jet.
Step 2
Access the Moto-Massage

Use a flathead screwdriver to pry off each of the screw covers on the Moto-Massage Faceplate. Some older models only have 2 screws.

Next, use a Philips Screwdriver to remove the screws of the faceplate and remove the faceplate. Inside you’ll see the Moto-Massage Jet, the small blue air tube, and the vertebrae of the Moto-Massage Jet. If any of these are damaged it’s a telltale sign that the jet needs to be replaced.
Removing the Moto-Massage

To remove the old Moto-Massage jet, start by pulling the air line off the barb fitting in the back of the Moto-Massage housing.

Next, unscrew the jet from the threaded wall fitting in the back of the housing. If the jet is especially old, the vertebrae may be brittle and break. Make sure you get the entire jet removed.
NOTE: Another way to check if the jet has failed is to hold the jet by
the nozzle and let it hang vertically. The jet shouldn’t curve much, if at all.
If it is significantly curved, this is likely why the jet will no longer go up and down. You can use the new replacement Moto-Massage Jet as a reference to tell if the old one is curved too much.
Step 3
Installing the new Motto-Massage Jet
It’s time to install the new Moto-Massage Jet. Screw the jet into the threaded fitting, which is the larger of the two openings. If you have 2 threaded fittings, make sure you install the jet in the threaded fitting that is next to the barbed fitting for the air tube (the other fitting is not used).

Screw the jet into the fitting carefully. Since the jet is flexible it can be easy to cross thread it. Tighten the jet until it feels like it is about to get snug then continue to tighten the jet until the air line is lined up with the barbed fitting. There are two dots on the face of the jet that should be aligned vertically when the jet is installed properly.

Slide the air tube onto the barb fitting in the rear of the Moto-Massage housing. Slide the rubber o-ring near the end of the hose to the end of the tube to secure the tube to the barbed fitting.
Step 4
Reassemble

Next, reinstall the Moto-Massage faceplate. Use the Phillips screwdriver and the screws you removed from before to secure the faceplate.
Reinstall the screw covers, and you are all set!
You can now refill the spa and make sure your new jet is working properly.
Thanks for reading Moto Massage Jet Replacement: 4 Steps!
Backyard Plus is Here to Help You Be the Hero.
Questions about your spa? Contact us! We are the top Hotspring spa parts retailer on the web.
Call us at (805)541-9000
Text us to receive technical support
We offer:
- Our Parts Finder which allows you to find exact-match replacements for your hot tub
- Free technical support that will allow you to maintain and repair your own spa accordingly
- Information regarding your products and their usage through our blog posts.
- Tutorials and assistance through our videos
- Follow us on our Facebook page
Our goal here at Backyard Plus is to help save you money by avoiding costly service calls for repairs that you can easily do yourself!


