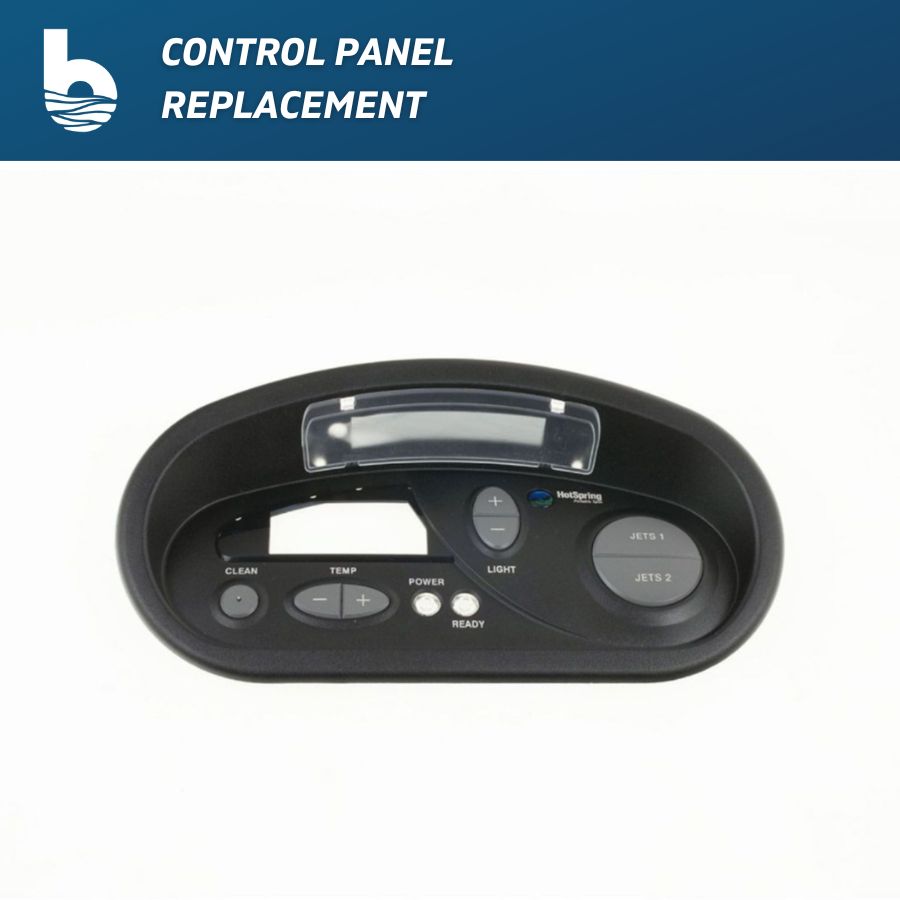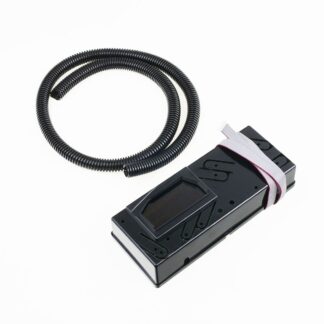
Here at BYP we want to make tasks like Control Panel replacement easy for all 1997 to second quarter 2009 Hot Spring Spas to do on your own. This post can be referenced for replacing your control panel bezel that has gotten old and weathered or the buttons have become difficult to press. This post can also be referenced for replacing your control head.
Table of Contents
If you would like to watch our ” How to Replace Your Control Panel ” video, click HERE
Tools Needed
You will need these tools to replace your Control Panel
- Needle Nose Pliers
- Phillips Screwdriver
Step 1
Remove the Control Panel Bezel.

Use a pair of needle nose pliers to grab the left tab at the front edge of the light cover. Ease the tab out of place just a bit, then move to the right tab and carefully pull it out, then pull the rest of the left tab out.

Behind the lens are two Phillips-head screws. Remove both of these, then grab the panel near the lens and lift slightly and remove the panel.
TIP: Sometimes the panel can get hung up on the bracket. If it does, just move the panel around a bit until it comes free.
Step 2
Separate the bezel and the control head.

To separate the bezel and the control head, remove the rear panel and you’ll see several screws on the back of the circuit board. Remove the four silver screws. Do not remove the black screws. There may be tape around the edge of the bezel which is part of the manufacturing process. This tape will need to be removed as well.
Once the tape is removed and the screws are loosened, collect the screws and unplug the control panel light from the circuit board. Take note of how it was plugged in so that you can plug it back into the new one the same way. The light won’t function if it is plugged in backward.

Now you can separate the control head from the bezel. It should lift off easily and you’ll be able to see the screen and all the
buttons for the jets, temperature, and light adjustments.
Step 3
Replace your control panel bezel or control head
If you’re replacing the bezel you need to remove the LED light from the old bezel. Don’t do this if you’re just replacing the control head. The light simply pulls out of the clip holding it to the fiber optics.

Grab the new bezel and place it face down on a surface that won’t scratch the new bezel. Clip the light into the new bezel. It should just snap into place as you push it into the clip. Be sure to clean any dust off the display of the control head carefully before reinstalling it.
Next, Get the control head and line it up with the screw holes of the Control Panel Bezel.

The control head should sit in place naturally when it’s positioned correctly. Gather the new mounting screws (or old screws if you are just replacing the control head), start with one corner and tighten the screw until it’s flush with the surface but not tight. Then, go to the corner diagonal from the first screw and do the same. Do the same for the last two corners.
After that, go through each screw again and give each a half turn. Do not over-tighten because it’s easy to strip out the plastic threads and if it’s too tight the buttons won’t seat correctly.

Now plug in the control panel light to the connector on the back of the control head. If the light doesn’t work after plugging it in, you probably plugged the light in backward.
Route the ribbon cable through one of the cutouts on the bottom of the control head and then install the control head cover.
Step 4
Reinstalling the Control Panel

Once the control head and bezel are put back together, route the ribbon cable through the cutout on the front of the spa and put the controls back into place.
Secure the panel using the two screws we removed before from the top of the panel. Again, don’t over tighten these screws because this can cause the control panel to be tweaked and not function correctly. Carefully reinstall the light cover by pushing one clip in half-way, then the other clip fully in place and then push the first clip in the rest of the way.
Lastly, remove the plastic covering off the display and the replacement is finished.
Congratulations! You just mastered control panel replacement.
Backyard Plus is Here to Help You Be the Hero.
Questions about your spa? Contact us! We are the top Hotspring spa parts retailer on the web.
Call us at (805)541-9000
Text us to receive technical support
We offer:
- Our Parts Finder which allows you to find exact-match replacements for your hot tub
- Free technical support that will allow you to maintain and repair your own spa accordingly
- Information regarding your products and their usage through our blog posts.
- Tutorials and assistance through our videos
- Follow us on our Facebook page
Our goal here at Backyard Plus is to help save you money by avoiding costly service calls for repairs that you can easily do yourself!
Related Products
If there are any topics you would like to learn about pertaining to your HotSpring Spa, please let us know.


