Welcome to Backyardplus! In this post, we show you how to replace the Light Lens wall-fitting on a Hot Spring, and Tiger River spa. Before we get started, Let’s go over the tools and parts you will need.
Tools you will need:
- Phillips head screwdriver
- Grinder
- Orbital sander
- Masking tape
- Rubbing alcohol
- Latex gloves
Parts you will need:
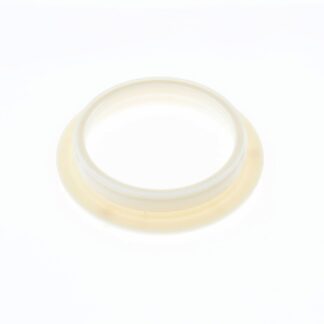
- 71925 Light Lens Wall-fitting
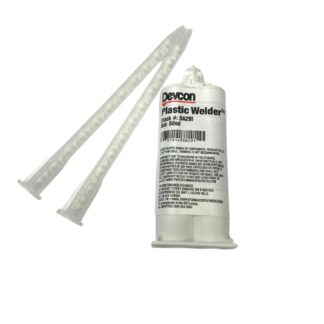
- 72961 Adhesive Repair Kit
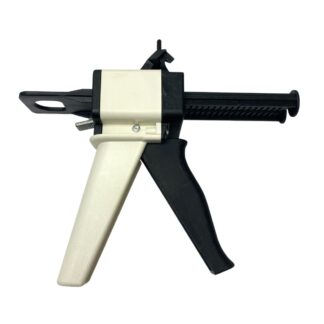
- 72961-DIS Epoxy Gun
Step 1. Disconnect power, drain the spa, and remove all the equipment from the equipment compartment.


Step 2. Remove the bezel and light lens from the spa.

Step 3. Using the grinder, grind the wall-fitting down from the inside of the equipment compartment until it is flush with the wall and falls off. Be very careful not to go too deep or you will compromise the shell. Use a Dremel tool with a cut-off wheel to access the areas the grinder cannot reach.


Step 4. Sand the area where the wall-fitting was with 40 grit, and then finish it with 80 grit sandpaper until it is even on all sides.

Step 5. Clean the wall-fitting area on the equipment side with rubbing alcohol.

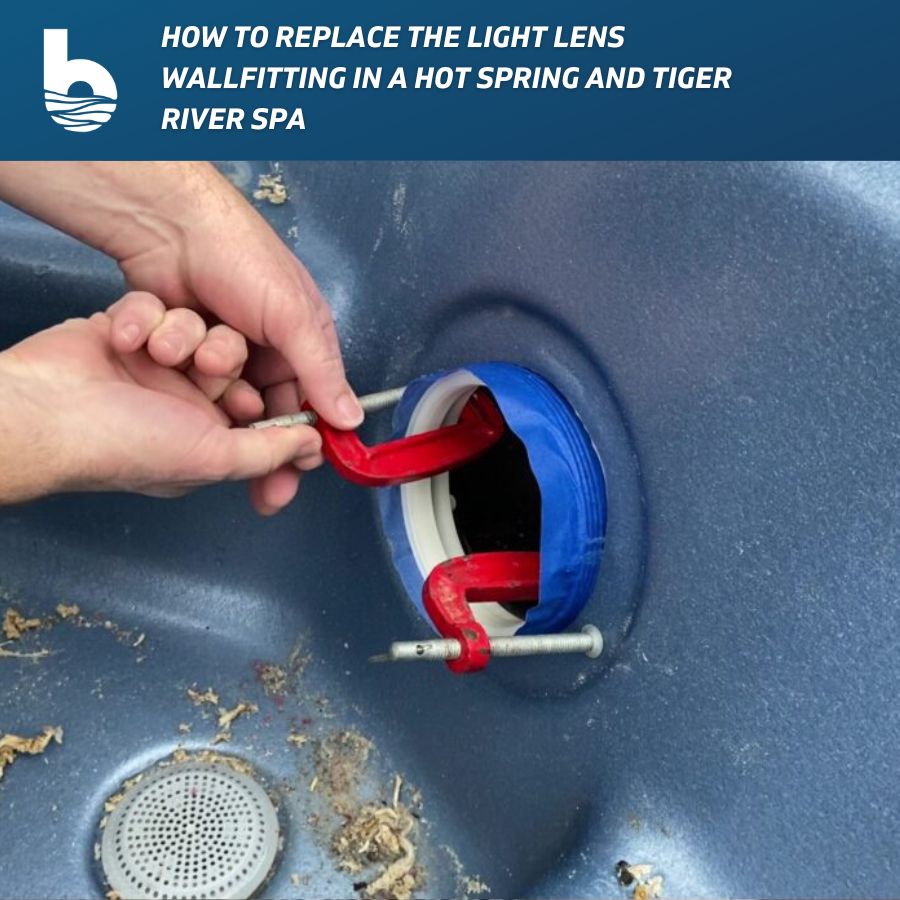
Step 6. Cover the threads of the new wall-fitting with masking tape and clean the area to be glued with rubbing alcohol.


Step 7. Install the nozzle on the epoxy and place it in the dispensing gun. Put your gloves on.


Step 8. Place a 3/8 bead of epoxy around the perimeter of the wall-fitting.

Step 9. Install the wall-fitting firmly into the opening. Place a second bead of epoxy around the edge of the wall-fitting in the equipment compartment.


Step 10. Secure the wall-fitting with two clamps.

Step 11. After curing for 24 hours, remove the two clamps, and the masking tape. Install the light lens and bezel.


Watch the video here! “How to Replace the Light Lens Wall-fitting on a Hot Spring and Tiger River Spa”
Questions about your spa? Contact us! We are the top Hotspring spa parts retailer on the web.
Call us at (805)541-9000
Text us to receive technical support
In addition to “How to Replace the 71925 Light Lens Wallfitting in a Hot Spring and Tiger River Spa,” we offer:
- Our Parts Finder which allows you to find exact-match replacements for your hot tub
- Free technical support that will allow you to maintain and repair your own spa accordingly
- Information regarding your products and their usage through our blog posts.
- Tutorials and assistance through our videos
- Follow us on our Facebook page
Our goal here at Backyard Plus is to help save you money by avoiding costly service calls for repairs that you can easily do yourself!


