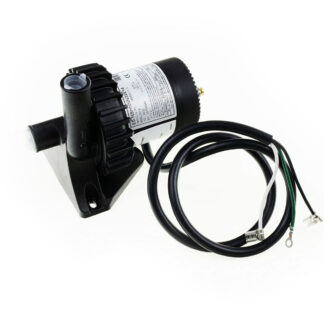
In this blog, we’re going to walk you through circulation pump troubleshooting and replacement with the 74427 E5 from Watkins. If the red “POWER” light is flashing on your control panel or the green “READY” and red “POWER” lights are both flashing, or if you have a newer spa, and the logo lights are flashing, you may have a faulty circ pump.
Table of Contents
Tools you will need for essential circulation pump troubleshooting and replacement :
- Phillips head screwdriver
- Flat head screwdriver
- Two hose pinch pliers or two wine bottle corks
- Channel lock pliers
- Needle nose vice grips or regular vice grips
- Towel
Circulation pump troubleshooting: your old circulation pump
Before you buy a new circulation pump for your spa, you need to make sure that your old circulation pump is the cause of the issue you are having. First of all, you need to turn off your summer timer. The summer timer setting shuts off the voltage to your circulation pump for eight hours a day. Make sure your summer timer is turned off before you begin this test. The second thing you want to do is make sure your circulation pump fuse is good. The circ pump fuse is located inside the IQ 2020 control box on the circ pump’s black wire terminal. Now let’s begin.
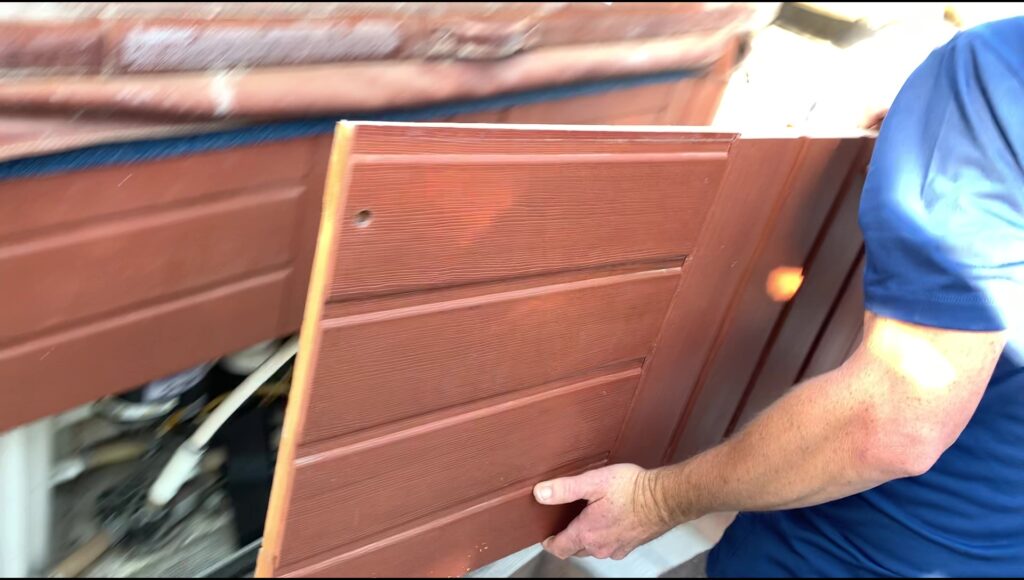
Step 1: Remove the four screws from the equipment compartment door and set the door aside.
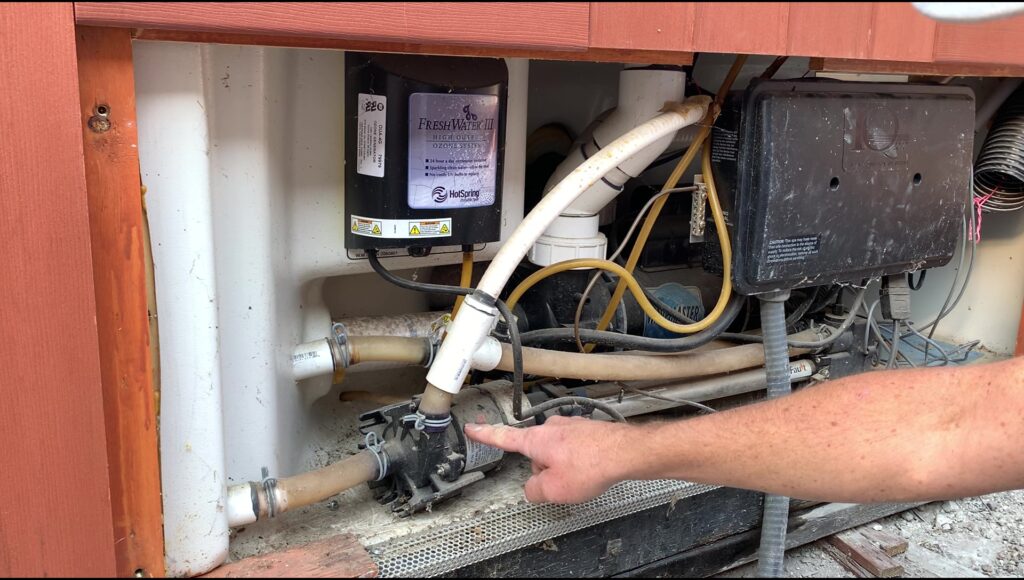
Step 2: Place your hand on the circulation pump. If it is working, you will feel a vibration.
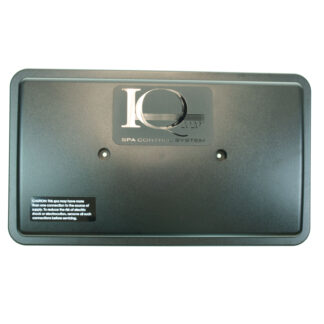
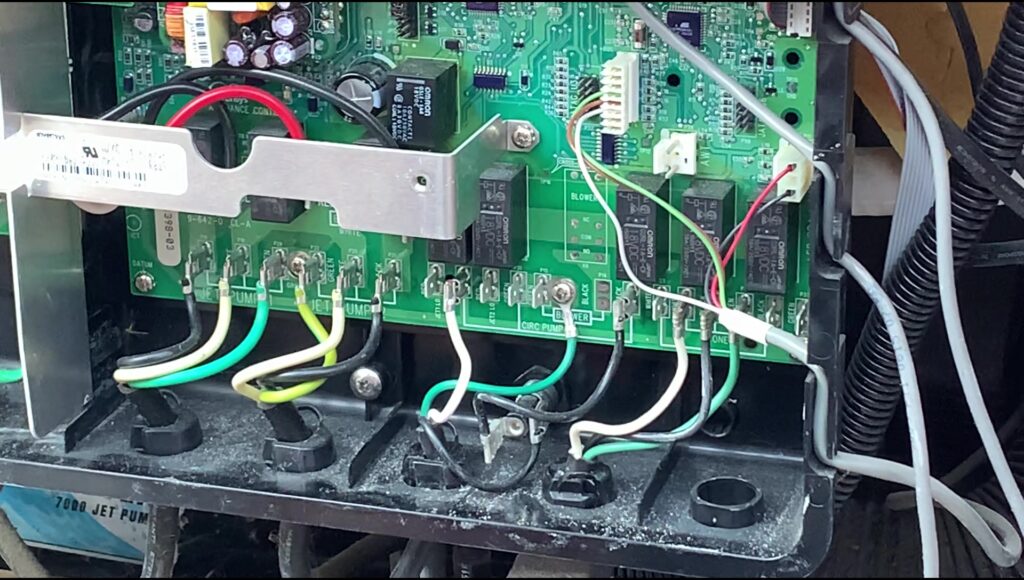
Step 3: Remove the IQ2020 control box lid and locate the circ pump terminals on the motherboard.
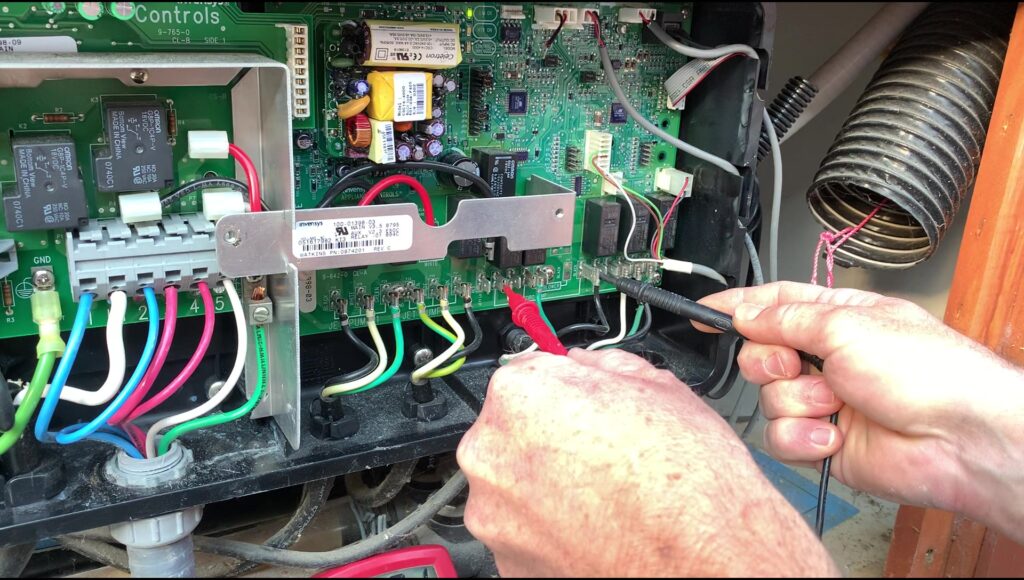
Step 4: Set your multimeter to 200 ACV.
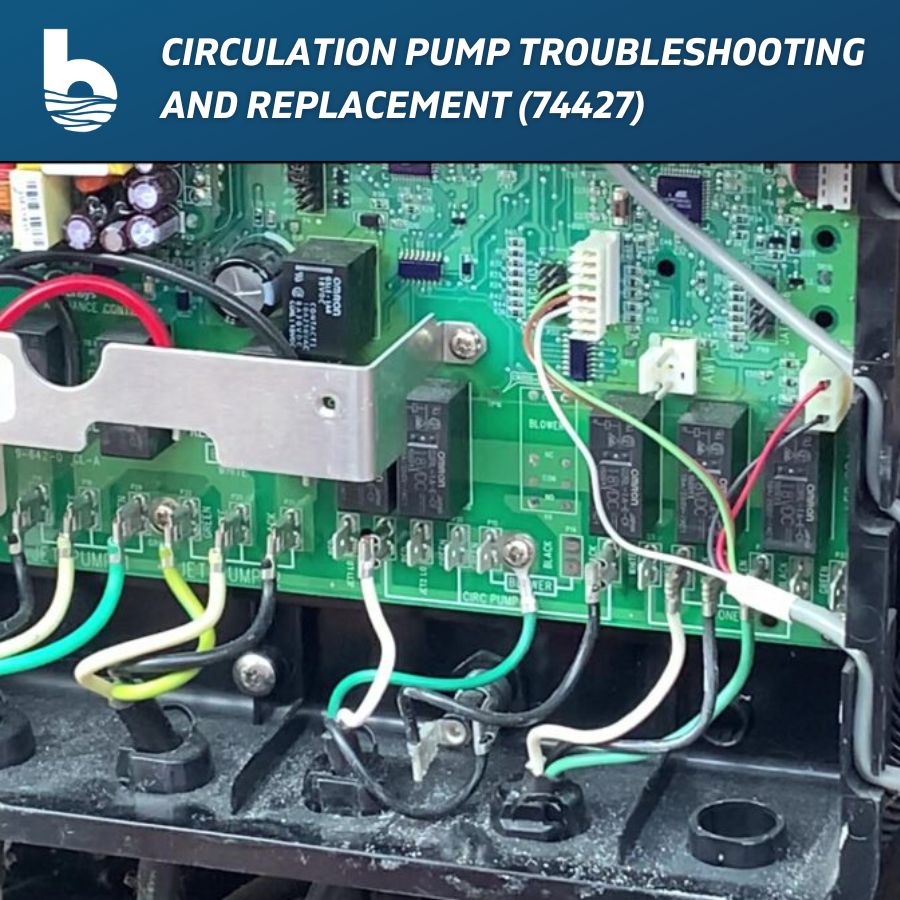
Touch one lead to the black prong (P22) and the other lead to the white prong (P25). You should get a reading around 120 Volts. If you get a good voltage reading and your circ pump is not working, it means you have a bad circ pump. A voltage reading of zero means either the summer timer is on, or you have a bad motherboard. In our video (see below), we have good voltage which means we have a bad circ pump.
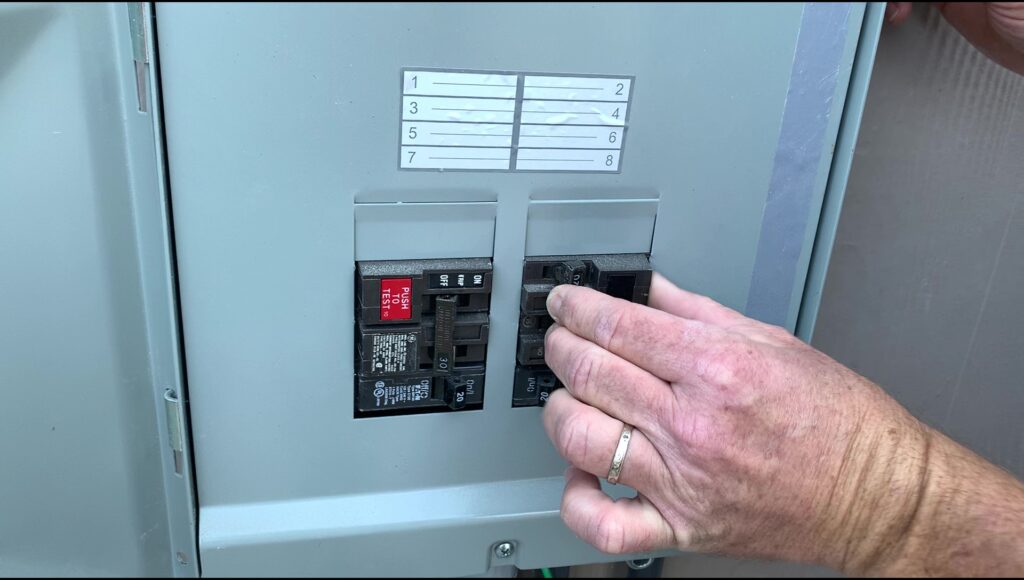
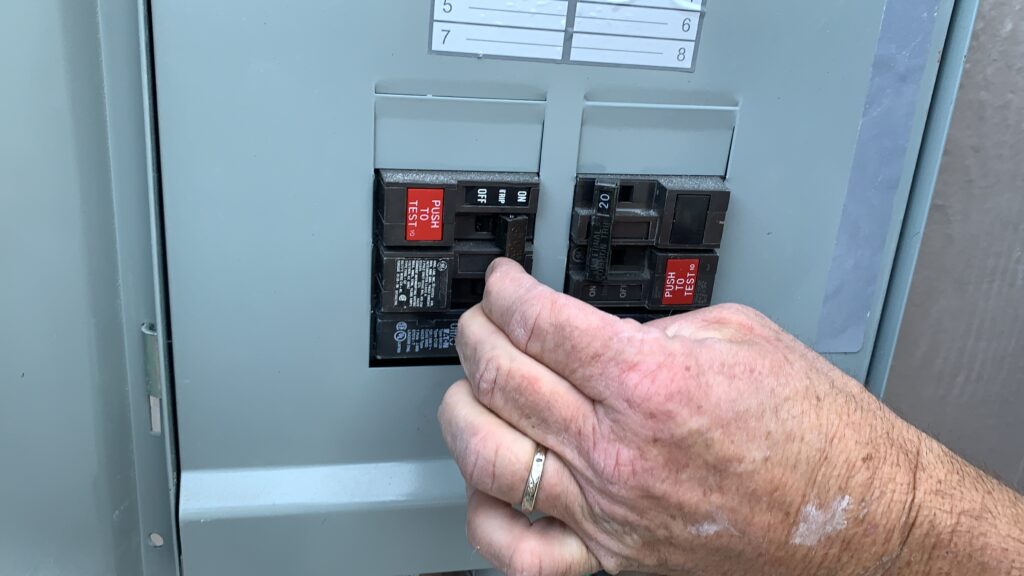
Step 5: Disconnect power to the spa.
Step 6: Disconnect the black, white, and green circ pump wires from the motherboard and remove the strain relief clamp from the bottom of the control box.
On spas prior to 1997, the circ pump simply unplugs from the bottom of the control box. If you have a pre-97 spa and your circ pump plugs into the bottom of the control box, refer to the instructions that came with your new circ pump on how to attach the old power cord to the new pump. Downloadable instructions are located at the end of this blog post.
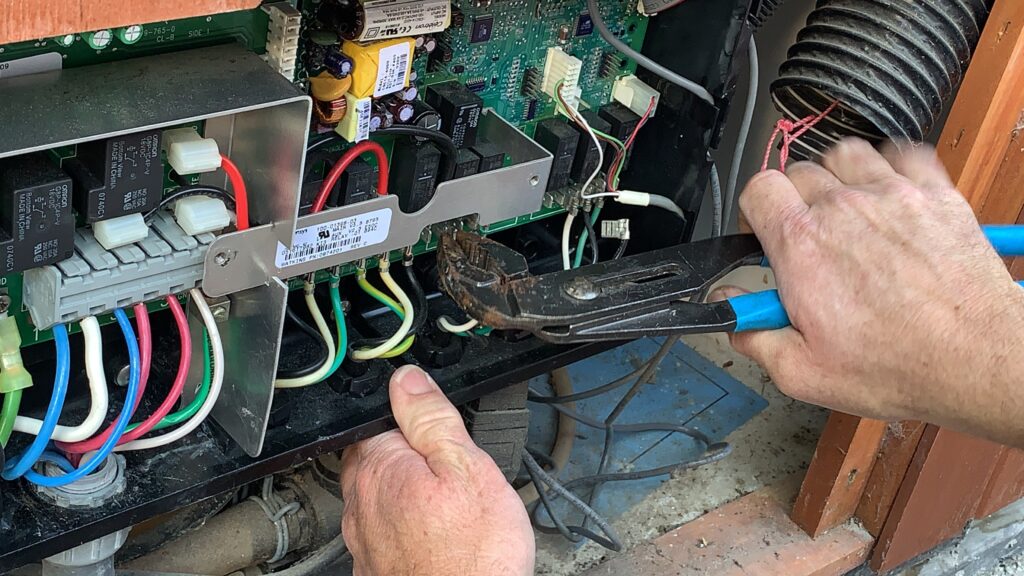
Remove the strain relief clamp.
Step 7: Remove the mounting screws holding the old circ pump to the equipment compartment floor.
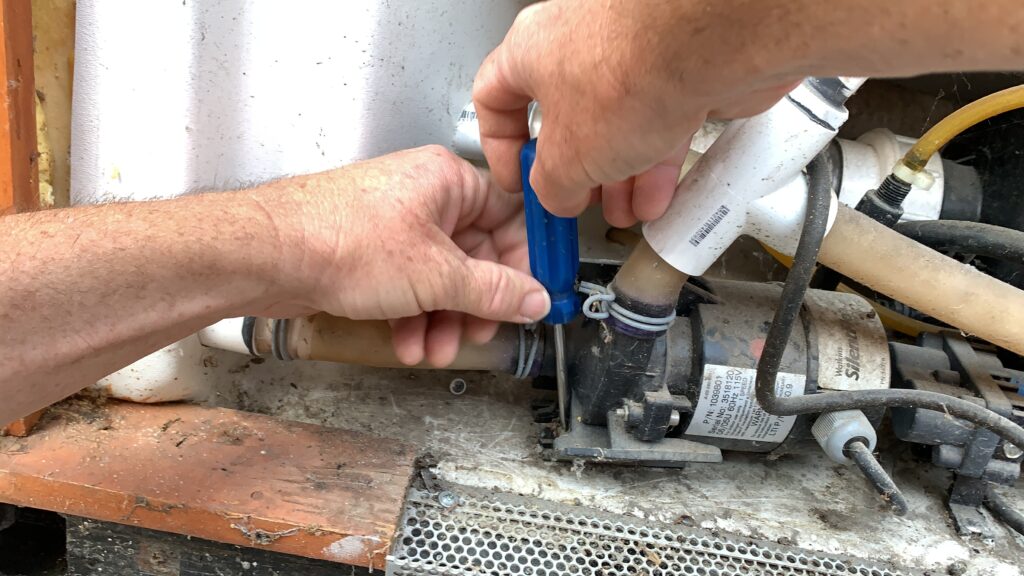
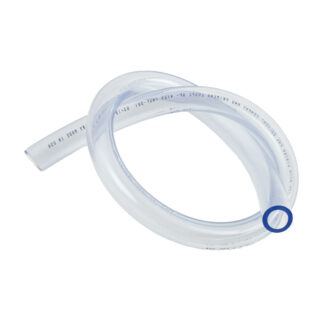
Step 8: Pinch the two ¾” hoses with your hose pinch pliers and loosen the hose clamps. Avoid pinching the hoses too close to the PVC fitting as that could break the fitting.
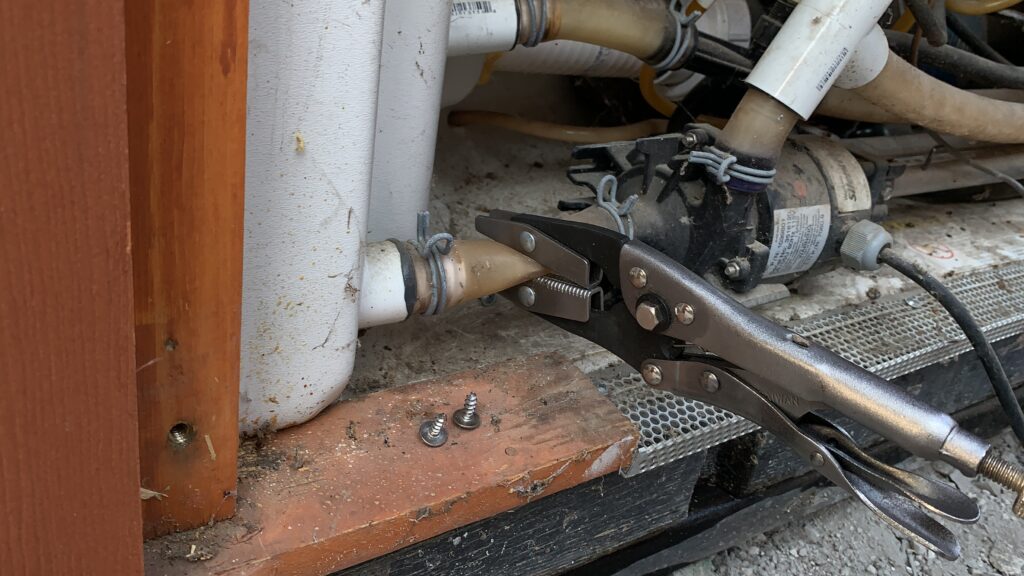
Loosen the hose clamps.
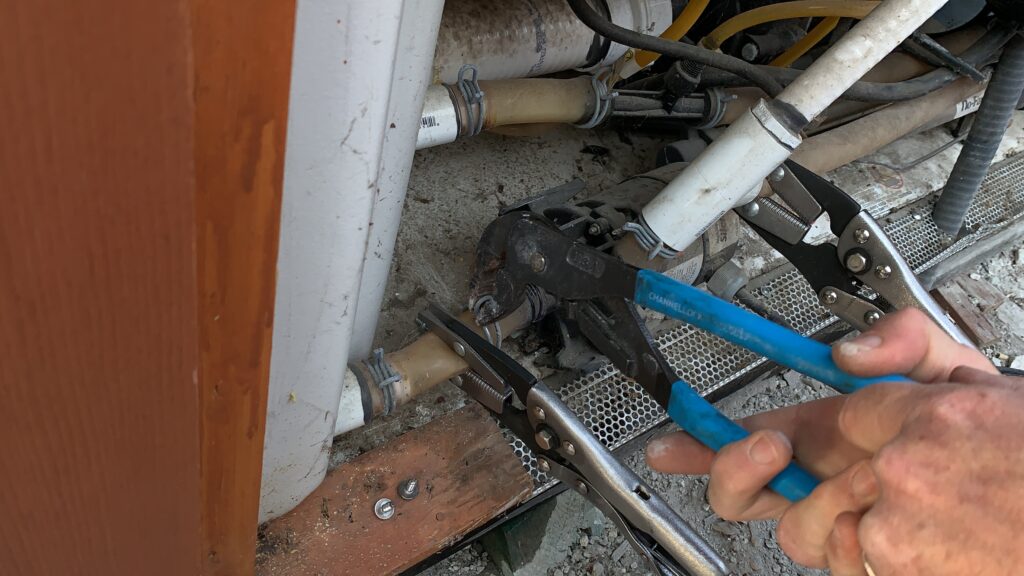
Remove the two hoses from the circ pump and plug them with the wine bottle corks. Remove the old circ pump.
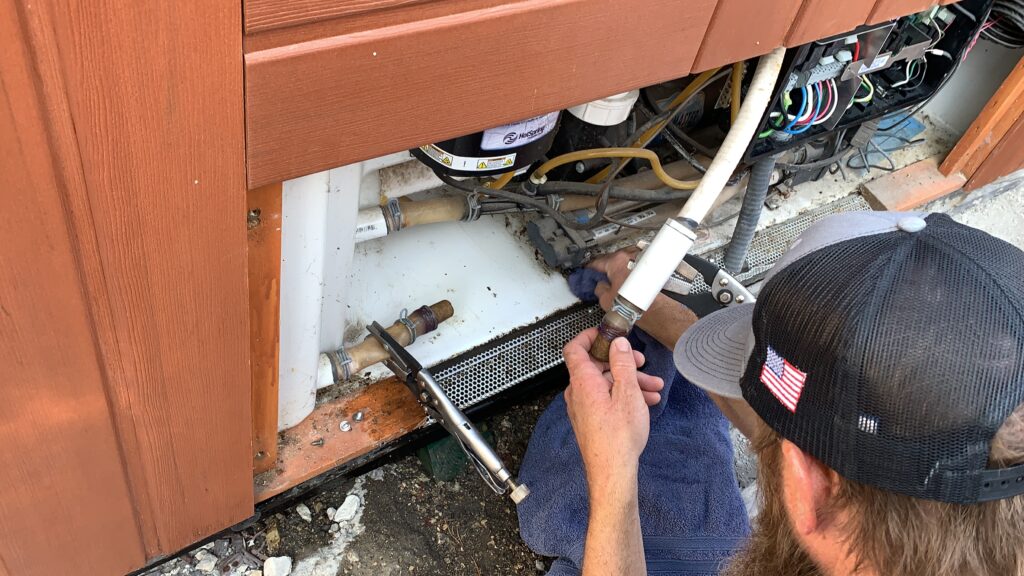
Step 9: Install the new pump! Remove the wine corks and push the hoses onto the new circ pump. Pinch the hose clamps with the channel locks and tighten them over the inlet and outlet.
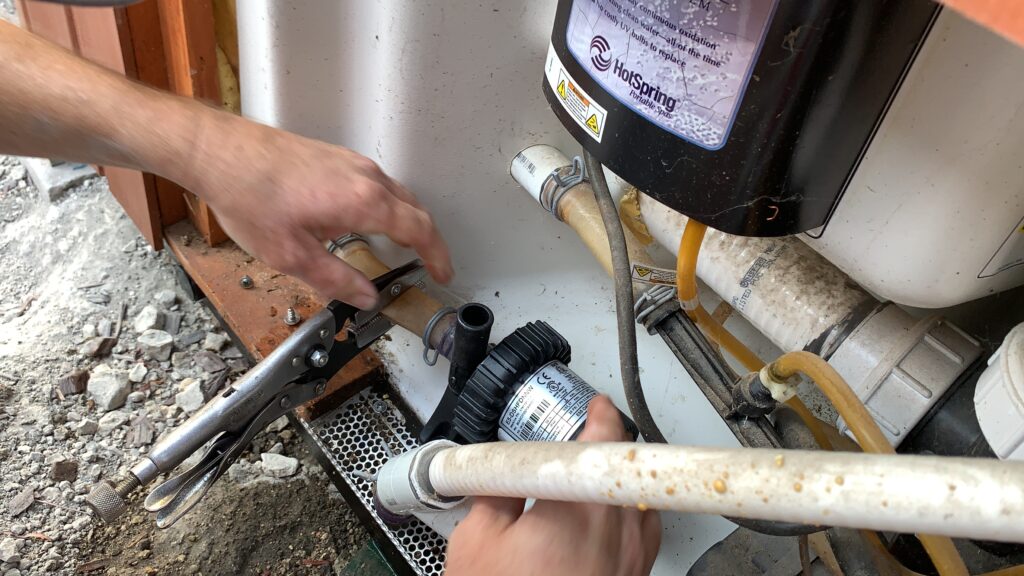
Remove the hose pinch pliers and check for leaks.
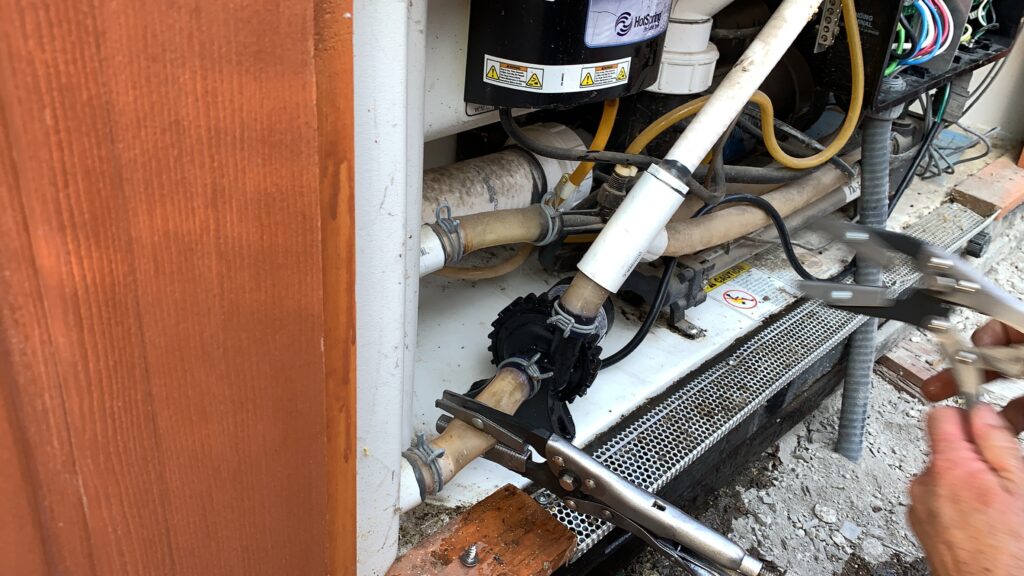
Step 10: If your new circulation pump has a grounding lug, attach a copper bonding wire from the ground lug on the back of the circ pump to the ground lug bonding terminal on the IQ2020 control box.
NOTE: Some circulation pumps (like the old SilentFlo 5000 version that we removed in this video) do not have a ground lug.
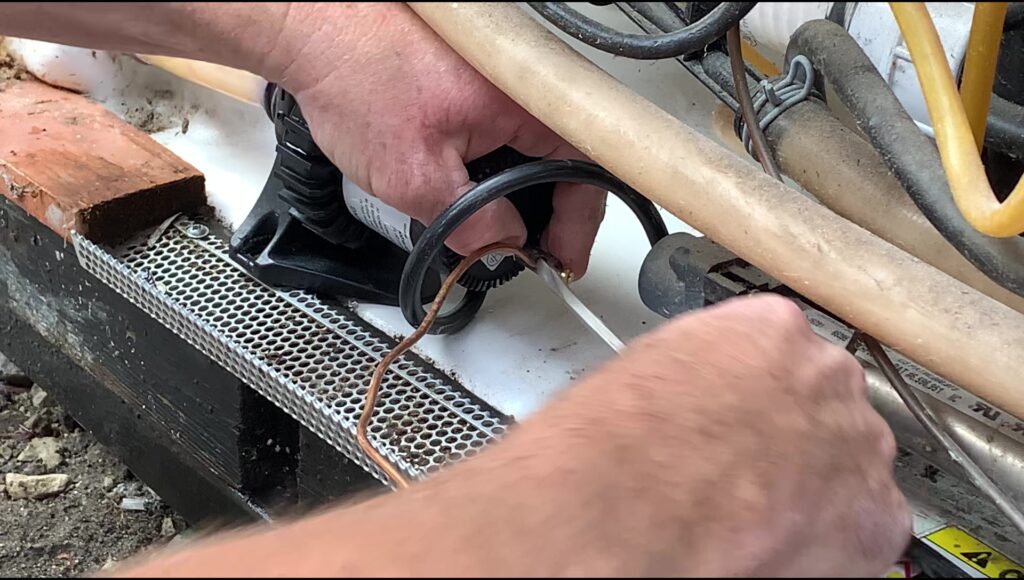
Attach a copper bonding wire from the ground lug on the back of the circ pump to the ground lug bonding terminal on the IQ2020 control box.
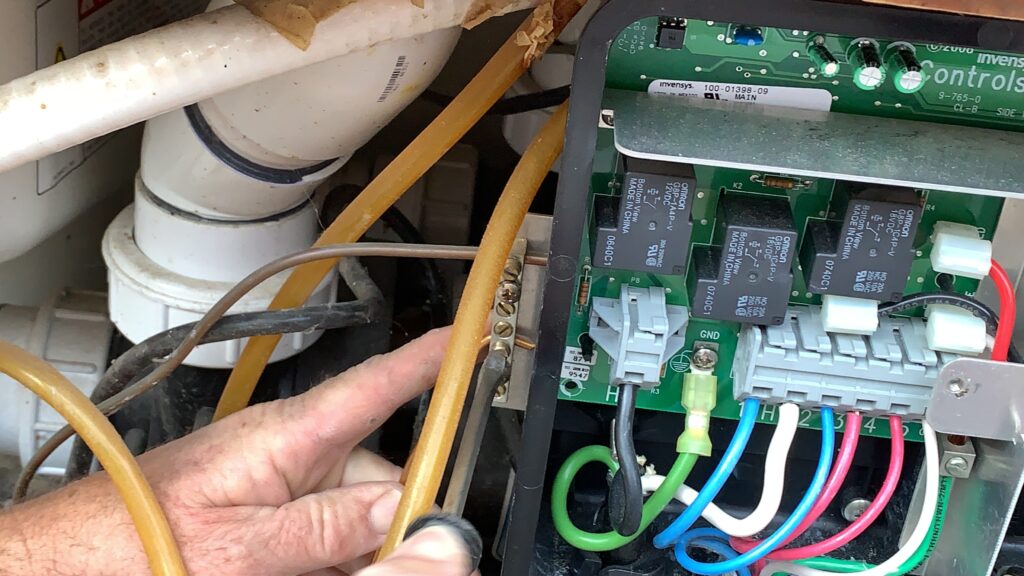
The old SilentFlo 5000 we removed did not have a ground lug.
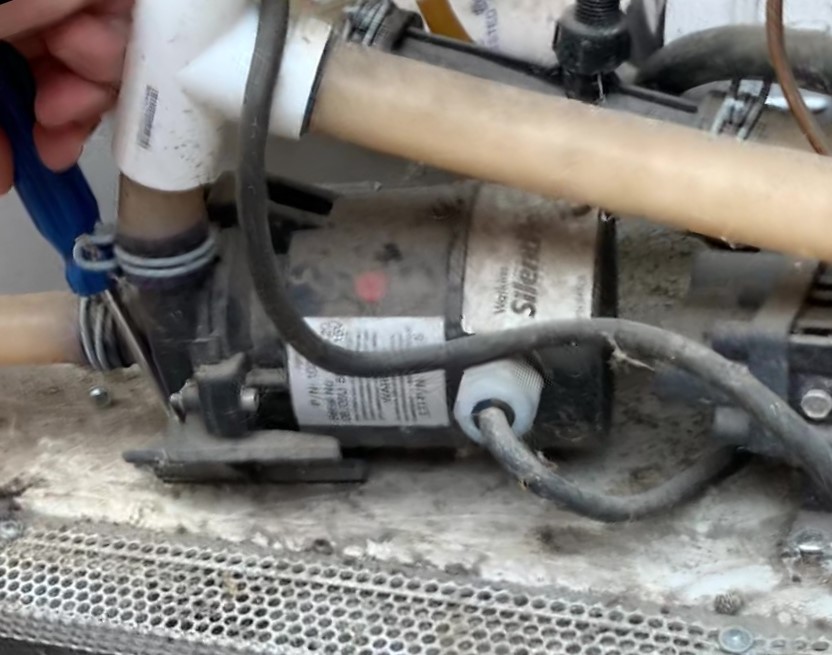
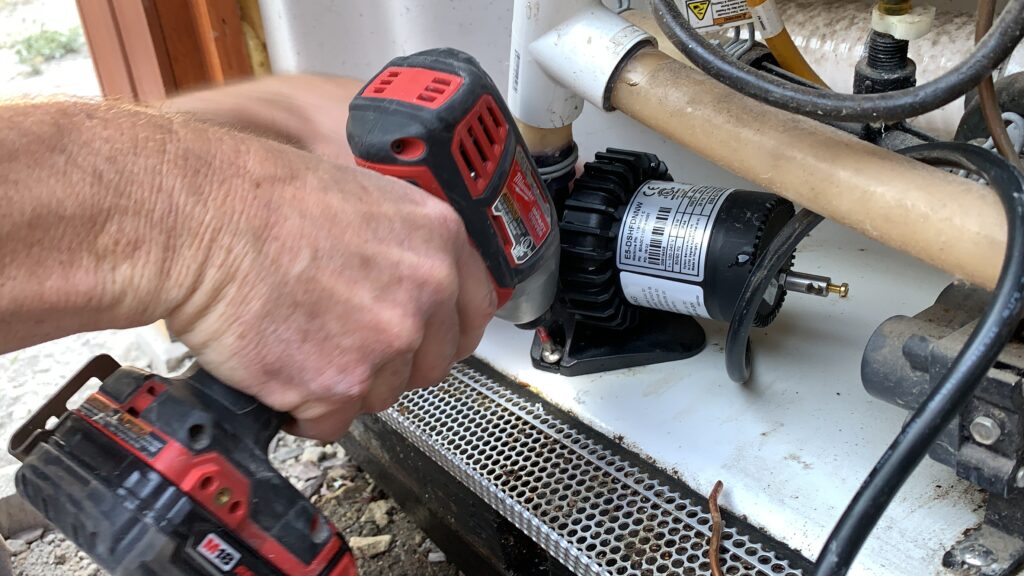
Step 11: Position the circ pump and pre-drill a hole in the equipment compartment floor using a 1/8” drill bit.
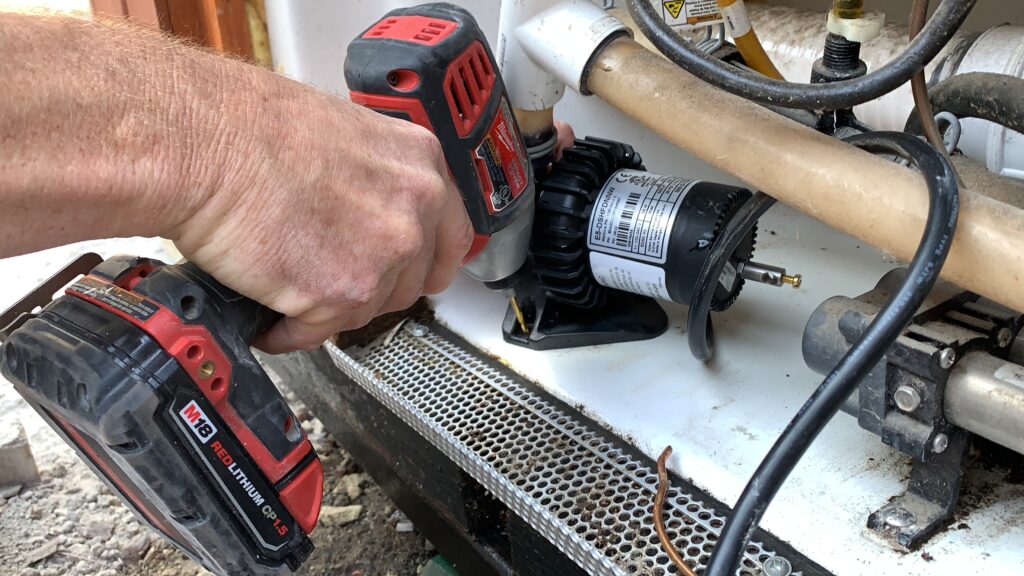
Secure the circ pump with a screw.
Note: Some applications may require that this pump lay on its side for an easier connection to existing plumbing. It is not necessary to attach this pump to the floor of the equipment compartment.
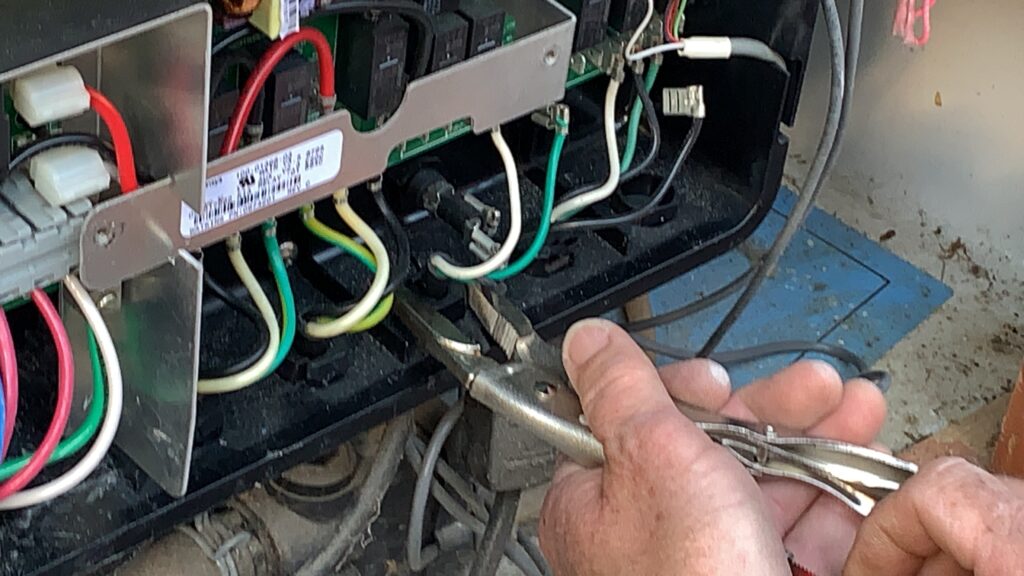
Step 12: Using your needle nose vice grips, push the three wires and the strain relief clamp up through the bottom of the control box. Re-connect the three wires to the correct prongs on the motherboard. Make sure each of the wires is securely fastened to the terminals.
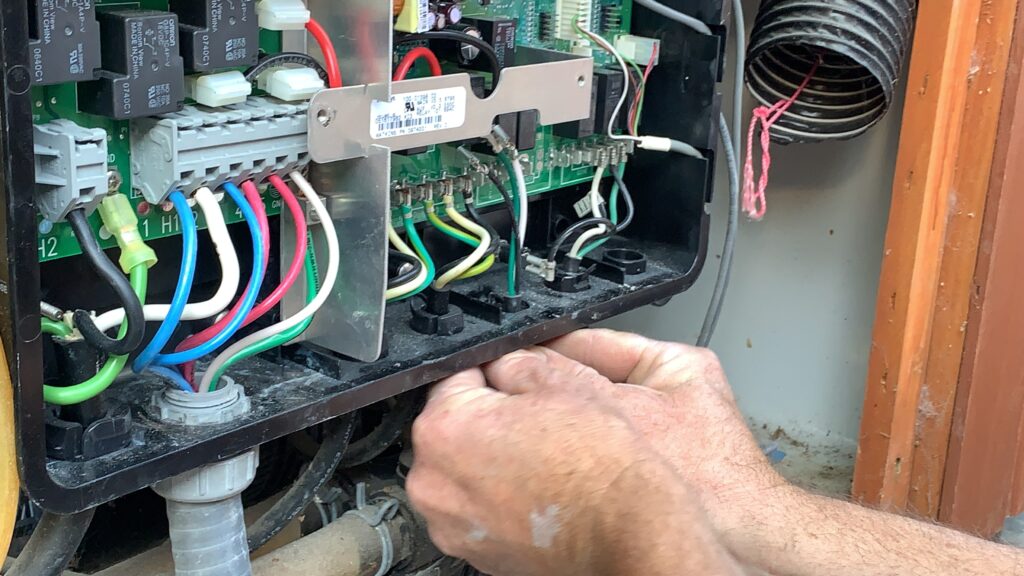
Re-connect the three wires to the correct prongs on the motherboard. Make sure each of the wires is securely fastened to the terminals.
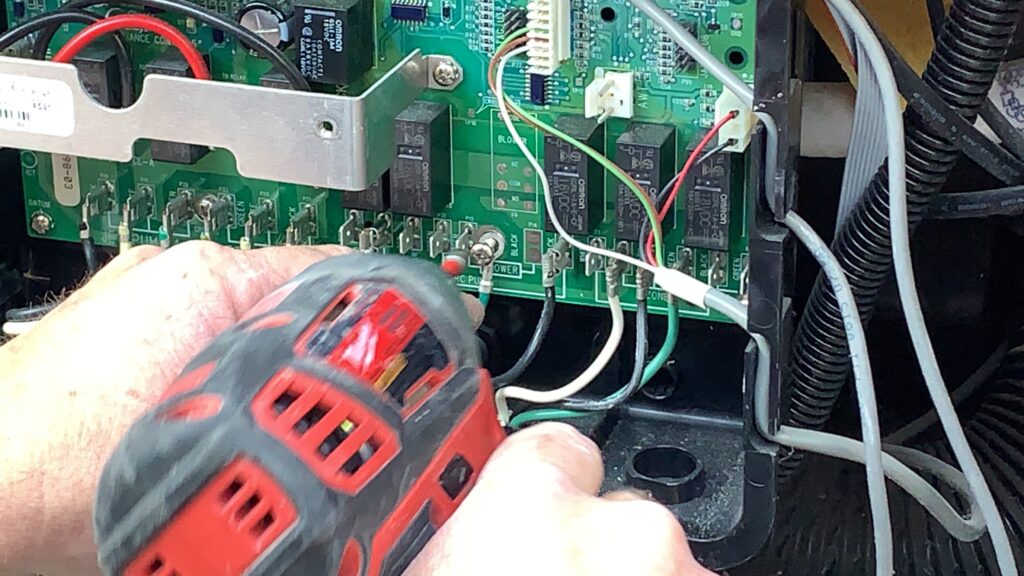
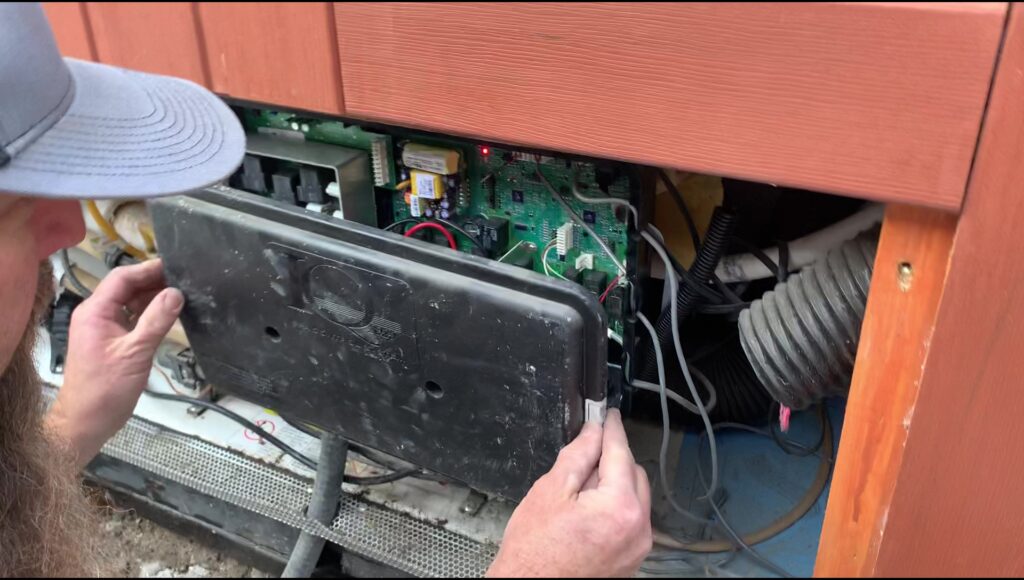
Step 13: Reconnect power to the tub, install the IQ2020 control box lid, and put the equipment compartment door back on.
Install the IQ2020 lid.
Install the equipment door and you’re all done!
Watch The Video Here “Essential Watkins Circulation Pump Troubleshooting and Replacement with the 74427 E5”
74427 Circulation Pump Instructions
Download or print installation instructions for the E5 Circulation pump.
Related Products
Backyard Plus is Here to Help You Be the Hero.
Thanks for reading “Essential Circulation Pump Troubleshooting and Replacement with the 74427 E5 from Watkins!”
Questions about your spa? Contact us! We are the top Hotspring spa parts retailer on the web.
Call us at (805)541-9000
Text us to receive technical support
We offer:
- Our Parts Finder which allows you to find exact-match replacements for your hot tub
- Free technical support that will allow you to maintain and repair your own spa accordingly
- Information regarding your products and their usage through our blog posts.
- Tutorials and assistance through our videos
- Follow us on our Facebook page
Our goal here at Backyard Plus is to help save you money by avoiding costly service calls for repairs that you can easily do yourself!
