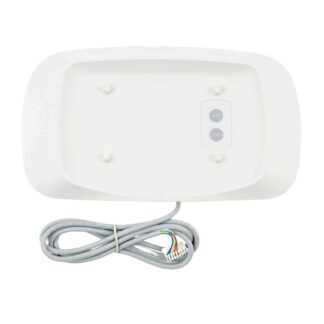
At some point, the wireless remote control dock on your Highlife spa will need to be replaced. In this post we are going to show you exactly how to perform a wireless remote dock replacement. This is a fairly easy replacement that should have your hot tub back up and running in no time! First, there are a few tools you are going to need in order to perform your wireless remote dock replacement.
Table of Contents
BYP Tech Tip:
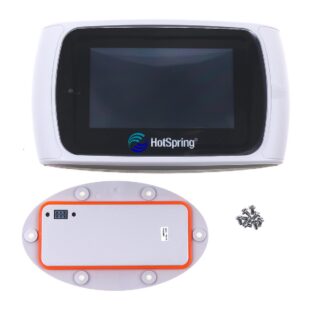
You should always replace your wireless remote control and your wireless remote control dock at the same time. The reason is that like the headlights in your car, the wireless remote and wireless dock tend to stop working at the same time. Another good reason to replace them at the same time is that it will save you time, energy, and the headache of having to do a second diagnosis and replacement just a few weeks or maybe even just a few days later.
Tools needed for a wireless remote dock replacement:
- Safety glasses
- Flathead screwdriver and or thin metal blade – putty knife
- Masking tape
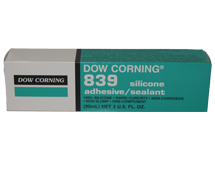
- Silicon tube, DOW 839 #301259
- Rags (2)
LET’S REMOVE THE OLD DOCK AND GET YOUR WIRELESS REMOTE DOCK REPLACEMENT GOING!
Step 1: Power off the spa, open the equipment compartment door and access the IQ2020 Eagle control box.
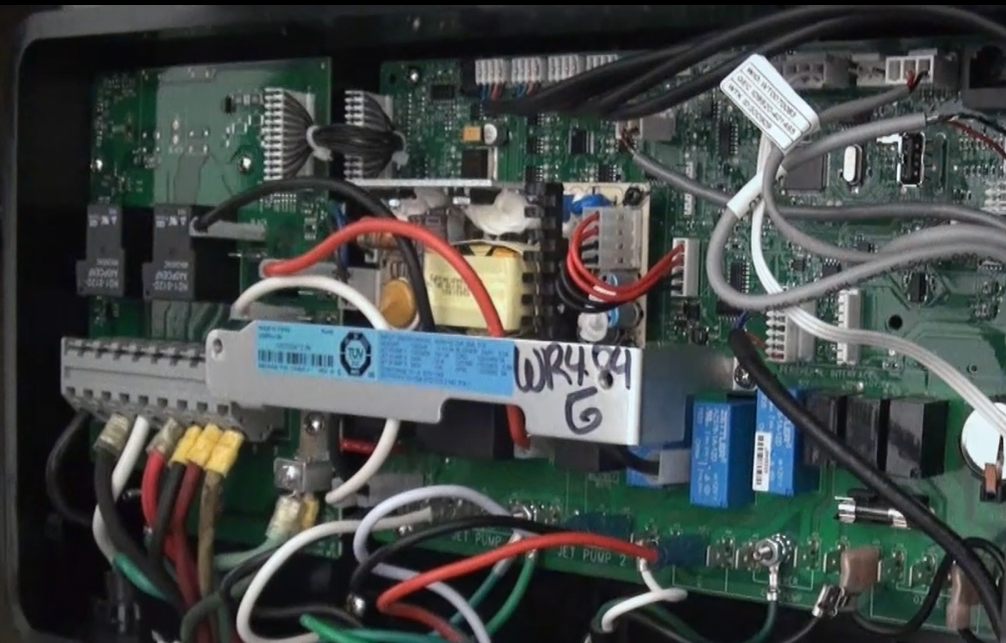
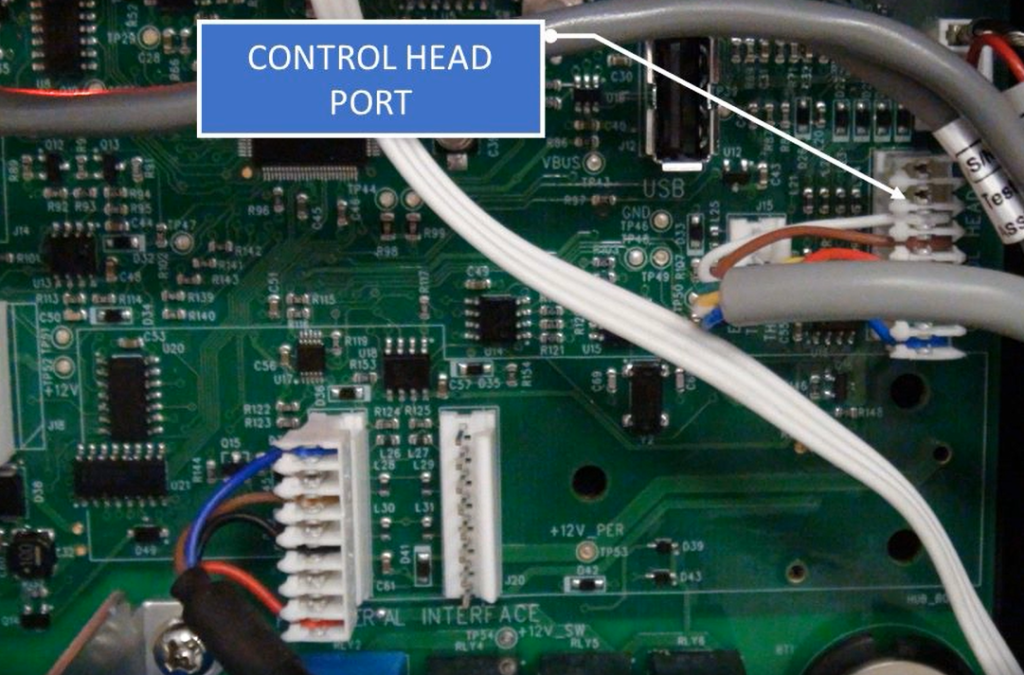
Step 2: Locate the docking station port (control head port).
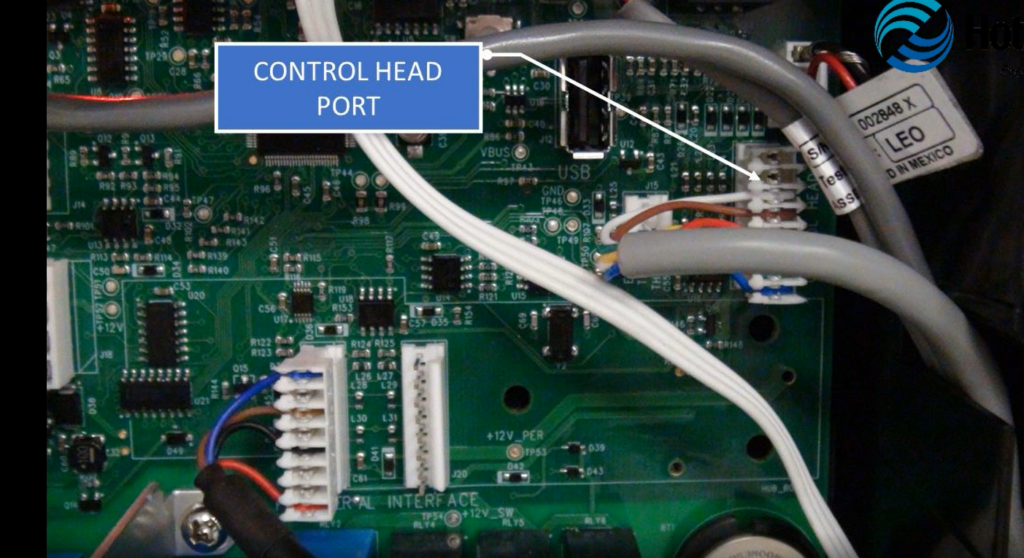
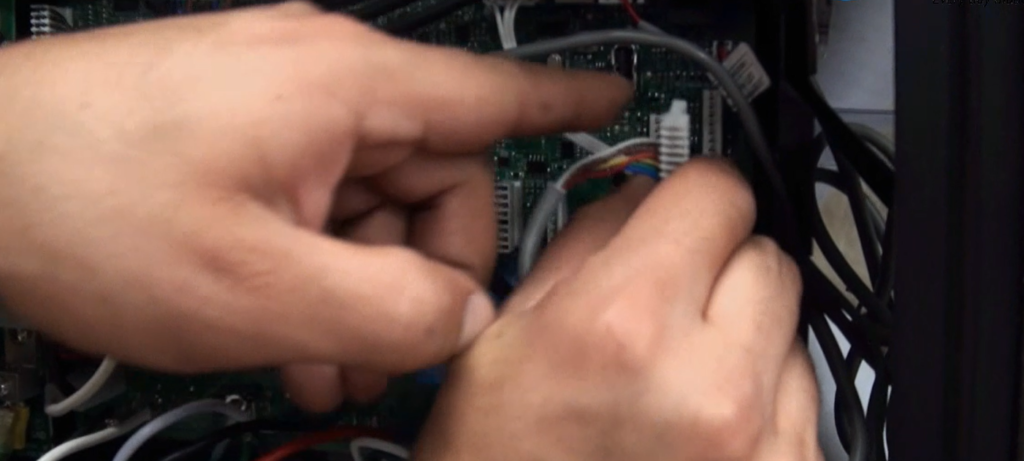
Step 3: Disconnect the docking station cable connector.
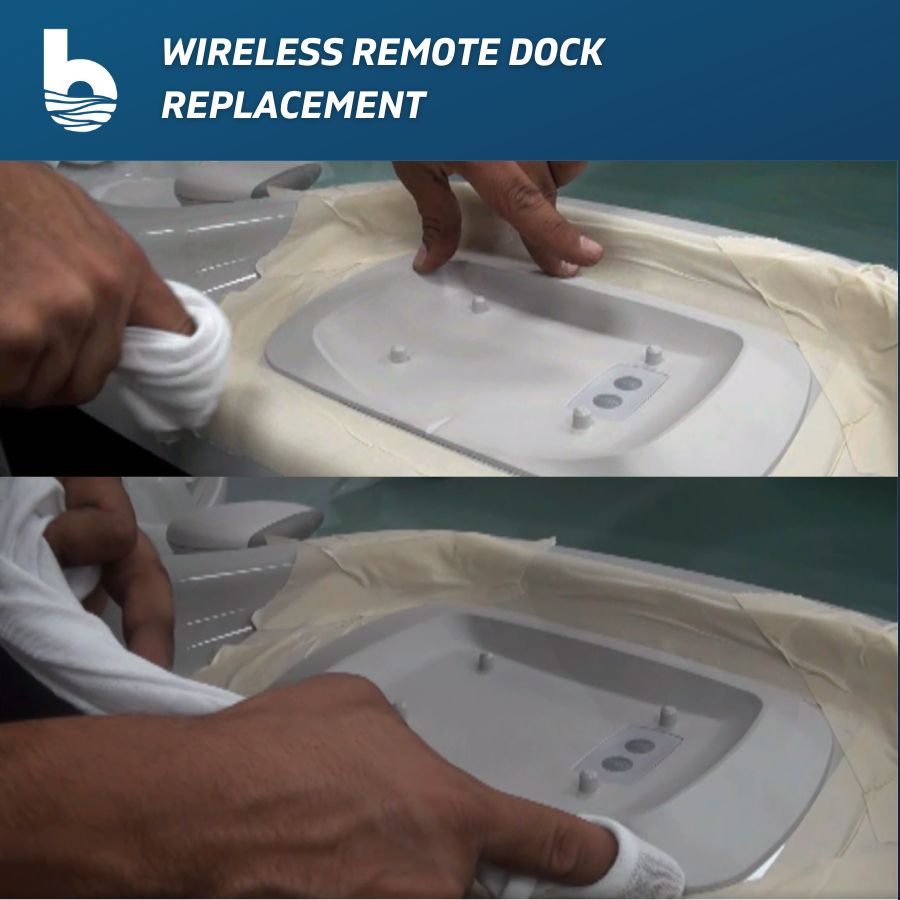
Step 4: Apply masking tape to the bar top around the docking station to prevent the shell from being scratched. NOTE: The masking tape will also be used to outline the proper placement of the replacement unit.
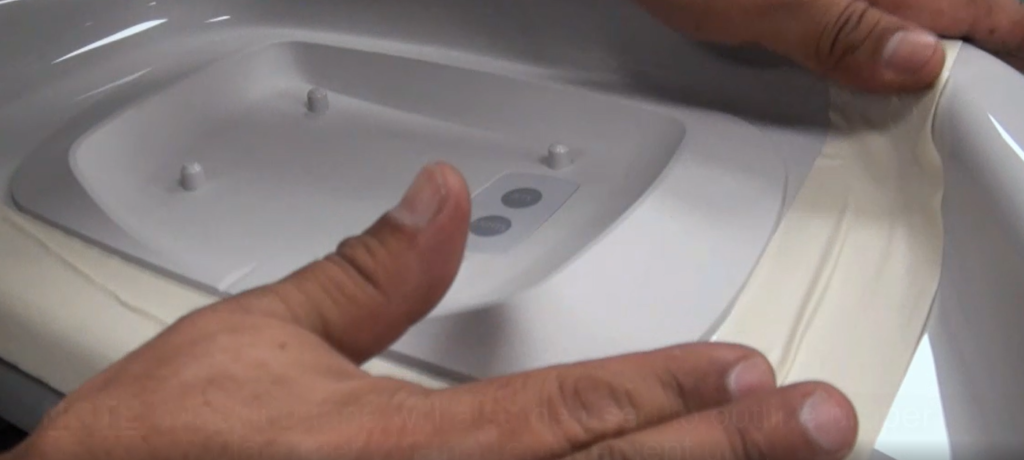
Step 5: Use a thin flat blade screwdriver or a flat metal tool to pry the edges of the docking station.
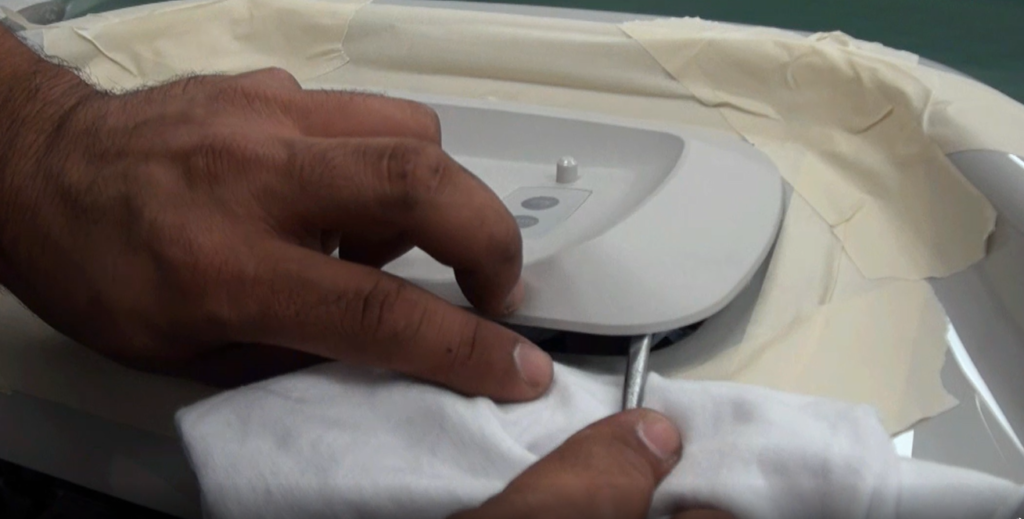
NOTE: If necessary, use a second screwdriver and carefully push up on the docking station to create a space to insert the screwdriver.
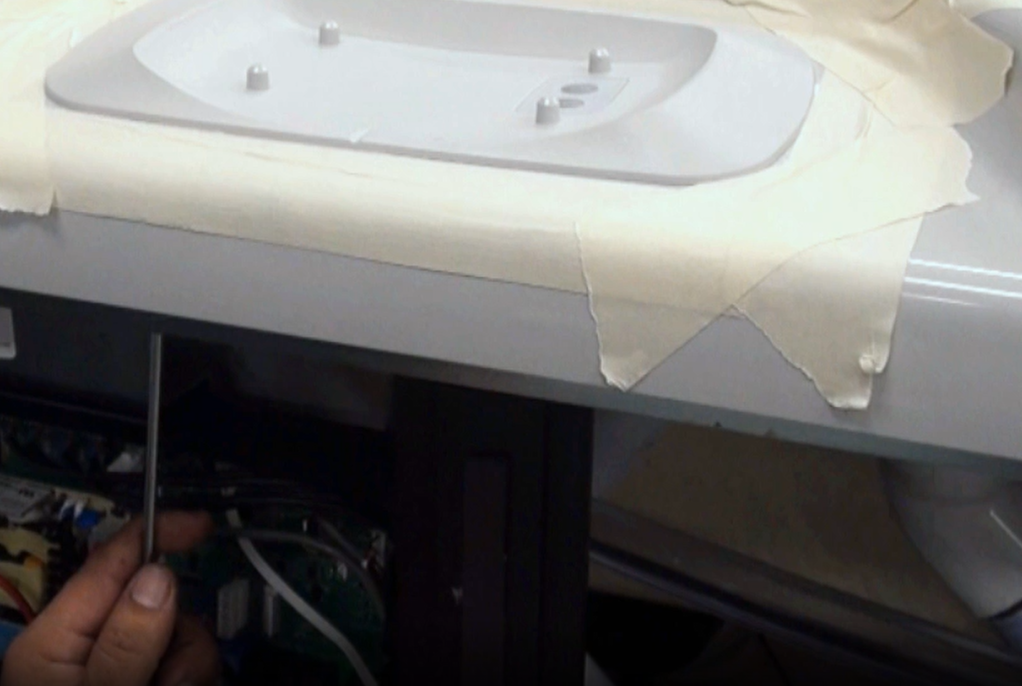
Step 6: Remove the docking station and remove the excess silicon left on the shell.
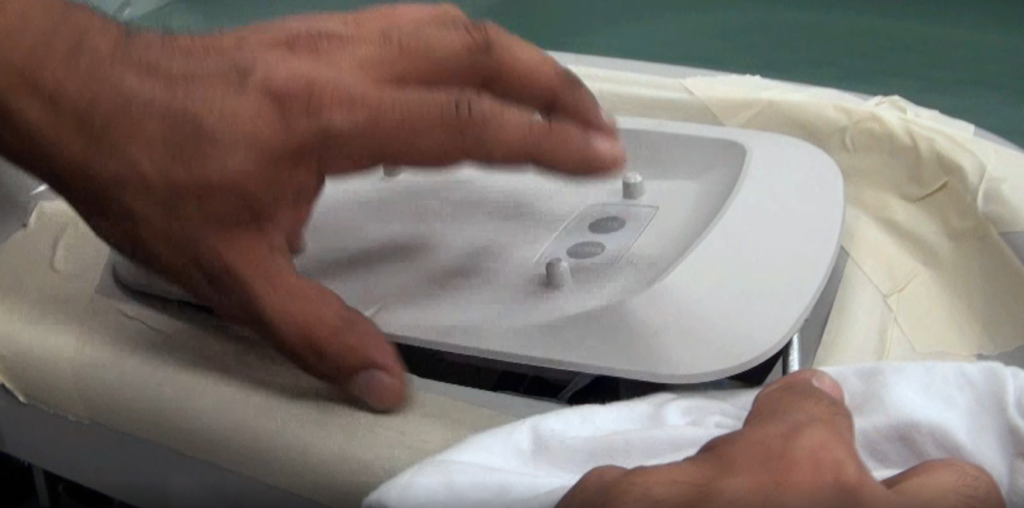
LET’S INSTALL THE NEW WIRELESS REMOTE DOCK!
Step 7: Place a 3/16” bead of clear silicon all the way around the lip area of the docking station.
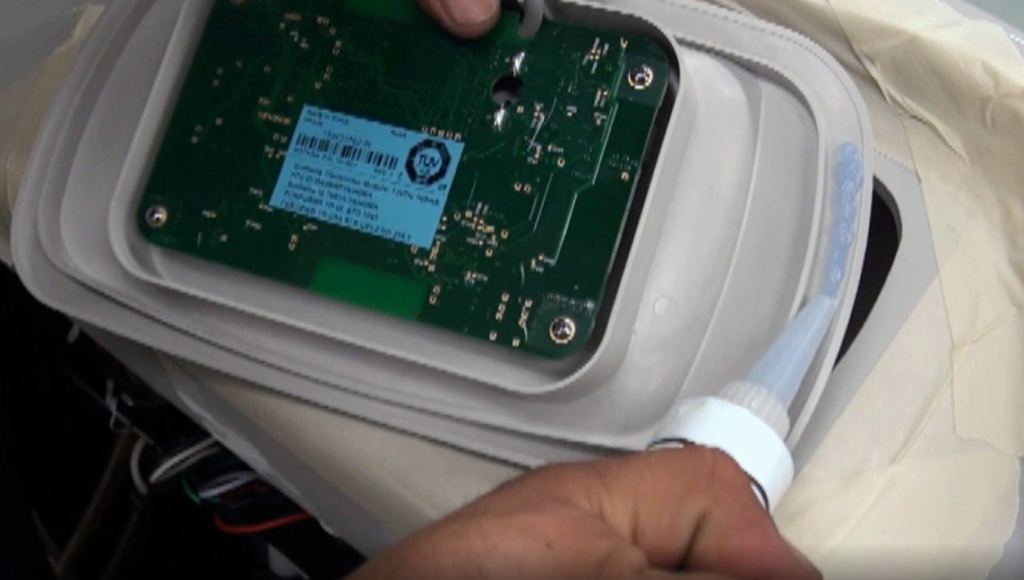
Step 8: Place the docking station onto the shell opening and press down evenly to secure it in place.
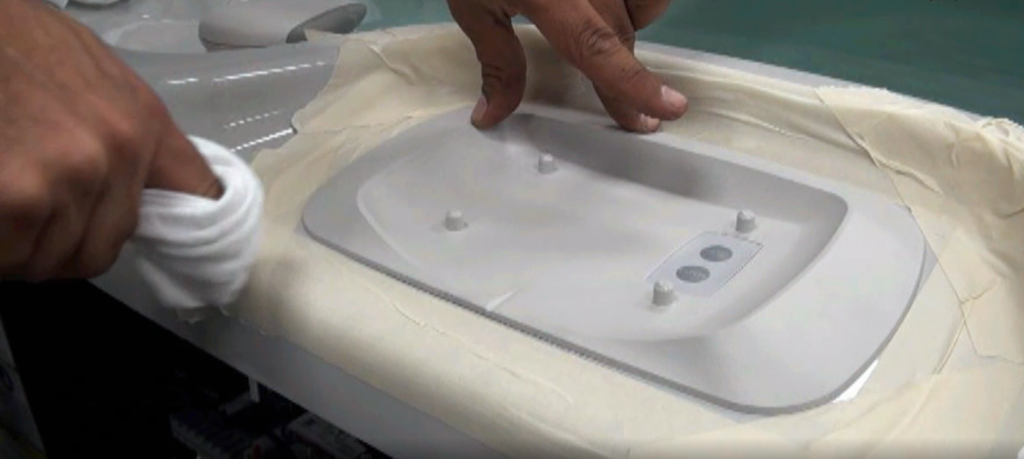
Step 9: Use a clean towel or rag to remove any excess silicon from the area.
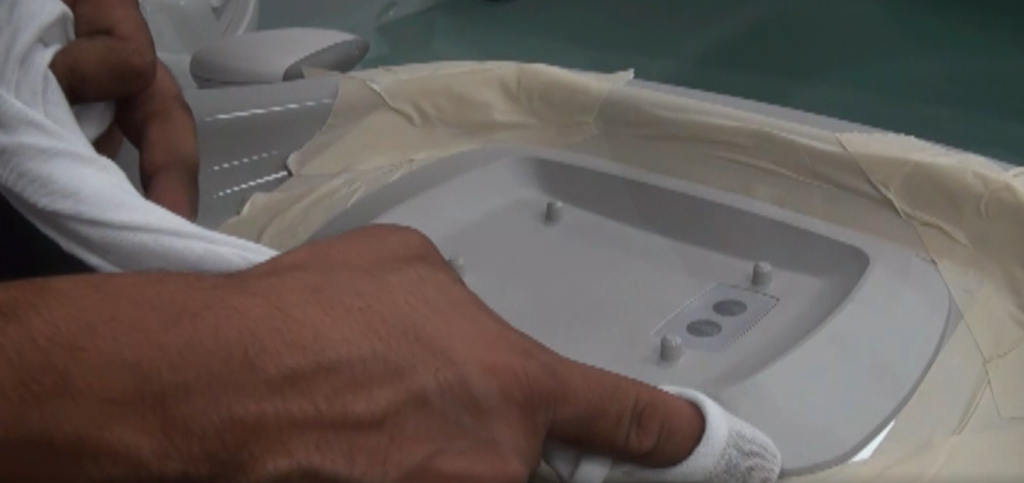
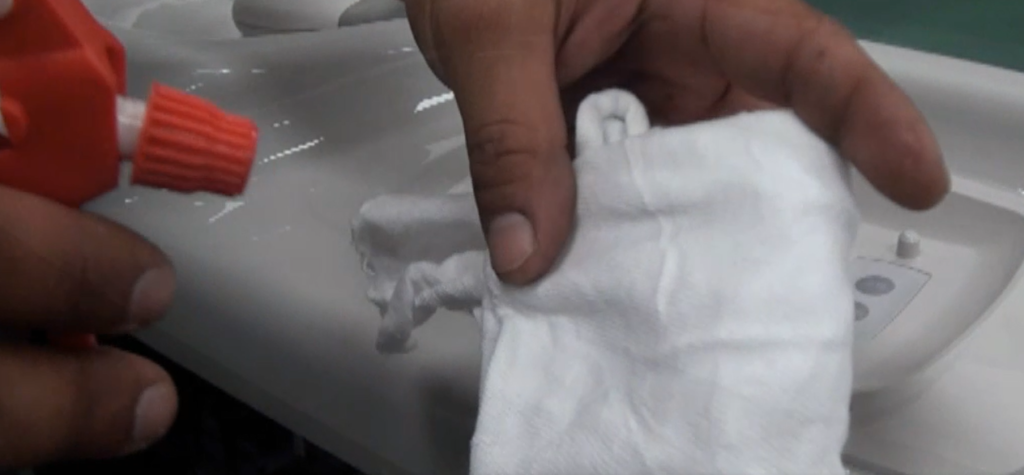
Step 10: Remove the masking tape, apply water to a rag and wipe off any excess silicone left on the spa shell. IMPORTANT! DO NOT use any cleaning products containing abrasives or solvents, as they may damage the shell’s surface.
Step 11: Route the docking station cable to the control box and connect it to the control head port.
YOU’RE ALL FINISHED! Thank you for reading “Wireless Remote Dock Replacement in 11 Steps.”
Backyard Plus is Here to Help You Be the Hero.
Questions about your spa? Contact us! We are the top Hotspring spa parts retailer on the web.
We offer:
- Our Parts Finder which allows you to find exact-match replacements for your hot tub
- Free technical support that will allow you to maintain and repair your own spa accordingly
- Information regarding your products and their usage through our blog posts.
- Tutorials and assistance through our videos
- Follow us on our Facebook page
Our goal here at Backyard Plus is to help save you money by avoiding costly service calls for repairs that you can easily do yourself!
