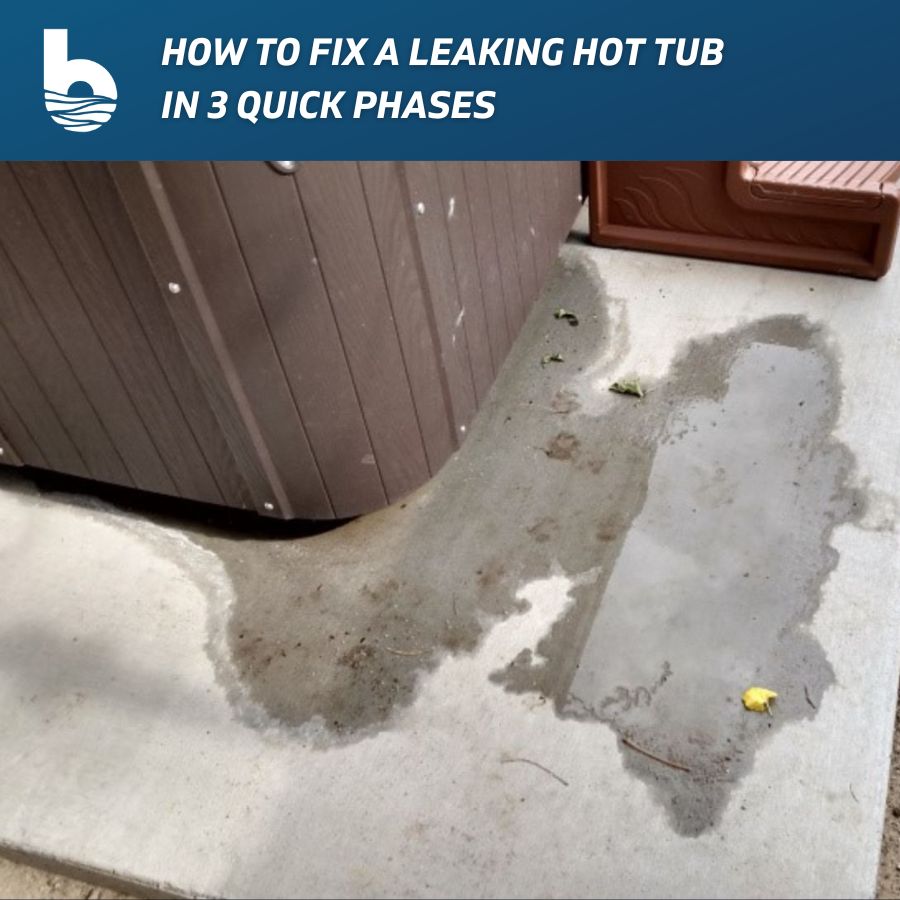
Got Leaks?
If you ask any spa technician what their least favorite repair to perform on a hot tub is they will most likely say, “Leaks!” There is a lot that goes into finding and fixing a leaking hot tub. In the average spa, there can be over hundreds of possible joints and connections that can leak.
In this post, we are going to share some great tips and information that will make fixing a leaking hot tub a lot easier
Table of Contents
1. How to Find the Leak
Finding the source of a leak will require patience, persistence, and some digging…
As you can see from the picture above, there are many places a spa can leak from. There is an easy way to help narrow down the possibilities:
Allow the water to drain down until it stops.
Once the water level has stopped lowering, find any possible leak culprits at the water level. Usually, it will stop at the bottom of a jet or drain valve. At this point, you can make an educated guess as to which jet or hose the leak is coming from.
After you choose your culprit area, you will need to:
Remove the side panel in the suspected leak area.
The difficulty level of removing the side panels can vary depending on your spa model.
Once the side panel is removed, it’s time to start digging. Most hot tubs have foam insulation covering the plumbing. This foam helps insulate the spa, but it also makes it much harder to get to a leak.
Find the foam area closest to the leak and:
Use a dull knife to cut through the foam.
Once you get through the first layer of foam, you should be able to remove the foam with your hands. If you follow the wet foam, you will eventually find the leak.
2. When You Find The Leak
By the time you find the leak, your spa may look something like this:
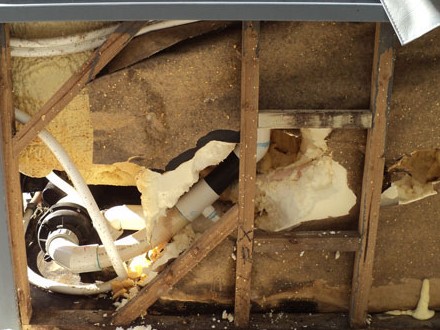
When you get to the leak, you are going to have to clean off the area where you are doing the repair. To clean the area you can use some sandpaper and a wet rag.
Once you have the area cleaned, you can now make the repair. This could look like cutting out a cracked section of pipe and replacing it with a new section. Or, you could be replacing a jet wall fitting or PVC elbow.
If you do find yourself replacing plumbing parts, we recommend using PVC primer and Christy’s Red Hot Blue Glue. You can find it at your local hardware store.
3. After the Leaking Hot Tub Repair is Done
Once you are done repairing your leaking hot tub and you’ve given time for the glue to set, make sure you test to make sure the repair worked. It is possible that there could be other leaks that need to be fixed. You will want to find this out before replacing foam and the spa side panels.
If everything looks good and the leaking problem is solved, you can now refill the foam area with spray foam, or removable insulation. After this, you can reinstall the siding and start enjoying your hot tub again!
Thanks for reading how to repair a leaking hot tub!
Backyard Plus is Here to Help You Be the Hero.
Questions about your spa? Contact us! We are the top Hotspring spa parts retailer on the web.
Call us at (805)541-9000
Text us to receive technical support
We offer:
- Our Parts Finder which allows you to find exact-match replacements for your hot tub
- Free technical support that will allow you to maintain and repair your own spa accordingly
- Information regarding your products and their usage through our blog posts.
- Tutorials and assistance through our videos
- Follow us on our Facebook page
Our goal here at Backyard Plus is to help save you money by avoiding costly service calls for repairs that you can easily do yourself!
