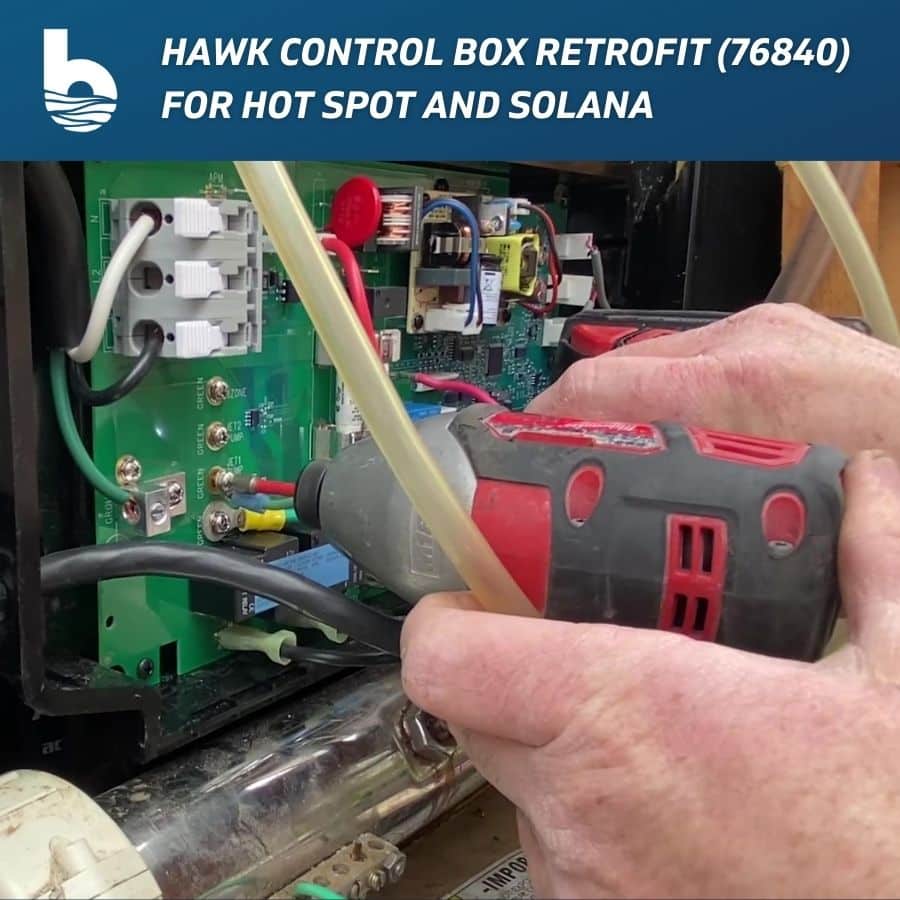
Welcome to Backyardplus! In this post, we are going to show you how to retrofit your 2006 – 2012.5 Hot Spot or Solana Spa with the 76840 Hawk control box and the 76843 topside control panel. Before we get started, let’s go over the tools you will need.
Table of Contents
Tools You Will Need:
- Phillips head screwdriver
- Small flat-head screwdriver
- 10mm box end wrench
- Channel locking pliers
- Needle nose Vice Grips
- Putty knife
- Crescent wrench
Parts You Will Need:
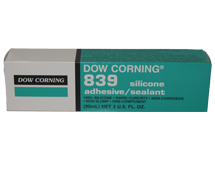
- Dow 839 Silicone item #: 301259
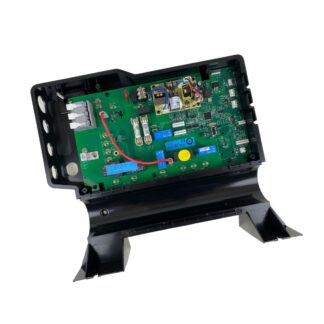
- Hot Spot Hawk Control Box item #: 76840
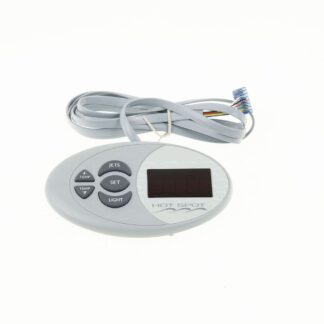
- Hot Spot Control Panel item #: 76843
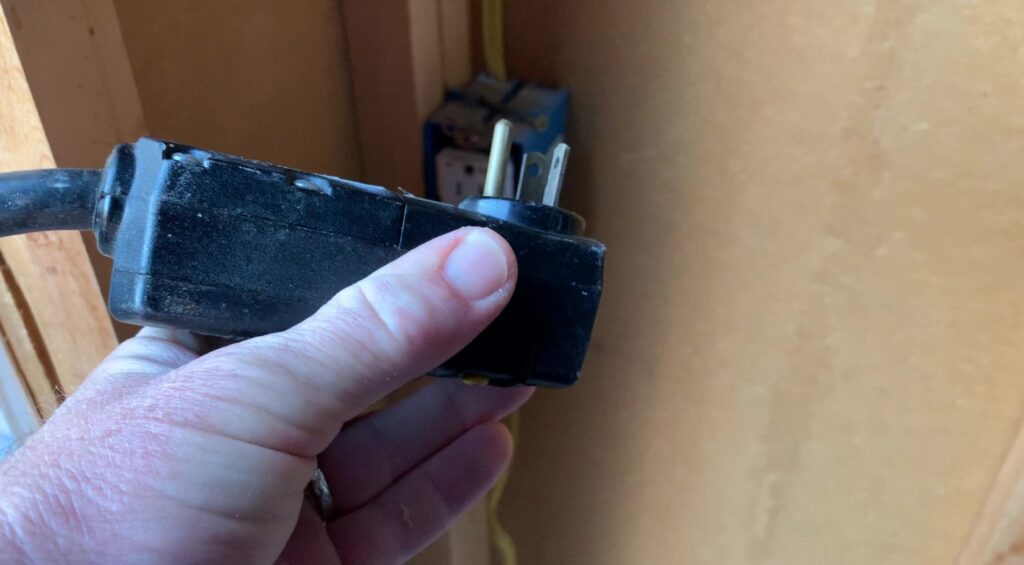
Step 1. Disconnect power from the spa.
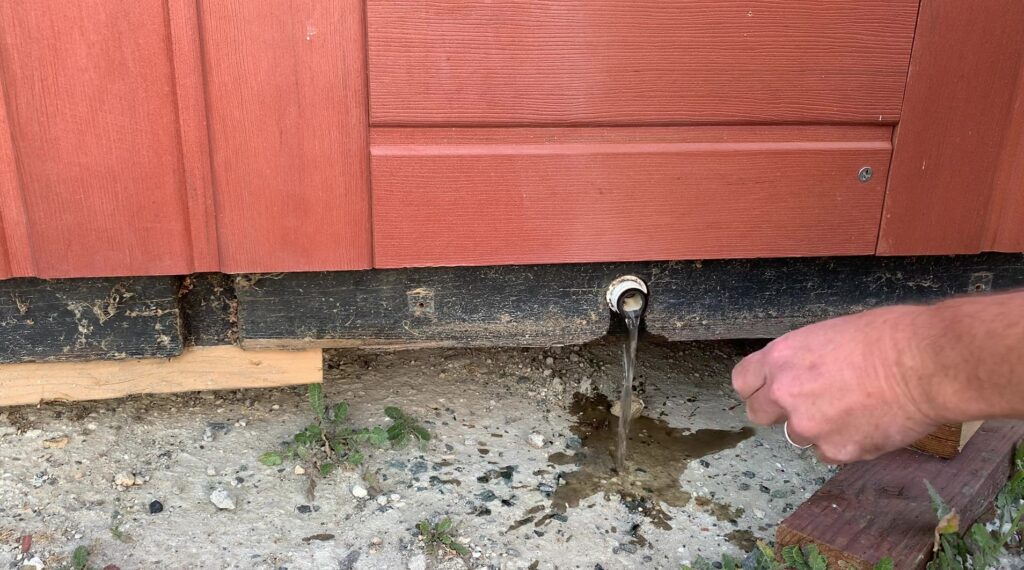
Step 2. Drain the spa (On most Hot Spot and Solana spas, the control box can be removed without draining the spa. This Solana TX spa is the exception. You must drain it to remove the heater which is in front of the control box.)
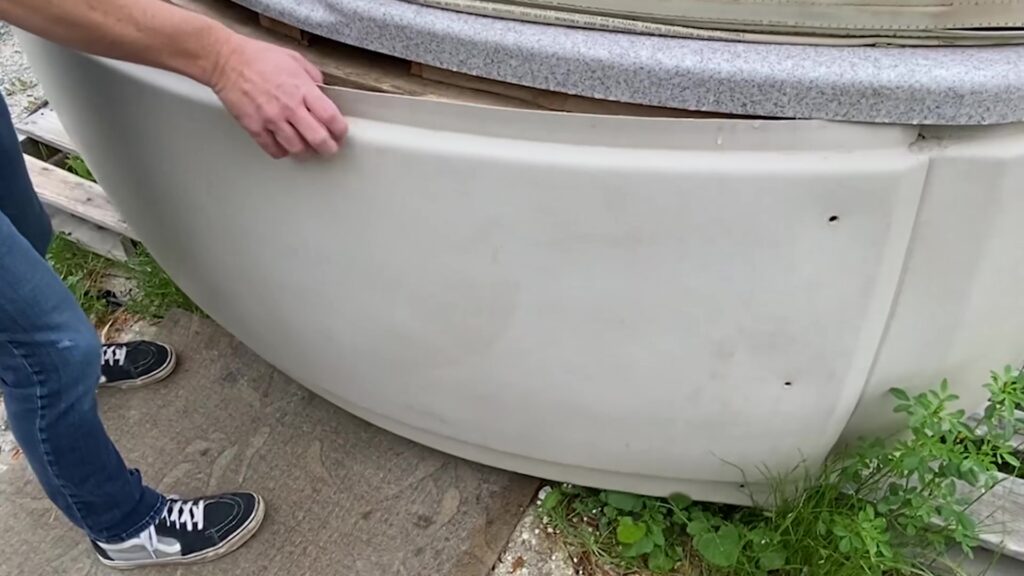
Step 3. Remove the equipment door and the control box lid.
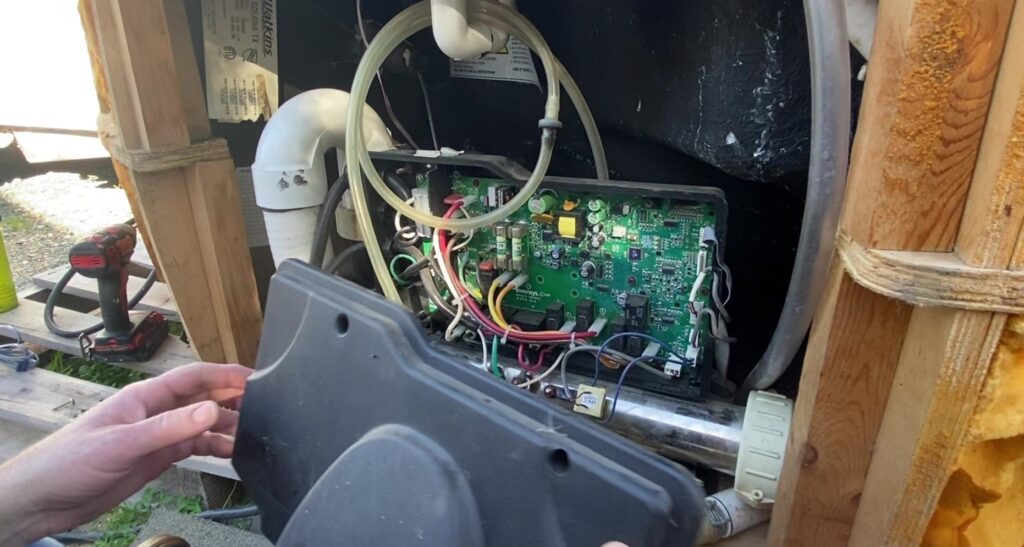
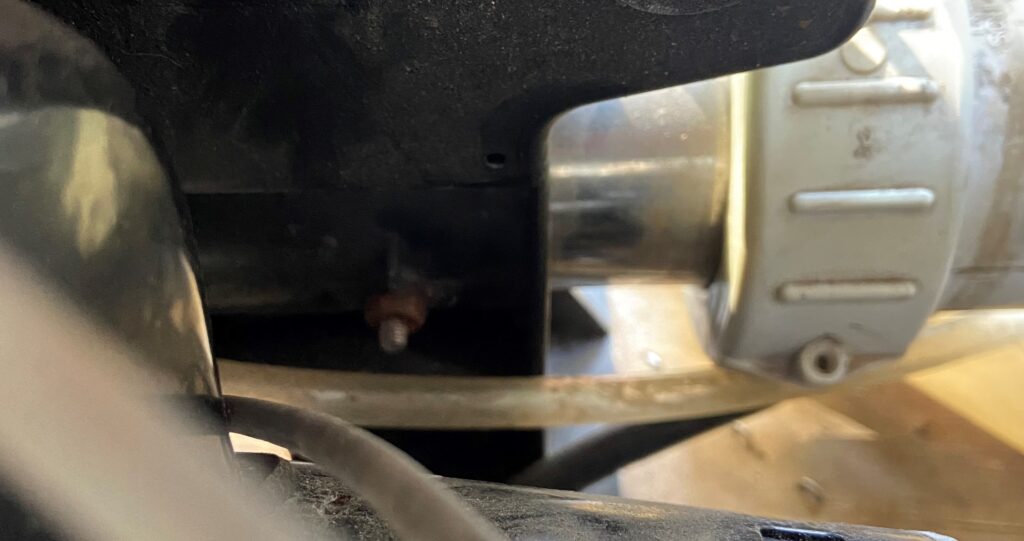
Step 4. Locate the heater mounting stud on the backside of the control box and loosen the nut with a 10mm box wrench.
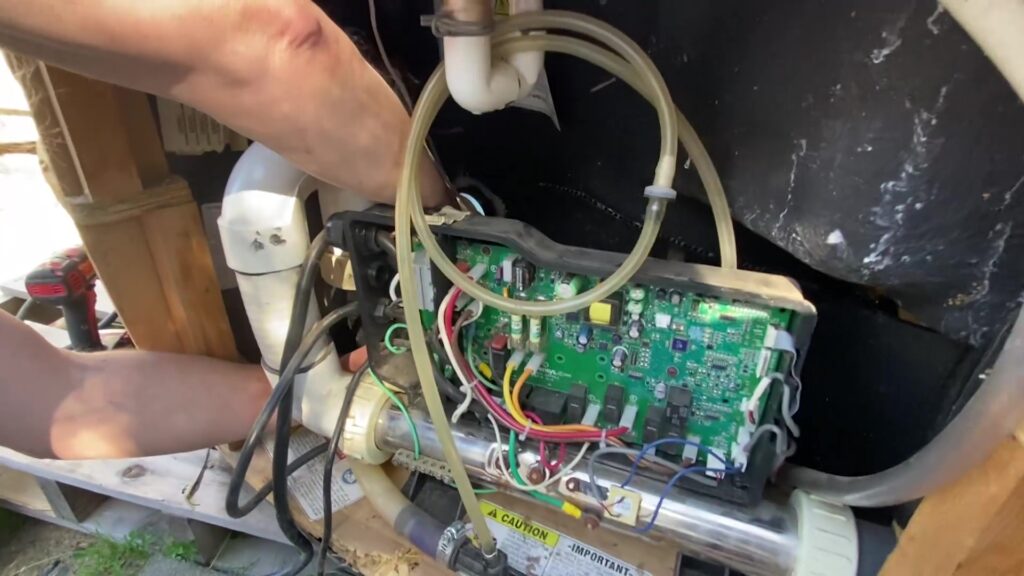
Step 5. Disconnect the incoming power, jet pump, ozone, and heater.
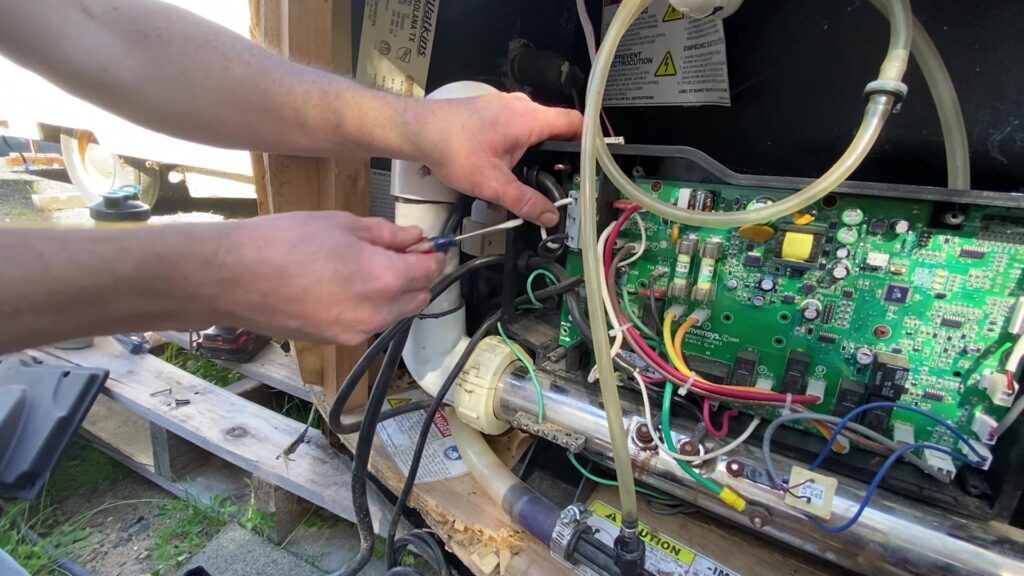
Step 6. Disconnect the Pressure Switch, REG THERM, LIMIT THERM, spa light, and control head.
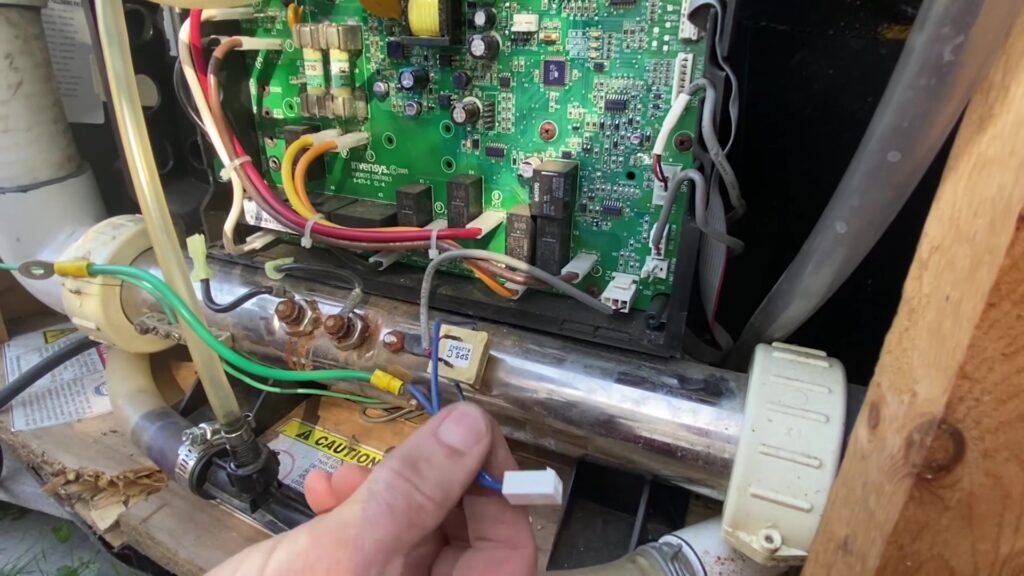
Step 7. Loosen the heater compression fittings, disconnect the copper bonding wire, and remove the heater.
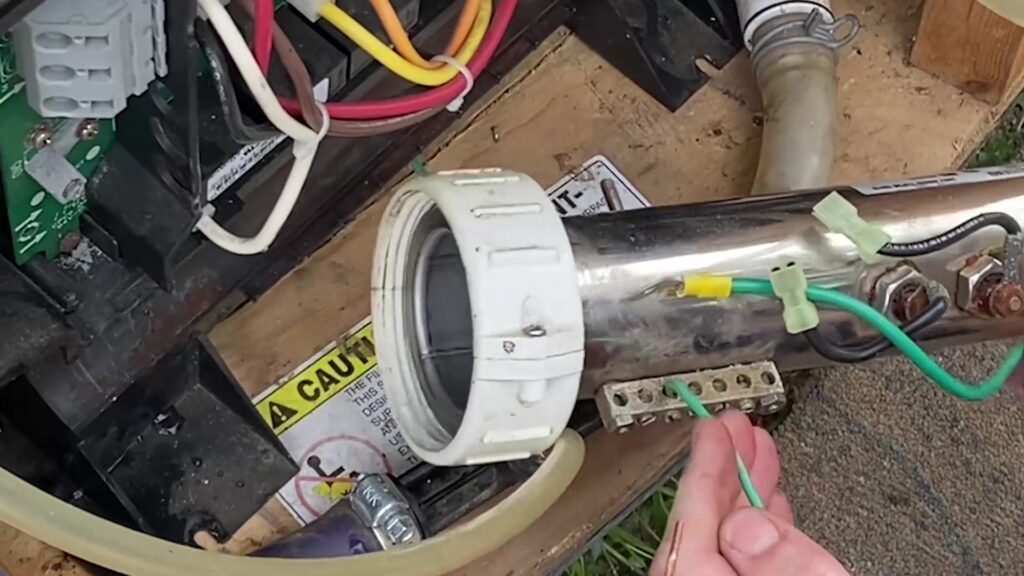
Step 8. Remove the old control box.
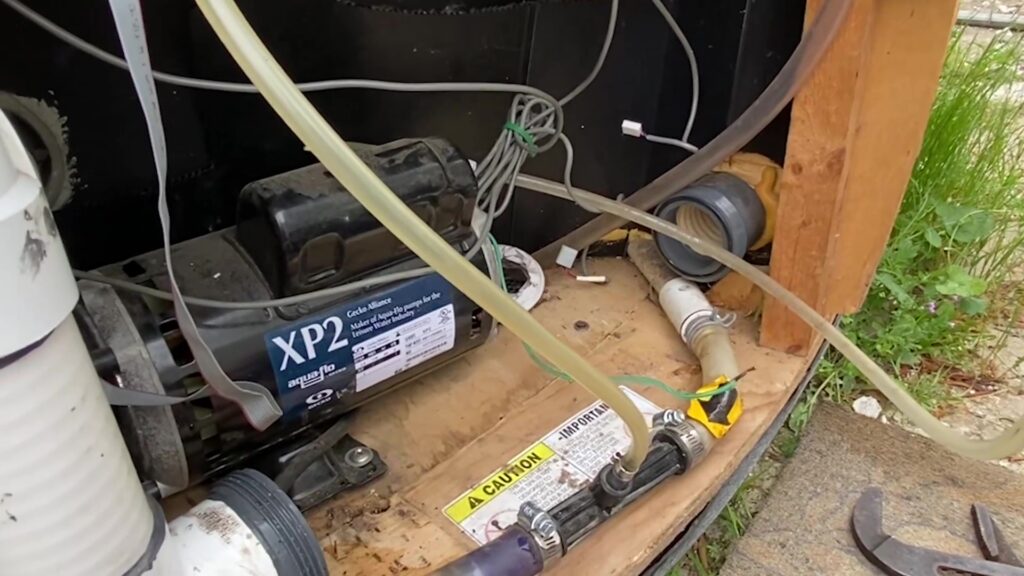
Step 9. Install the new Hawk control box.
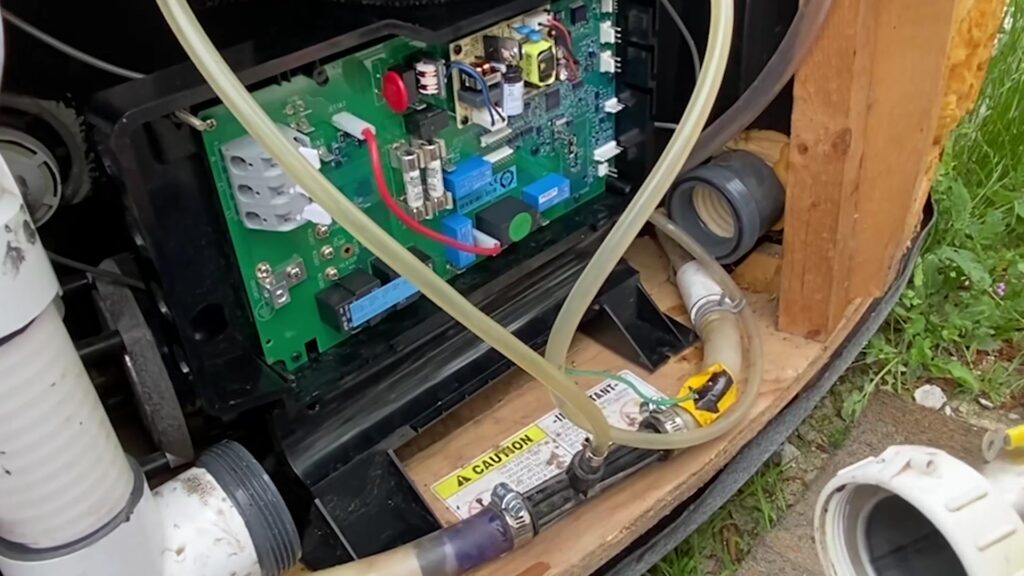
Step 10. Put the heater mounting stud into the hole in the control box and install the heater.
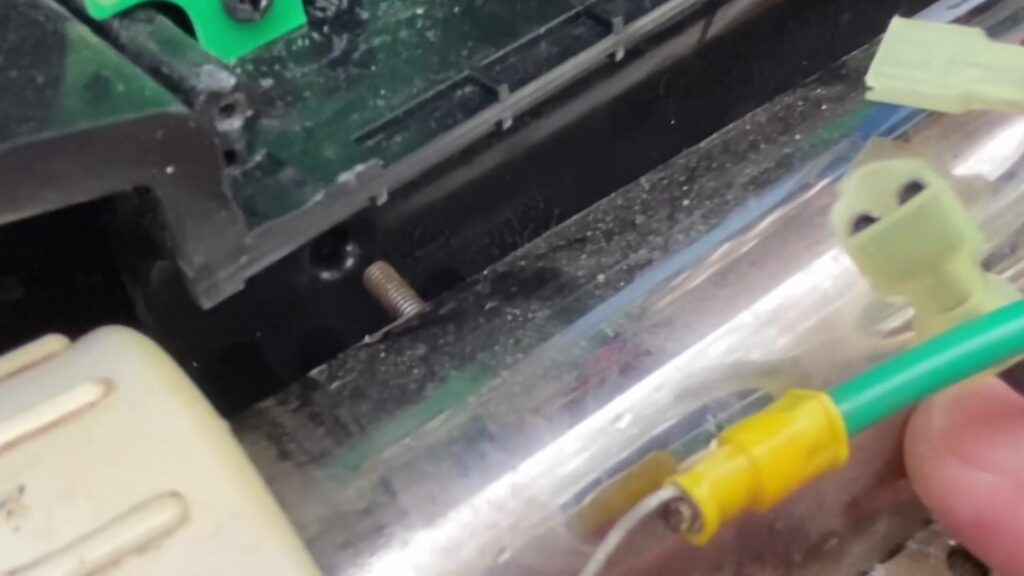
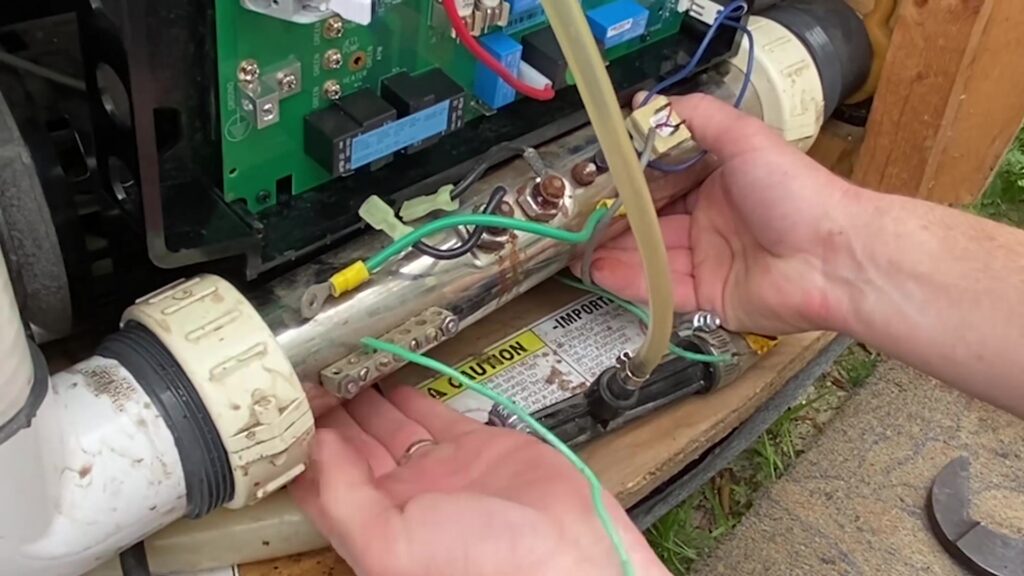
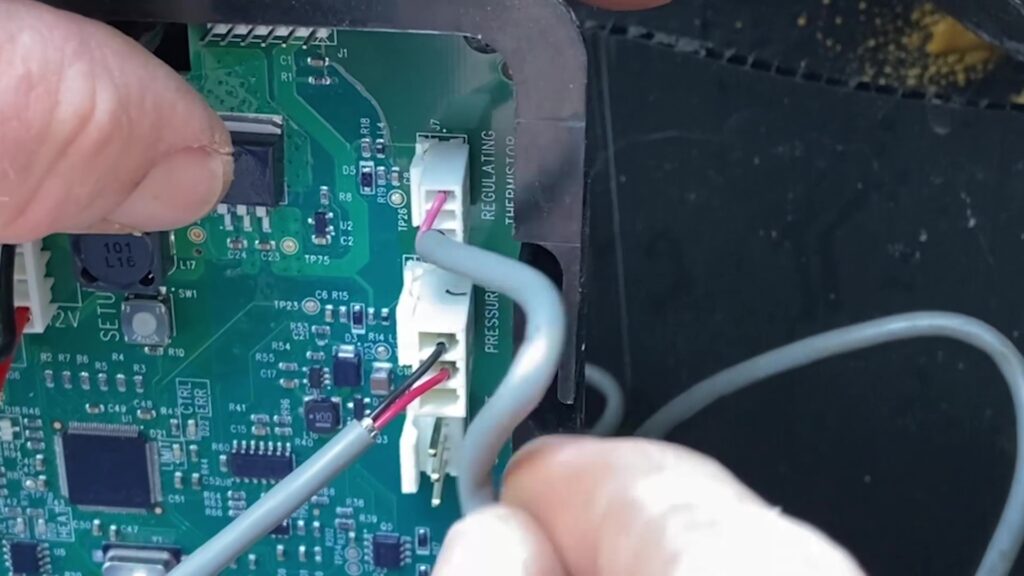
Step 11. Connect the copper bonding wire, Limit Thermistor, Regulating Thermistor, Pressure Switch, and Spa Light.
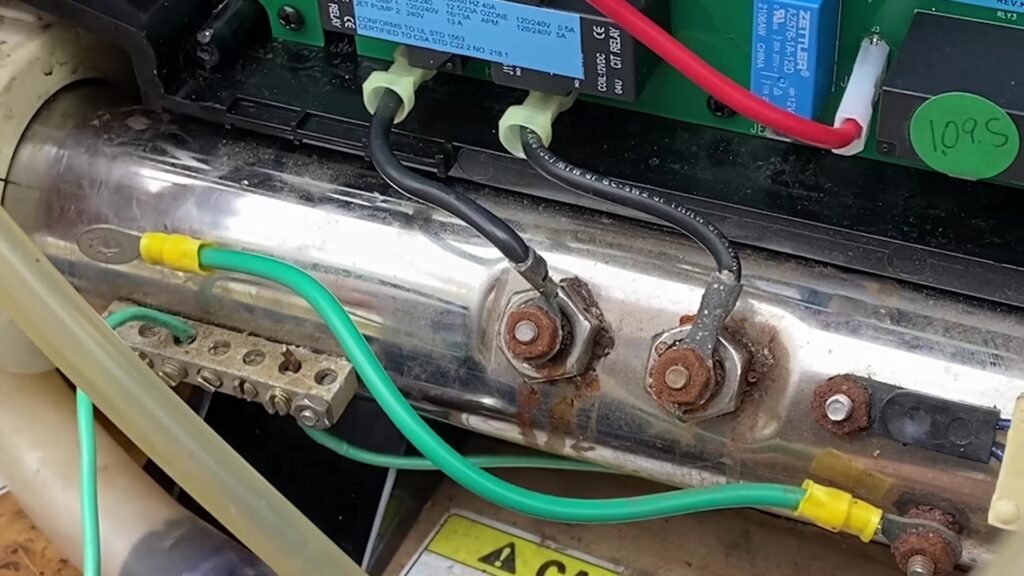
Step 12. Connect the two black heater wires to (J18) HEATER BLACK and (J19) HEATER WHITE.
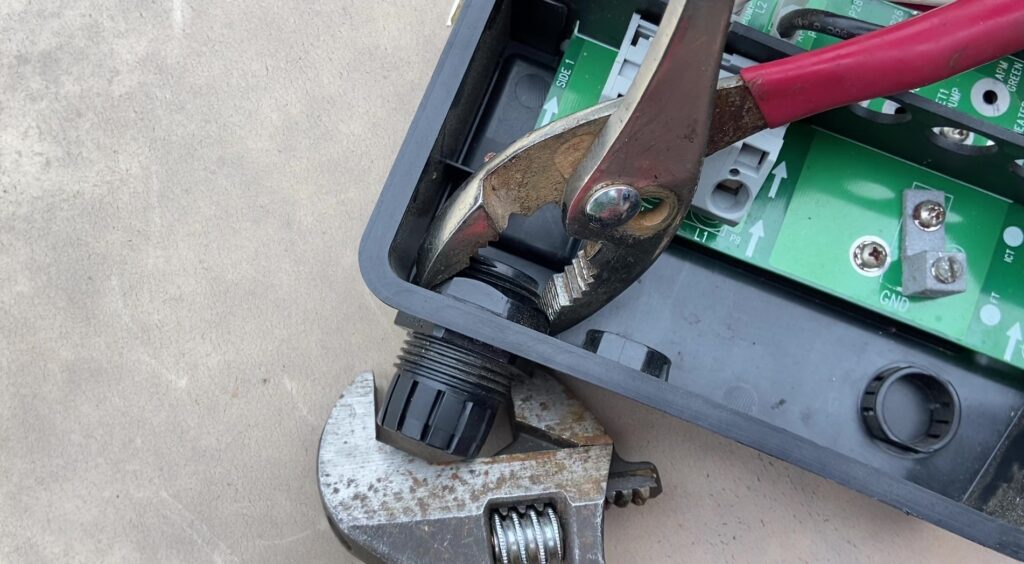
Step 13. Remove the power cord strain relief clamp from the old box and install it in the new box.
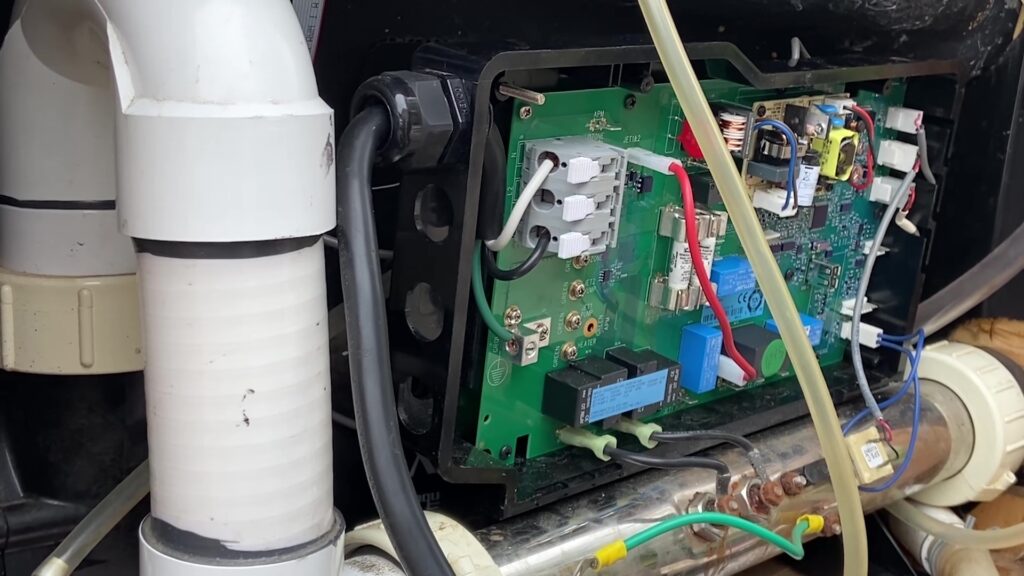
Step 14. Connect the incoming power. For 115 volts connect white to neutral, black to L1, and green to the ground lug.
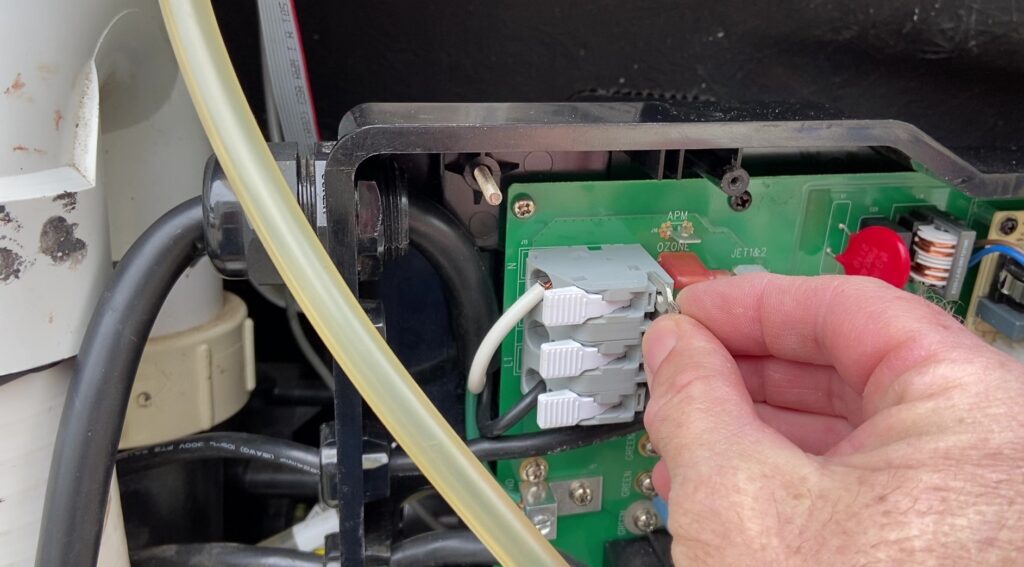
Step 15. For 115 volts install the power jumper into the terminal block between N and L2. For 230 volt spas no power jumper is needed.
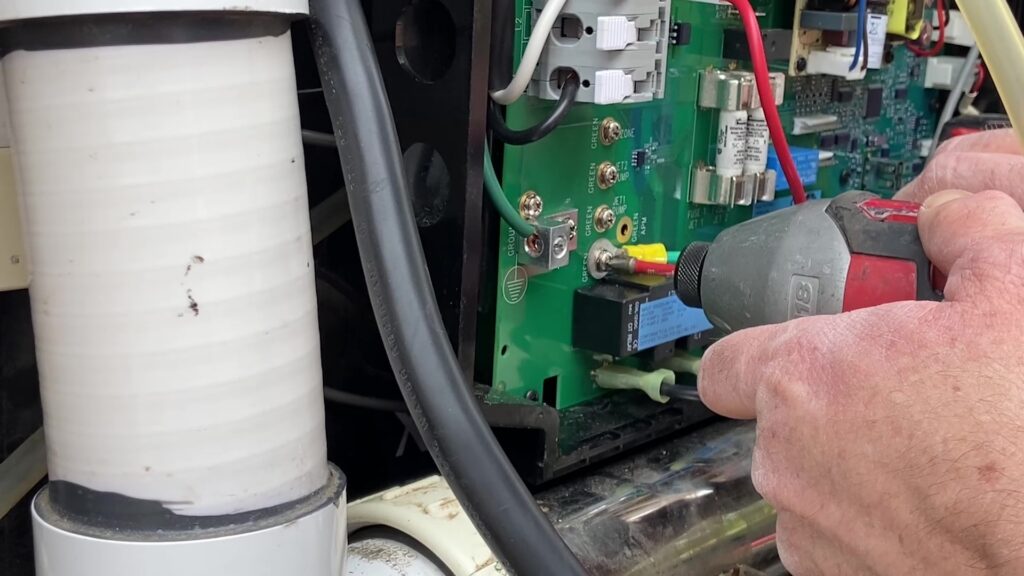
Step 16. Connect the heater ground to Heater Green.
Step 17. Connect the jet pump. Connect the high speed (typically black) wire to (J22) BLACK JET 1 PUMP. Connect the white wire to (J23) WHITE. Connect the low speed (typically red) wire to (J20) JET 1 LO BLACK, and connect the green wire to JET 1 PUMP GREEN.
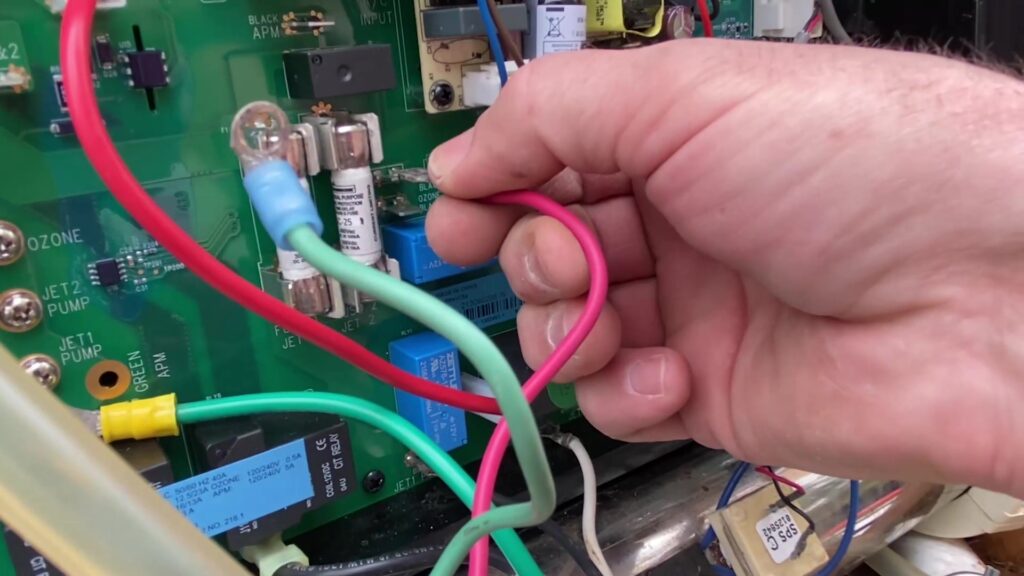
Step 18. Connect the ozonator. Connect the black wire to (J21) OZONE BLACK and the white wire to (J14) OZONE.
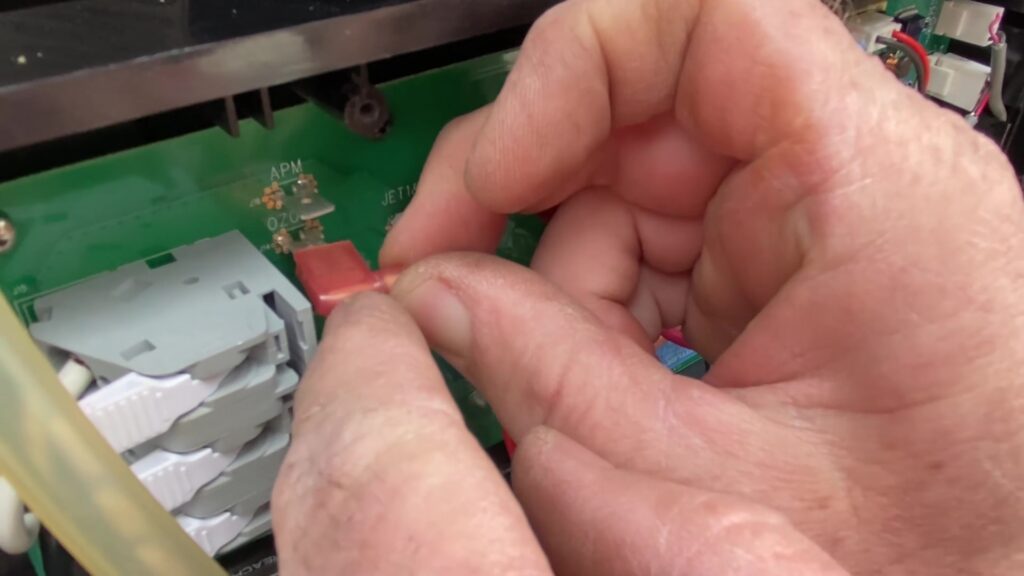
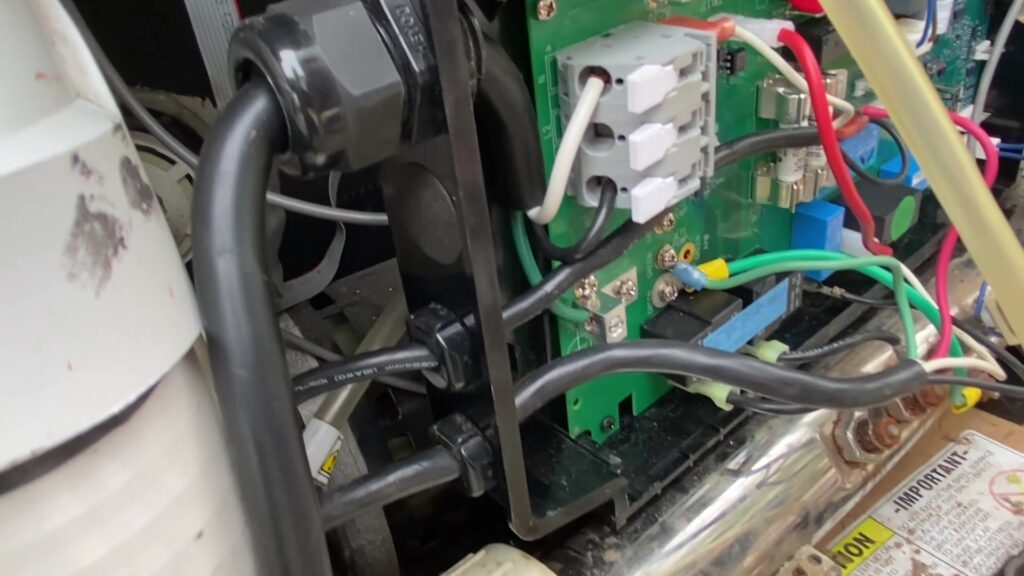
Step 19. Place strain relief clamps on the jet pump and ozone cords. Place a plug in the opening above the ozone to prevent mice and other critters from entering the control box.
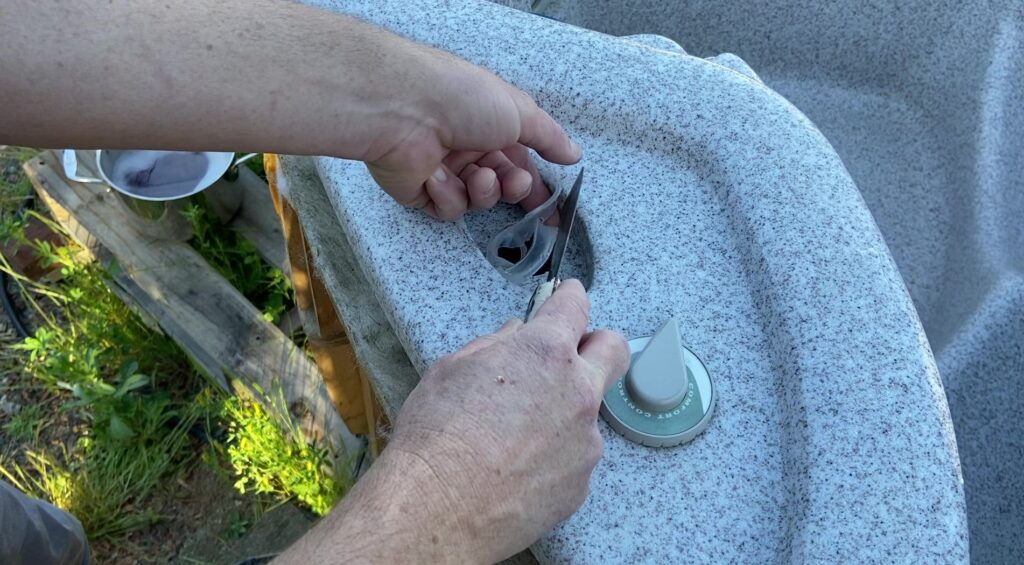
Step 20. Break the adhesive seal around the control panel with your putty knife and remove the control panel from the spa.
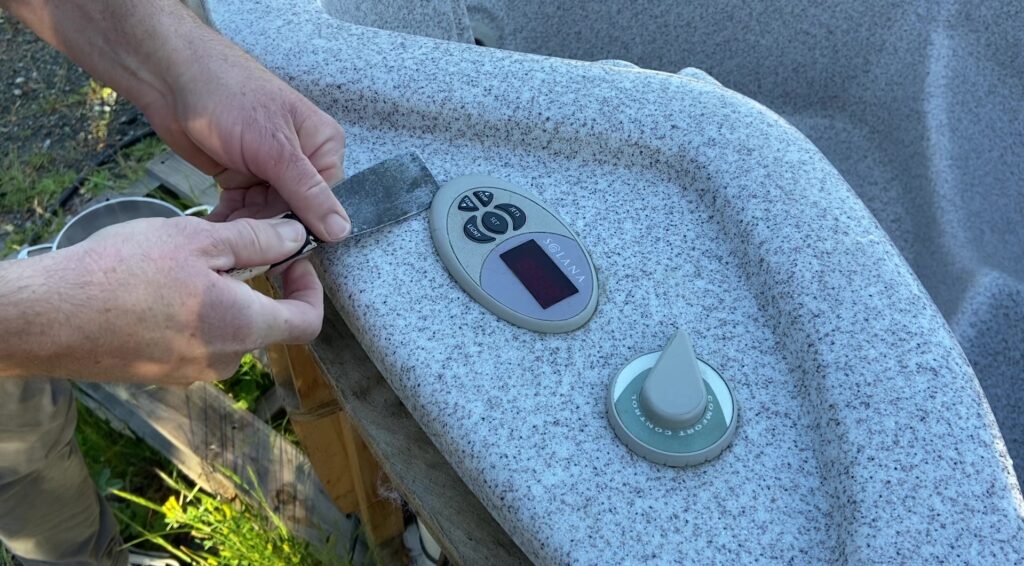
Step 21. Remove all the old silicone from the bartop with your putty knife. Wash the bartop with soap and water and make sure it is free from all dirt and debris before installing the new topside control panel.
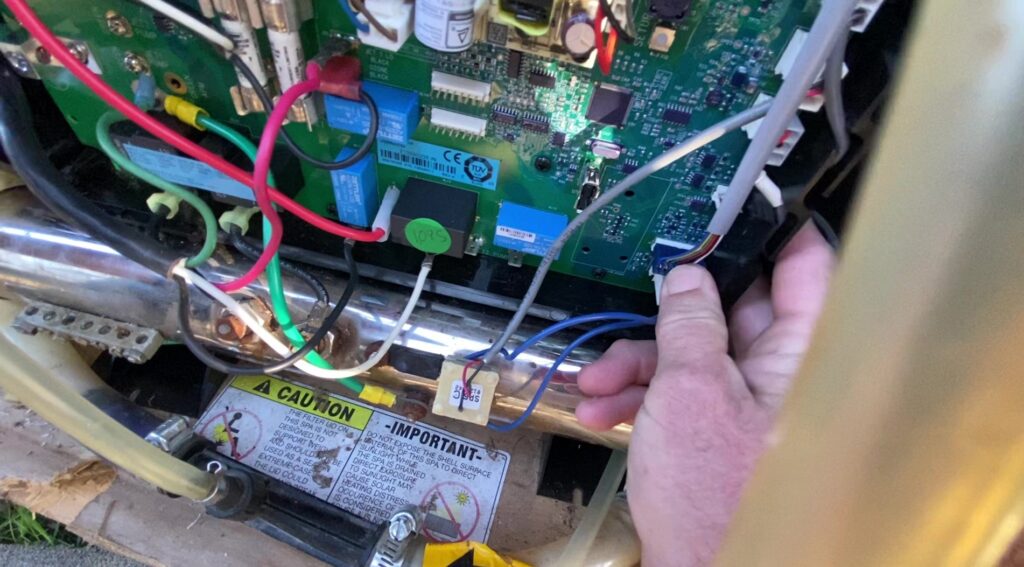
Step 22. Pull the control panel cable down through the opening and into the equipment compartment. Plug the control panel into the J9 Control Head Interface on the circuit board.
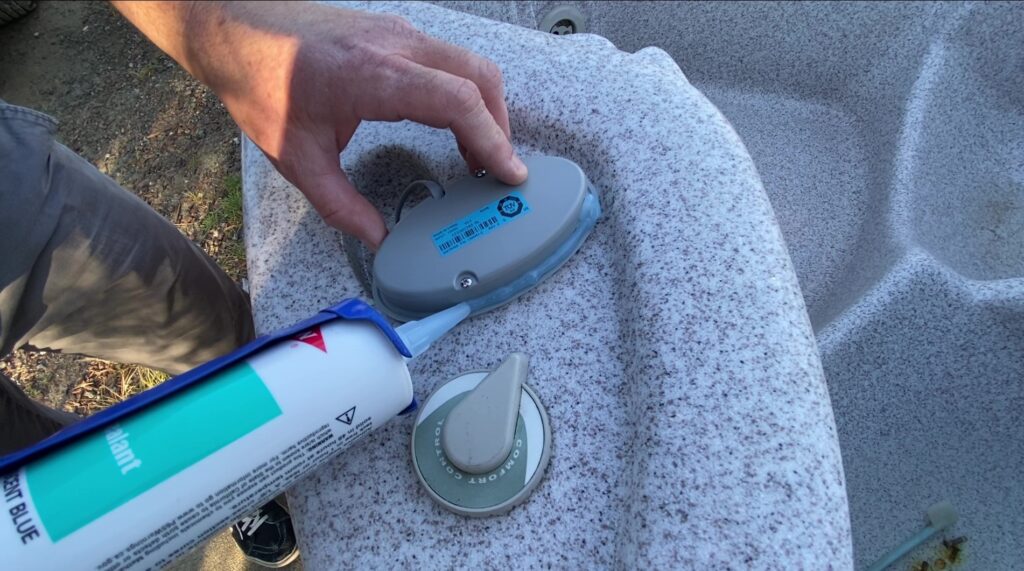
Step 23. Open the DOW 839 silicone tube and place a ¼” wide bead around the entire perimeter of the underside of the control panel.
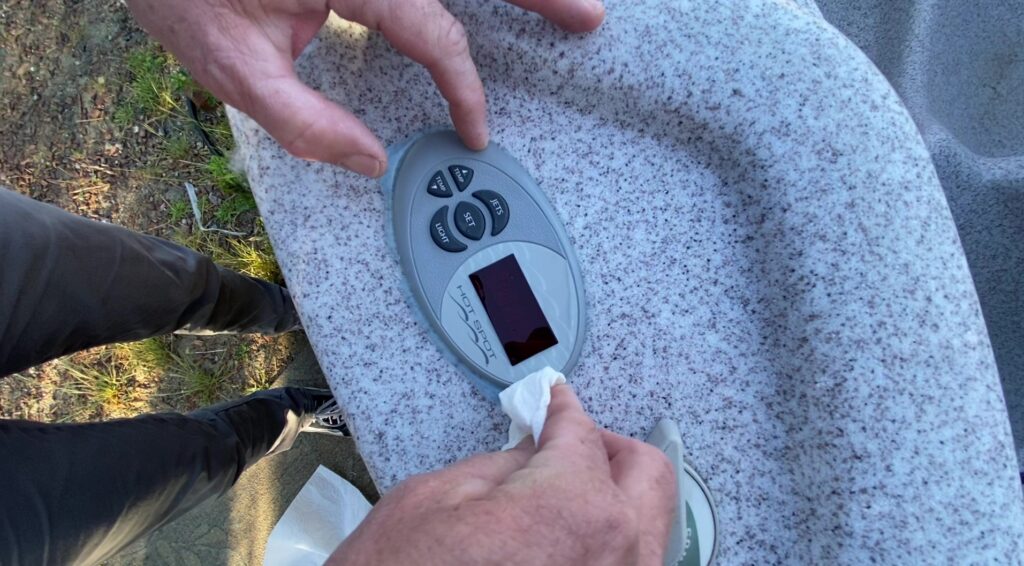
Step 24. Press the control panel down firmly on the bar top to make a good seal. Use a paper towel to clean up any excess silicone on the bar top around the control panel. Good job!
Watch the video here! “How to Retrofit a Hot Spot and Solana Spa (2006-2012.5) with the 76840 Hawk Control Box”
Questions about your spa? Contact us! We are the top Hotspring spa parts retailer on the web.
Call us at (805)541-9000
Text us to receive technical support
In addition to “How To Retrofit a 2006 – 2012.5 Hot Spot and Solana Spa with the 76840 Hawk Control Box,” we offer:
- Our Parts Finder which allows you to find exact-match replacements for your hot tub
- Free technical support that will allow you to maintain and repair your own spa accordingly
- Information regarding your products and their usage through our blog posts.
- Tutorials and assistance through our videos
- Follow us on our Facebook page
Our goal here at Backyard Plus is to help save you money by avoiding costly service calls for repairs that you can easily do yourself!
Hello, I have an older Caldera Olympia whirlpool with a caldera spa control box 2006 to 2012 highland / c series #73859 Unfortunately the control box is defective and will probably no longer be manufactured. Could you deliver me a suitable control with a connection for 220 volts and a control panel as well as suitable software to Germany??VG Jens
Hello Jens-
I have forwarded your question to our technicians and one of them should be getting back to you about your tub. Can you provide your spa serial number?
Thanks!
Rebekah