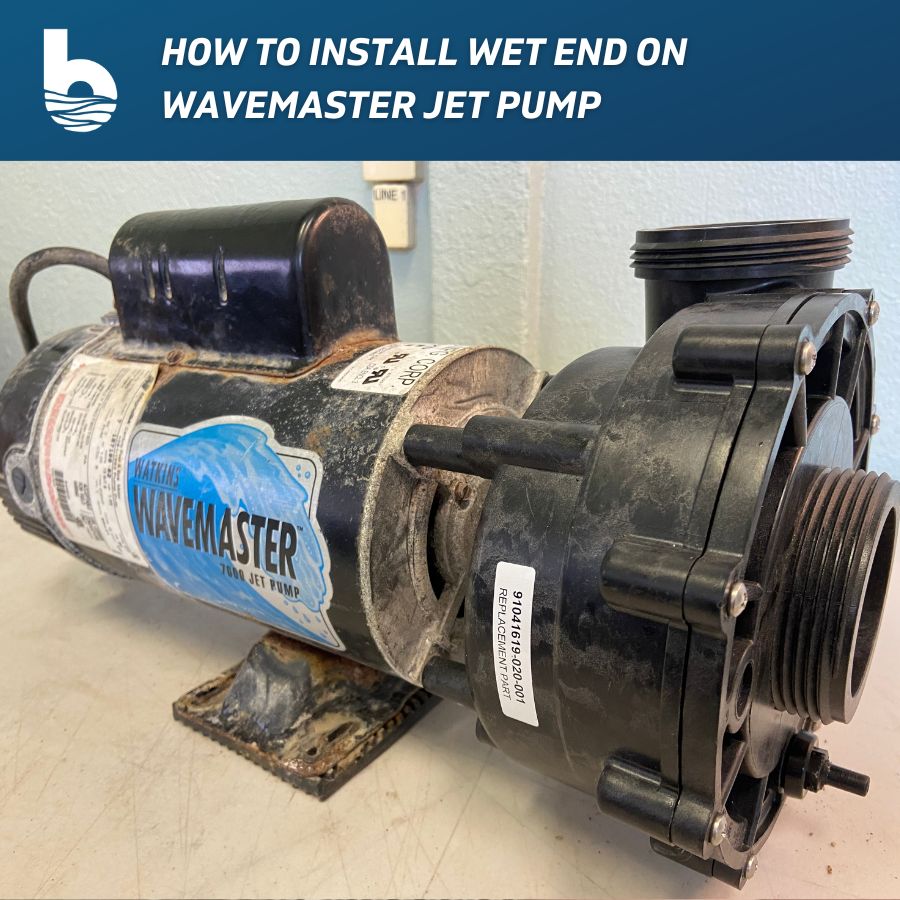
Welcome to Backyardplus! Is your jet pump leaking? In this video we show you how to identify and install the correct wet end for your model #: 36675 Wavemaster 7000 1.65hp jet pump. Before we get started, lets go over the tools and parts you will need:
Table of Contents
Tools you will need:
- Phillips head screwdriver
- Flat head screwdriver
- ¼” socket
- Hacksaw
- Needle nose vice grips
- Channel locking pliers
Parts you will need:
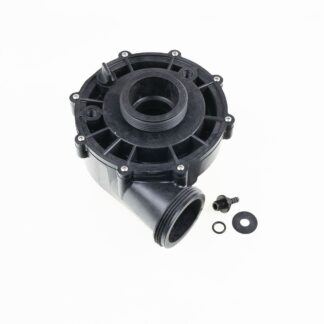
- Wet End Kit, Wavemaster 7000 (ver. 3) 1.65 hp Pump, Item #: 72994
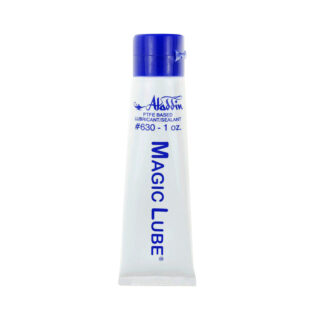
- Silicone Grease, 1 oz. Tube, Item #: ML-1OZ-BYP
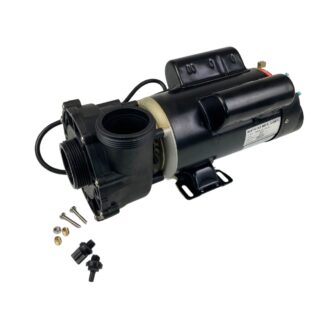
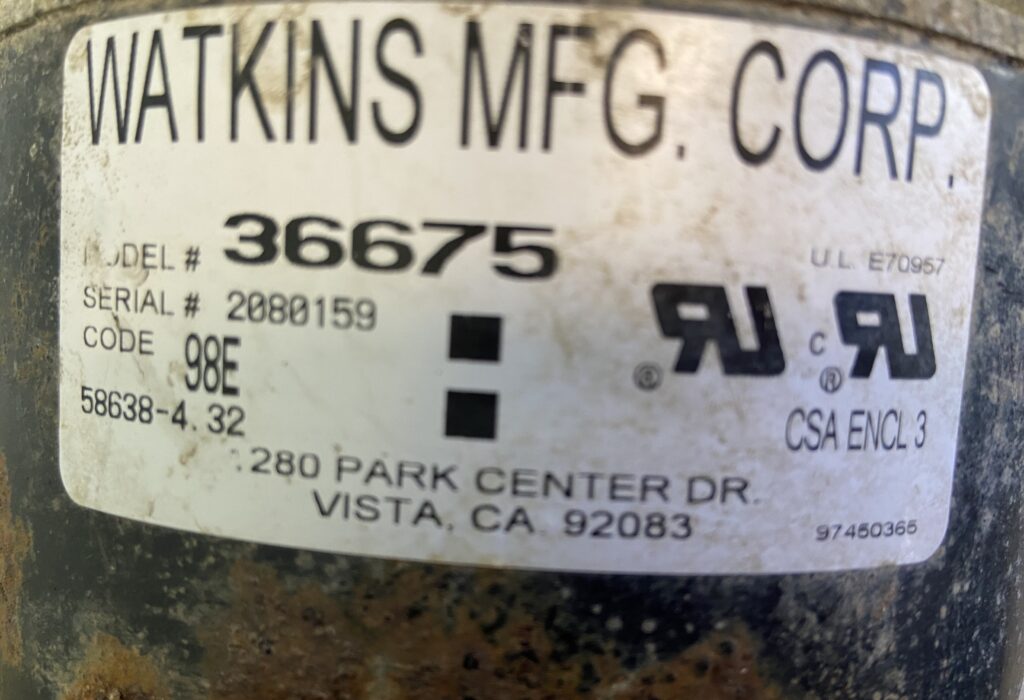
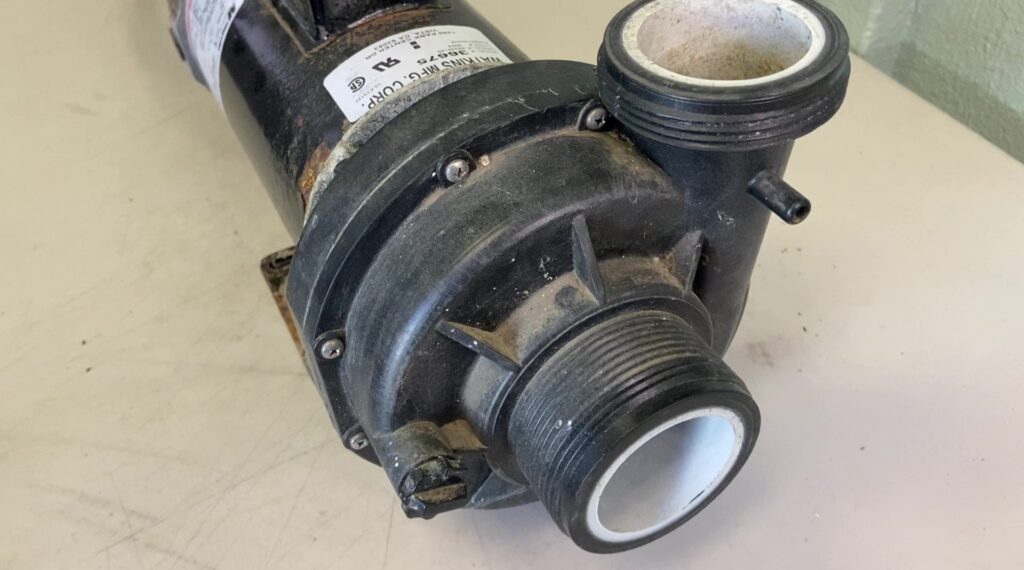
Step 1. Identify the pump by finding the model number and vendor code on the pump. The 36675 pump will not have a vendor code. It will only have a model number. The model number 36675 jet pump was manufactured with two different wet ends as shown in these photos. The 72994 wet end will work as a replacement for both.
If you have the Gecko wet end like the one in this photo, replace it with the 72994 wet end kit.
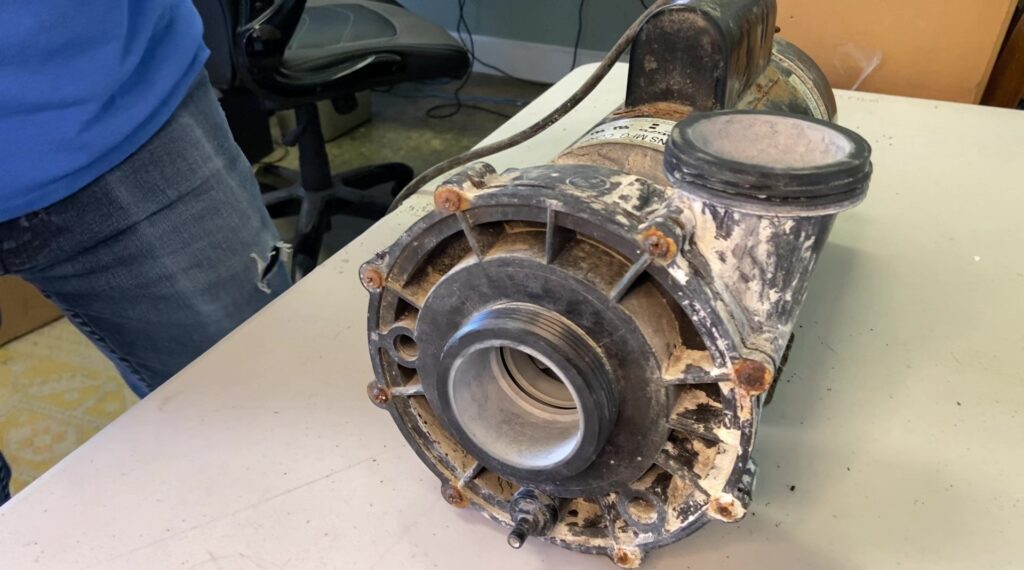
If you have the Vico wet end like the one in this photo, replace it with the 72994 wet end kit.
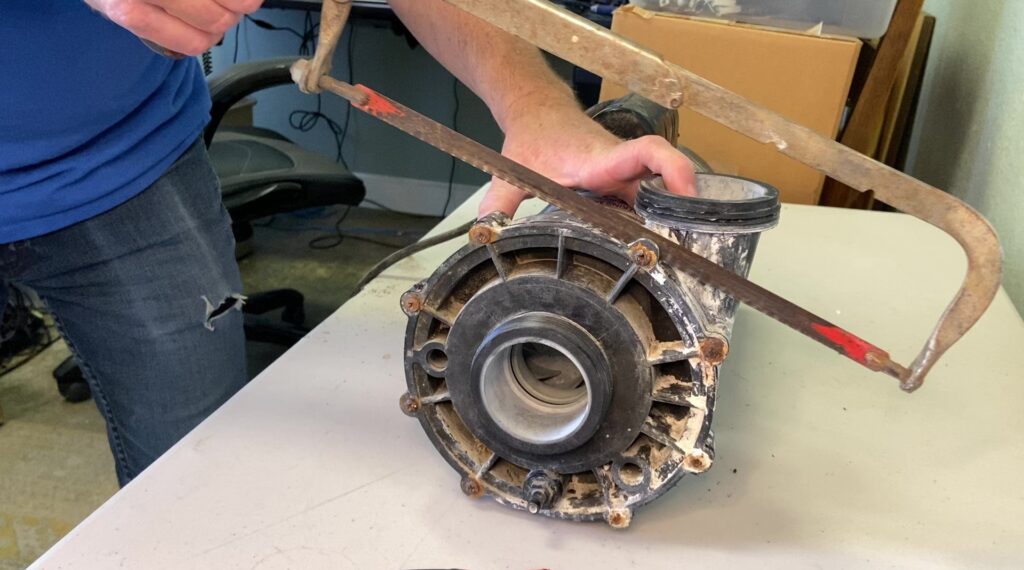
Step 2. Remove the suction cover screws with your Phillips head screwdriver. If the screws are rusted like the ones in this photo, use a hacksaw to cut them off.
Step 3. Loosen the vent shroud screw and remove the vent shroud to gain access to the shaft.
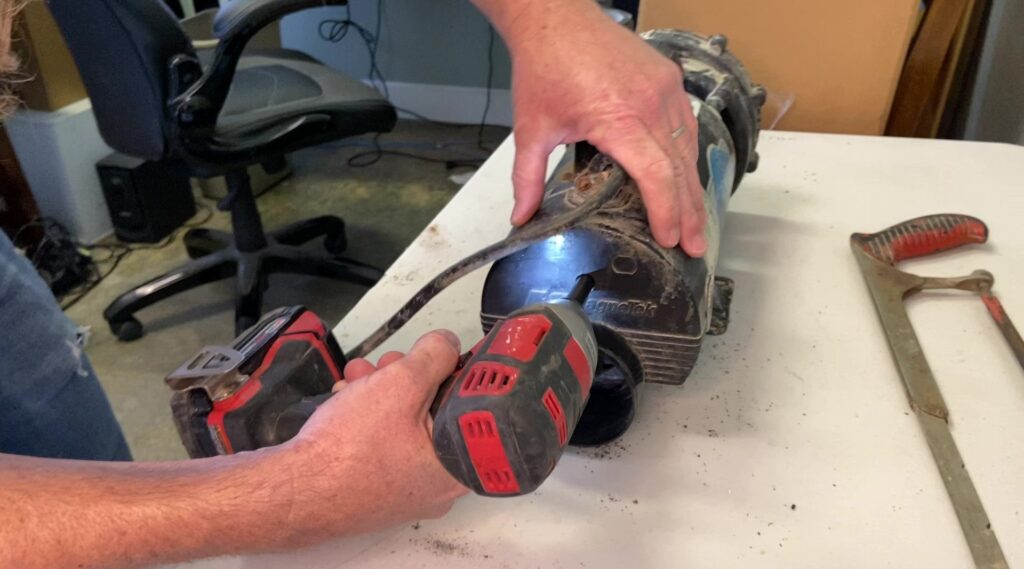
Step 4. Use a flat blade screwdriver to hold the shaft in place while you unscrew the impeller with your hand.
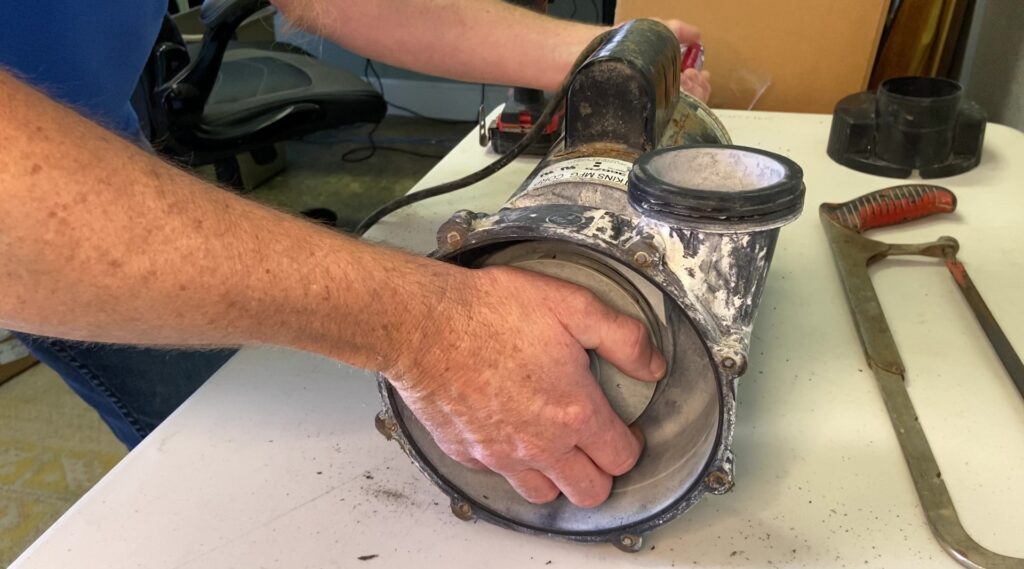
Step 5. If the impeller won’t come loose, attach your needle nose vice grips to the shaft and loosen the impeller. If it still won’t come loose, use your channel locking pliers to break the impeller loose.
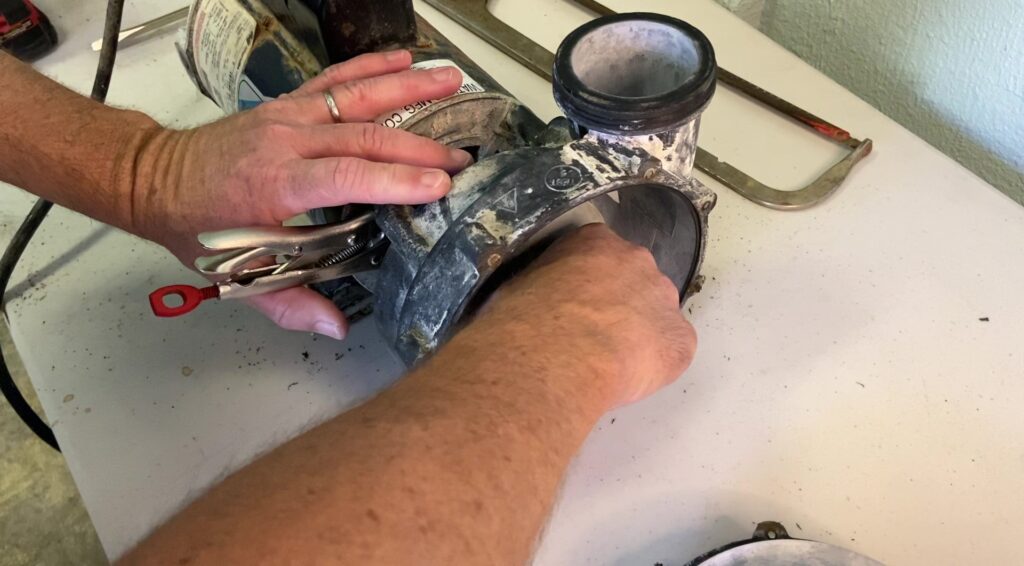
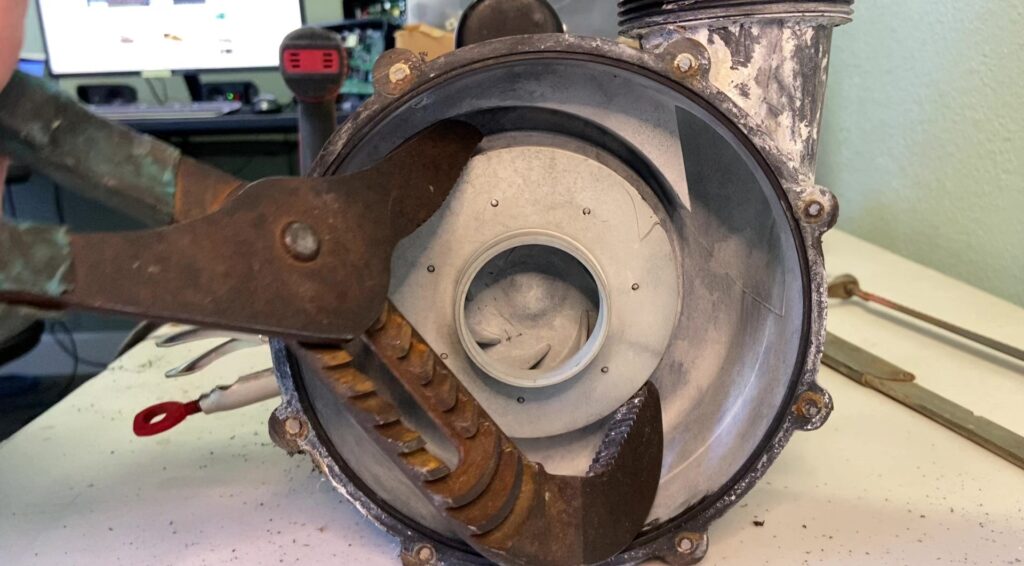
Step 6. Remove the impeller and shaft seal.
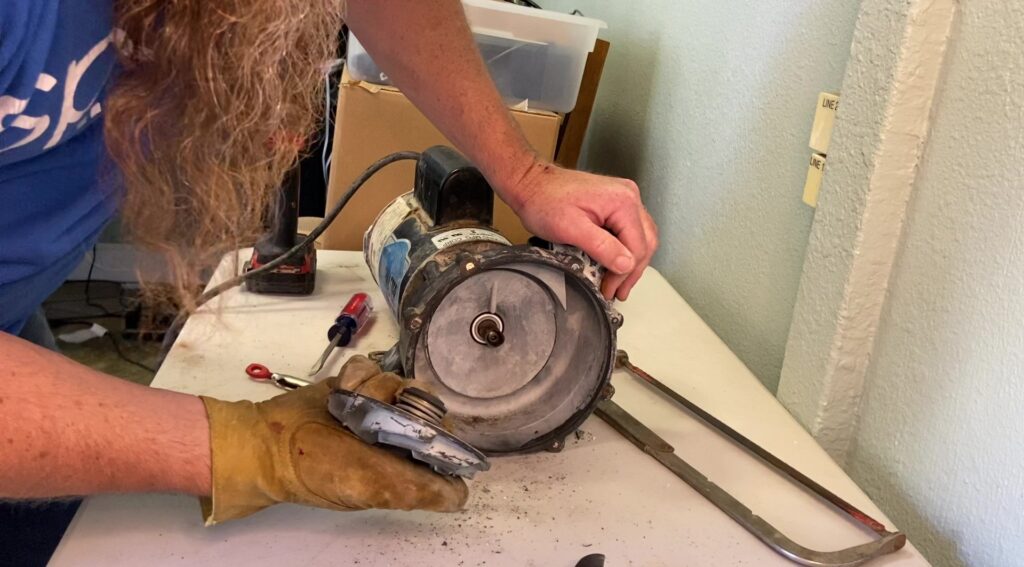
Step 7. Loosen the four long bolts that hold the volute (wet end) to the motor with your ¼” socket and remove the volute.
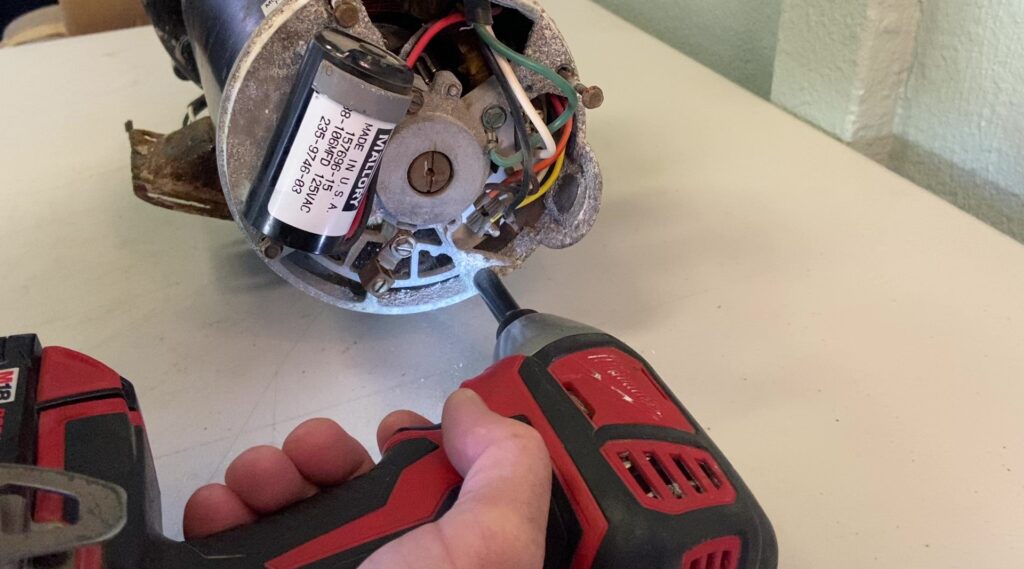
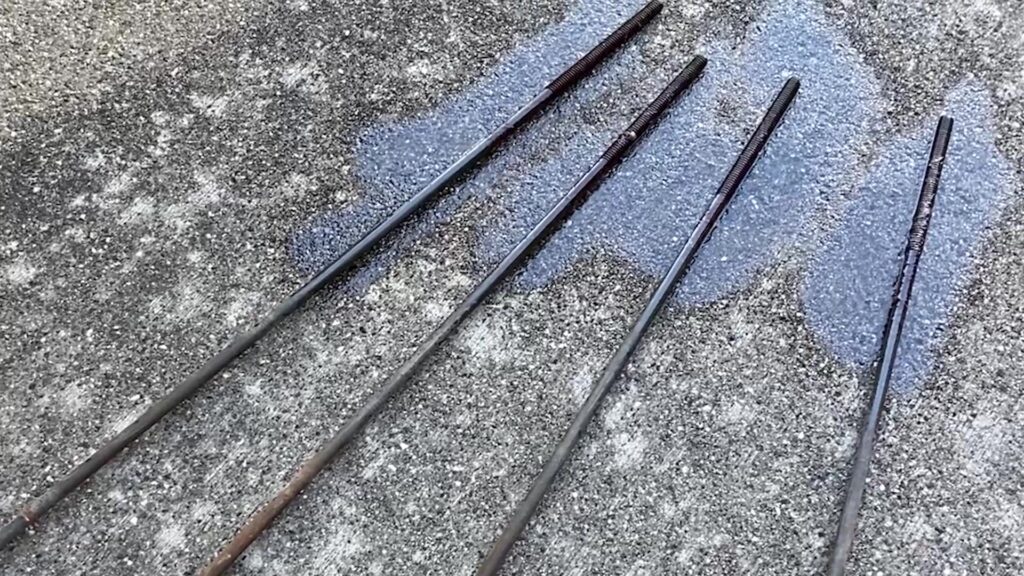
Step 8. If the bolts are rusty, spray them with some lubricant.
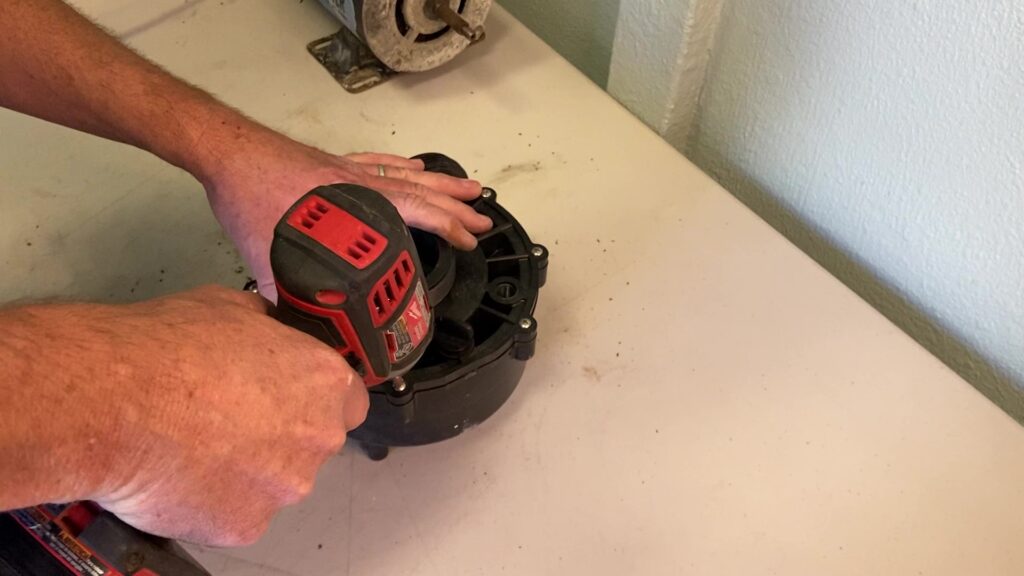
Step 9. Loosen the suction cover screws on the 72994 and remove the suction cover, impeller, shaft seal, and wear ring.
Step 10. Install the new volute on the motor with the long bolts.
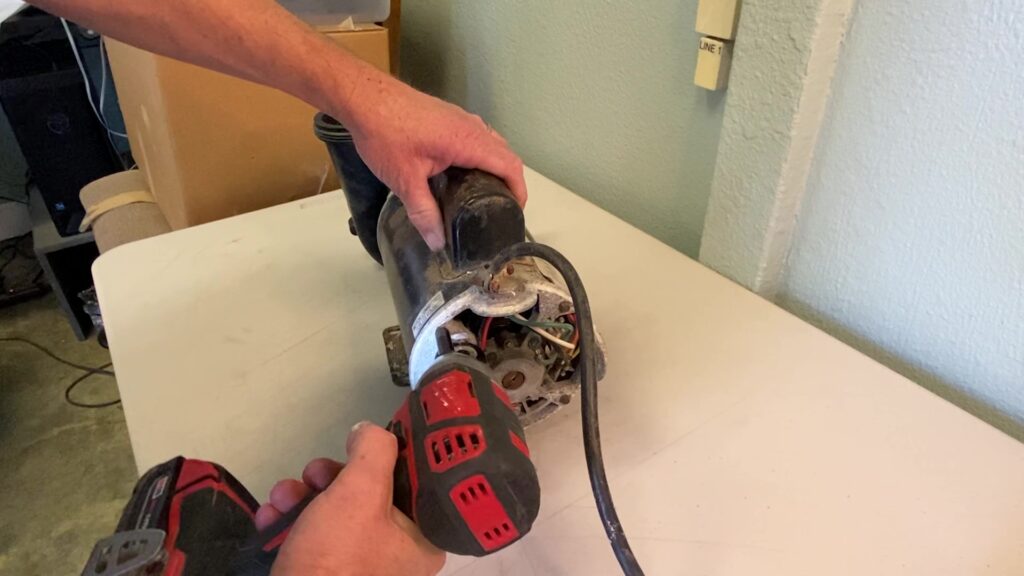
Step 11. Clean the white ceramic surface of the shaft seal with a paper towel. It should be completely free of any dirt or oils. The smooth side of the ceramic surface will butt up against the graphite surface of the second half of the shaft seal. The side with the rubber O-ring will face the impeller.
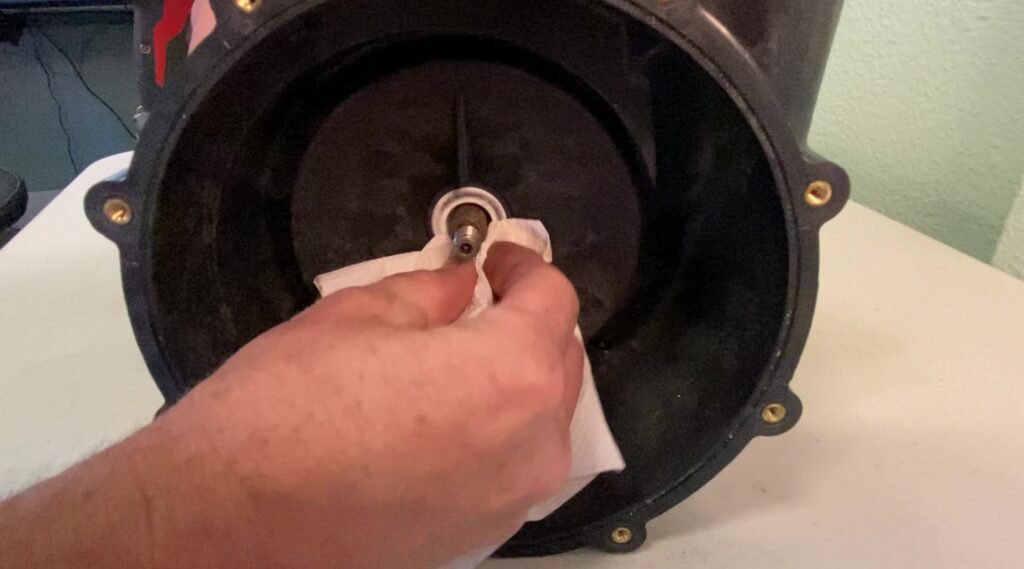
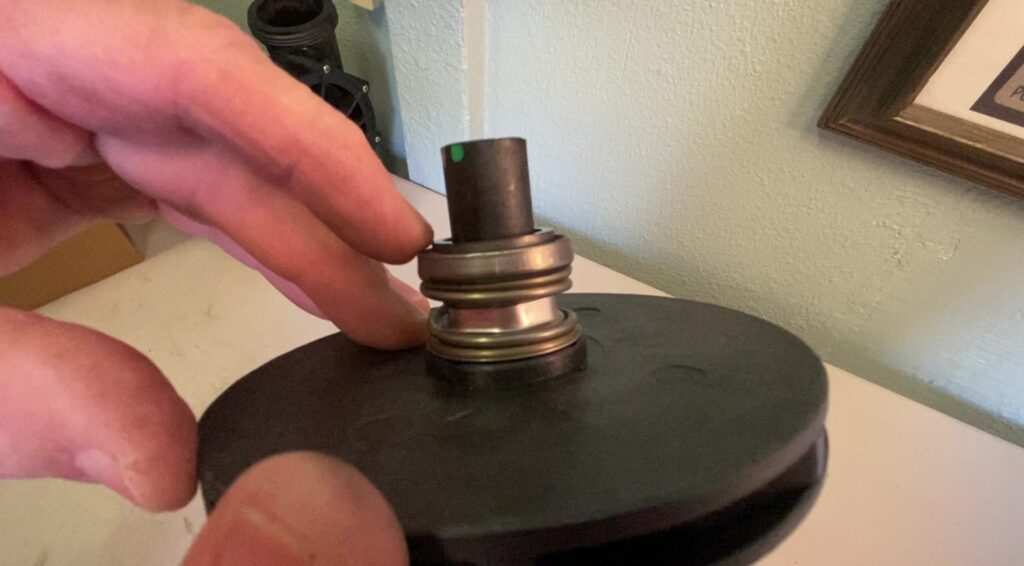
Step 12. Make sure the graphite surface of the shaft seal is facing away from the impeller. Install the shaft seal and impeller by holding the shaft in place with your flat blade screwdriver and turning the impeller clockwise until it stops.
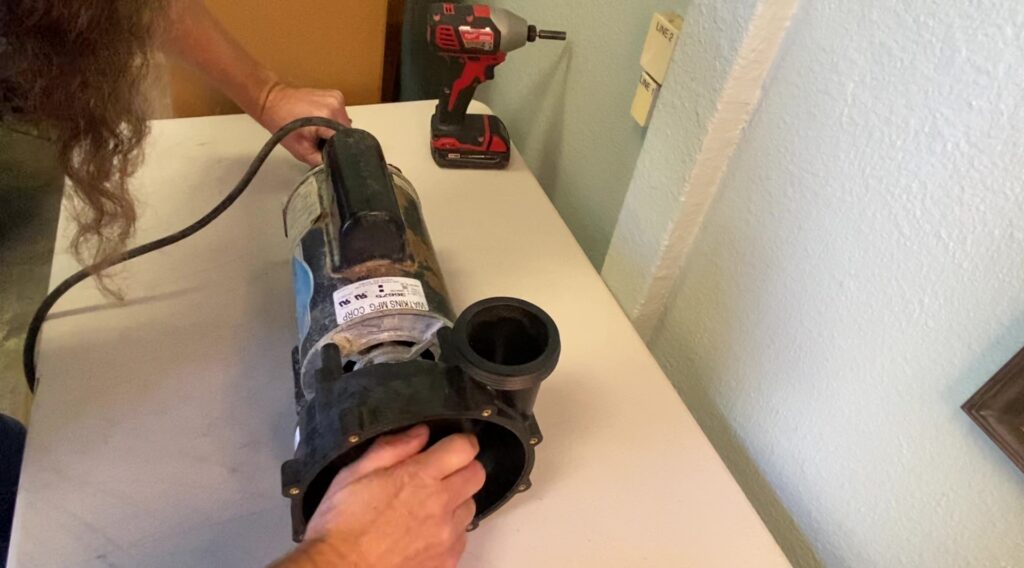
Step 13. Install the wear ring on the impeller. The fatter end of the wear ring should be facing away from the impeller.
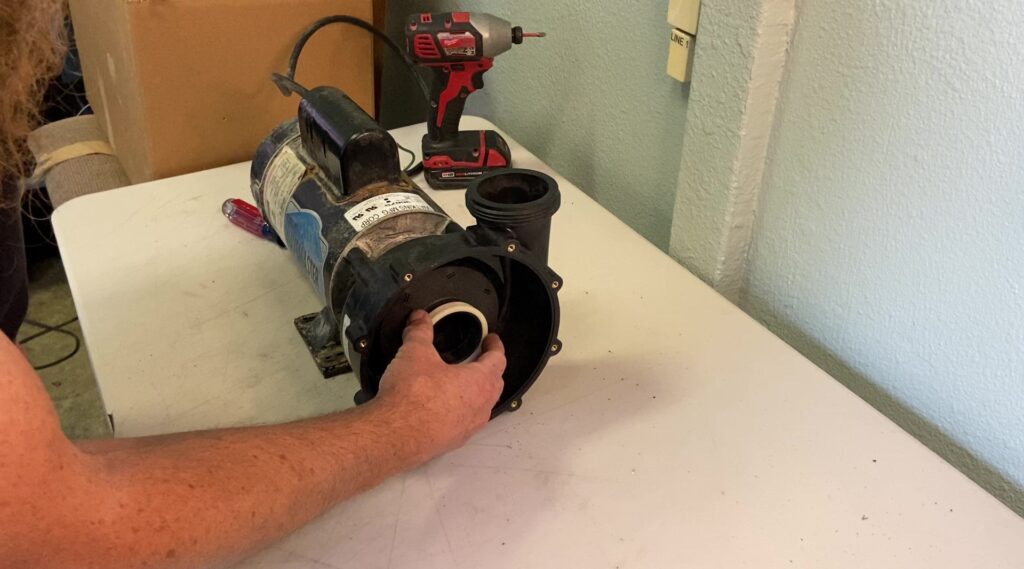
Step 14. Cover the O-ring with silicone grease and install it on the suction cover.
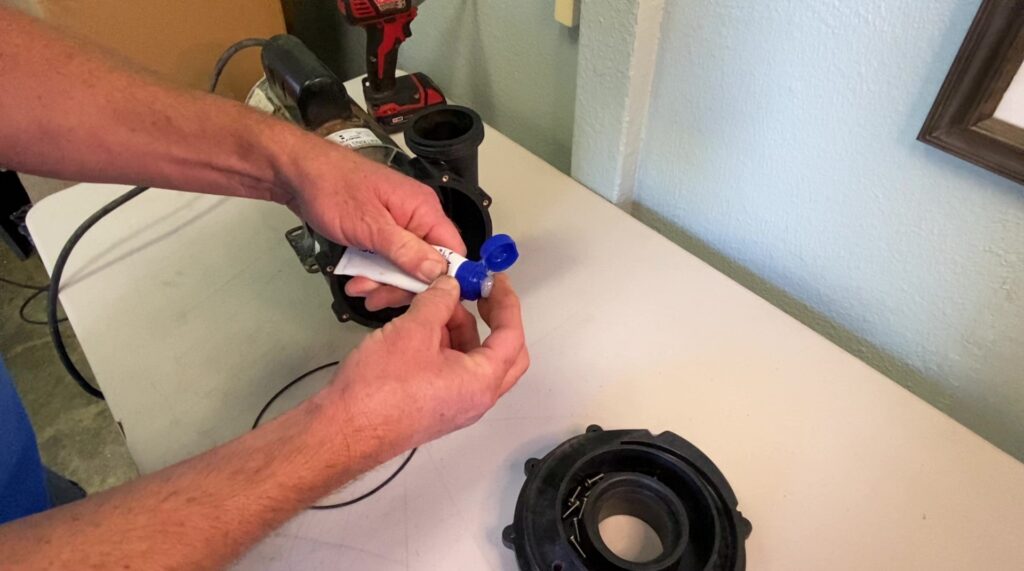
Step 15. Install the suction cover on the volute and tighten the suction cover screws.
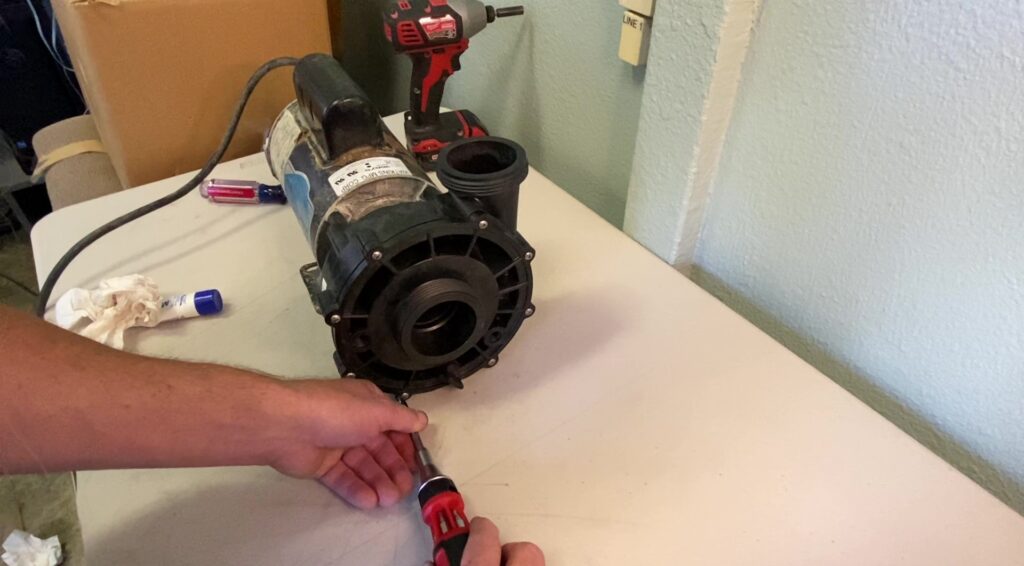
Good job!
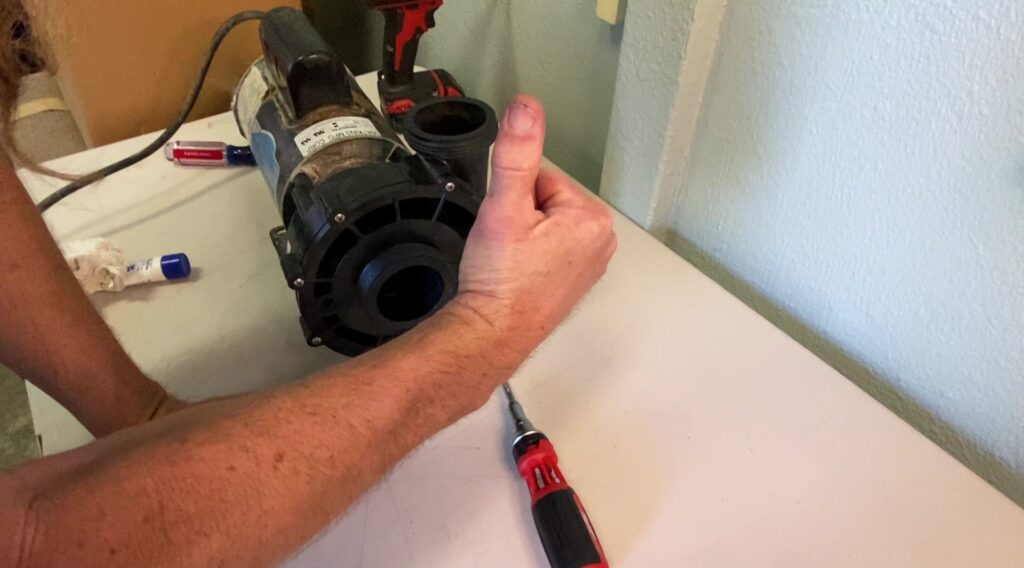
Watch the video here!
Questions about your spa? Contact us! We are the top Hotspring spa parts retailer on the web.
Call us at (805)541-9000
Text us to receive technical support
In addition to “Is Your Jet Pump Leaking? How to Install the 72294 Wet End on a Model Number 36675 Wavemaster 7000 Jet Pump,” we offer:
- Our Parts Finder which allows you to find exact-match replacements for your hot tub
- Free technical support that will allow you to maintain and repair your own spa accordingly
- Information regarding your products and their usage through our blog posts.
- Tutorials and assistance through our videos
- Follow us on our Facebook page
Our goal here at Backyard Plus is to help save you money by avoiding costly service calls for repairs that you can easily do yourself!
