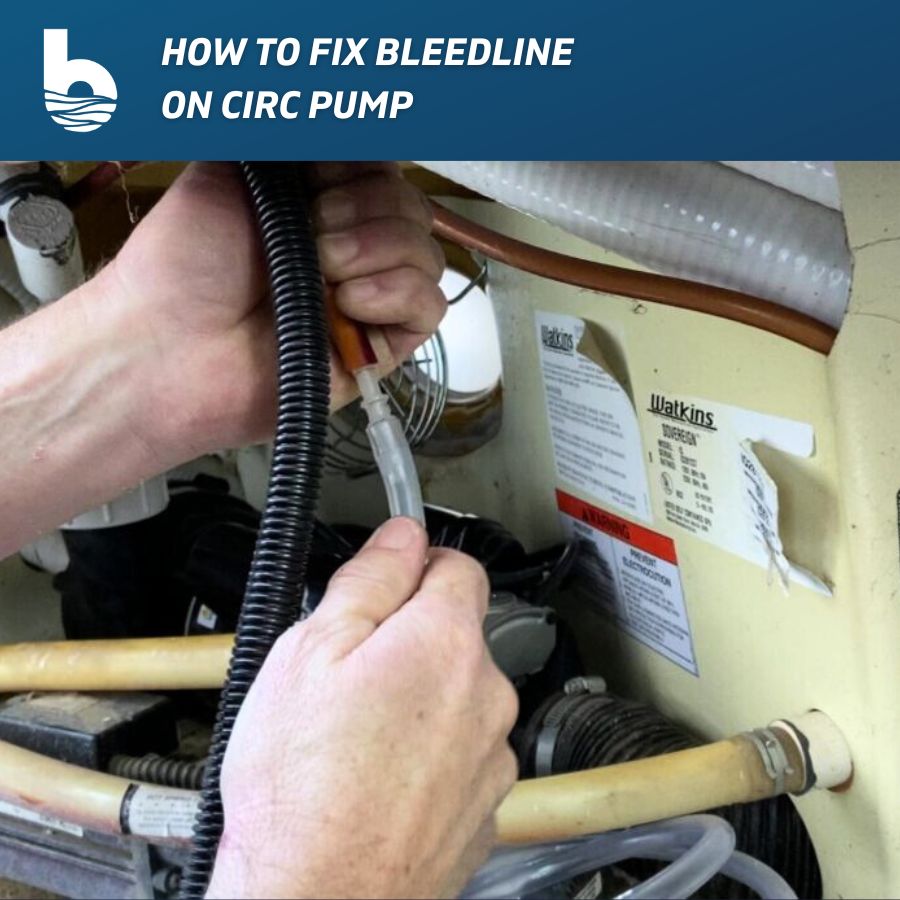
Welcome to Backyardplus! In this post, we show you how to replace a broken bleedline fitting on your circulation pump with the 77427 bleedline fitting. Before we get started, let’s go over the tools and parts you will need.
Table of Contents
Tools You Will Need:
- Hose cutter tool
- Pliers
- Large Phillips head screwdriver
Parts You Will Need:
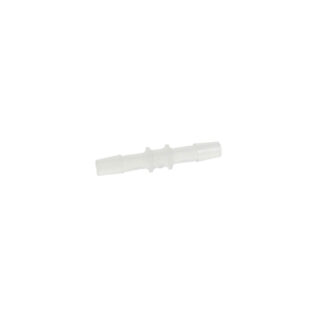
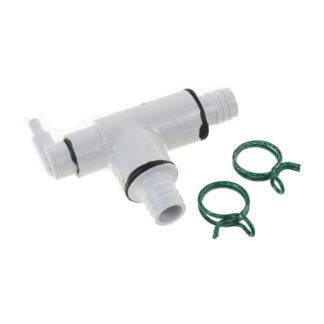
- 77427 Circulation pump bleedline fitting
- 70382 ¼”x ¼” coupling
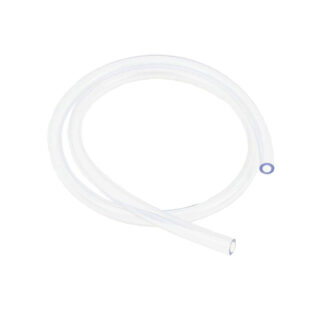
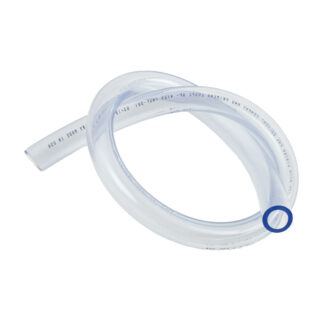
- 70315 ¾” tubing
- 70318 ¼” tubing
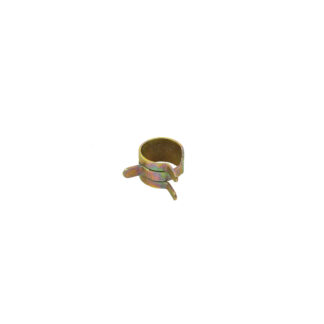
- 31134 ¼” Spring clamp x 3
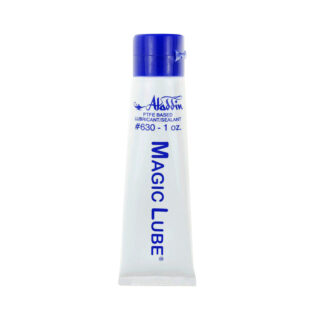
- ML-10Z- BYP Magic Lube silicone grease
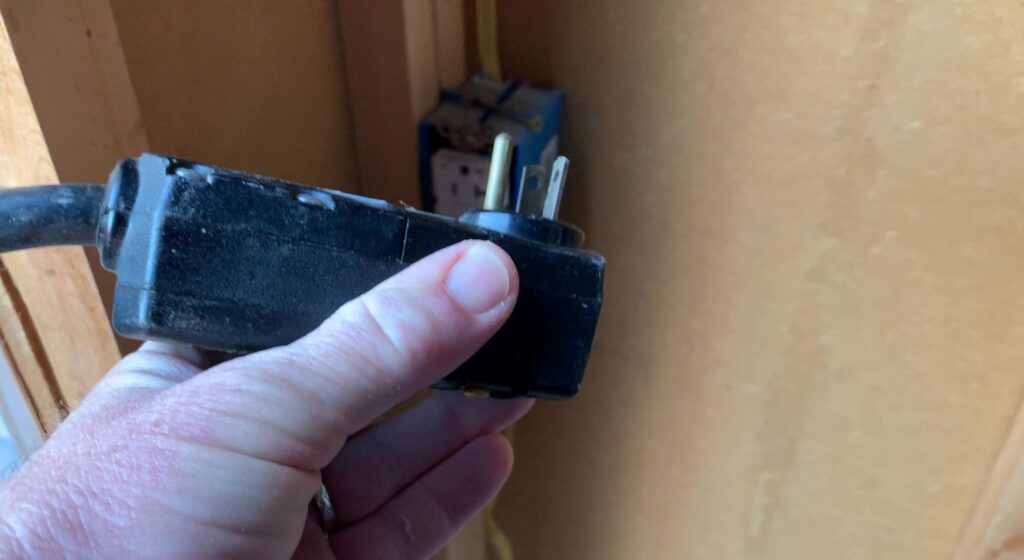
Step 1. Disconnect power from the spa.
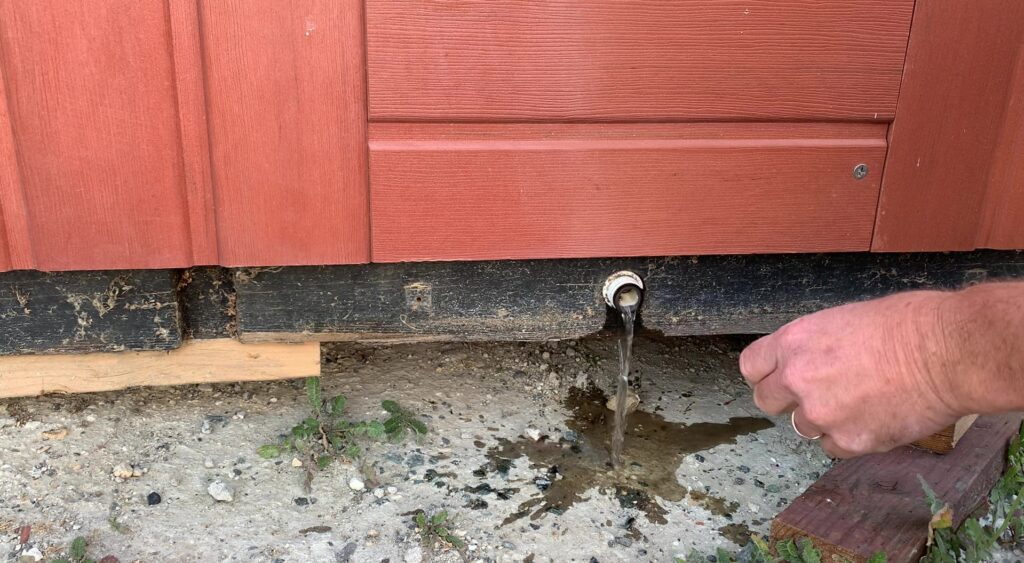
Step 2. Drain the spa.
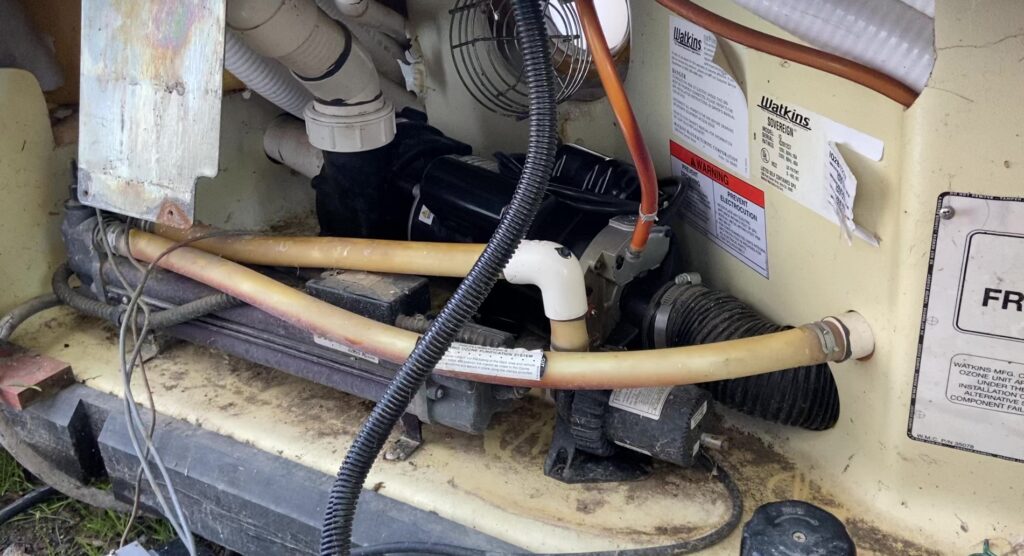
Step 3. Open the equipment door and find the 90-degree elbow located just above the outlet hose of the circ pump. Notice the broken bleedline nipple.
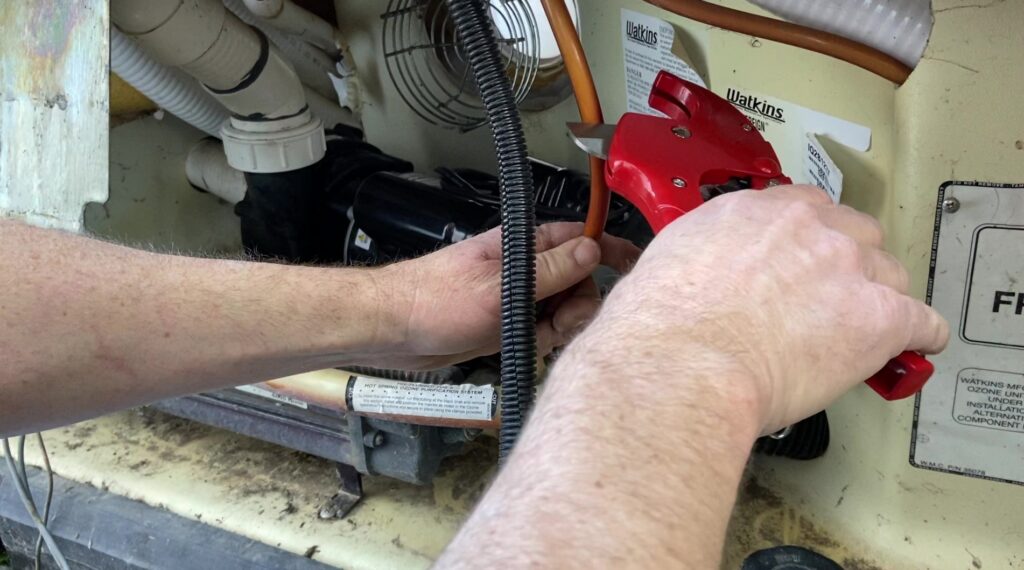
Cut the existing ¼” bleedline hose a few inches above the break. Place a ¼” clamp on it.
Step 4. Cover the ¼” barbed coupling with silicone grease.
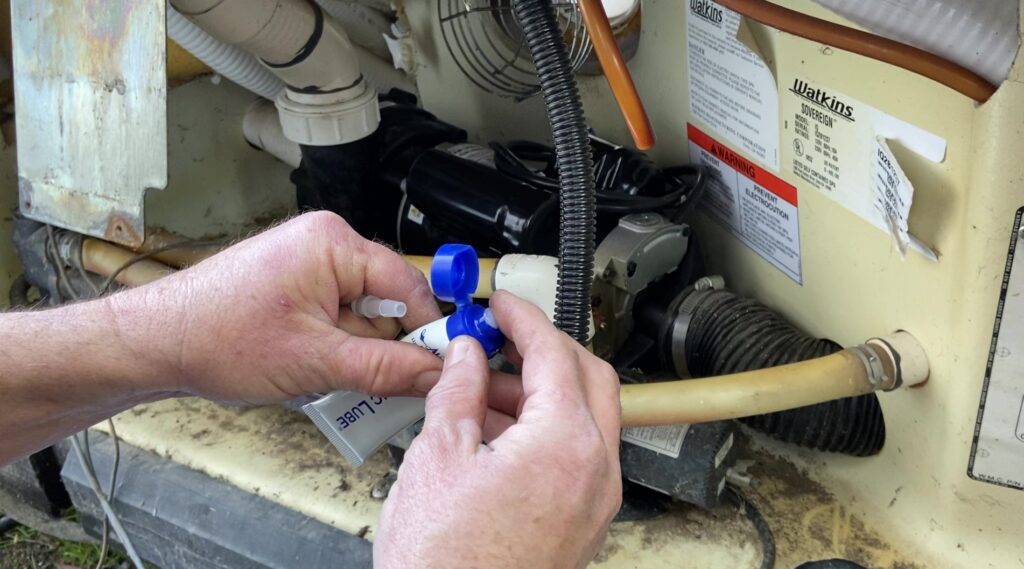
Step 5. Insert the barbed coupling into the new bleedline hose as far as you can.
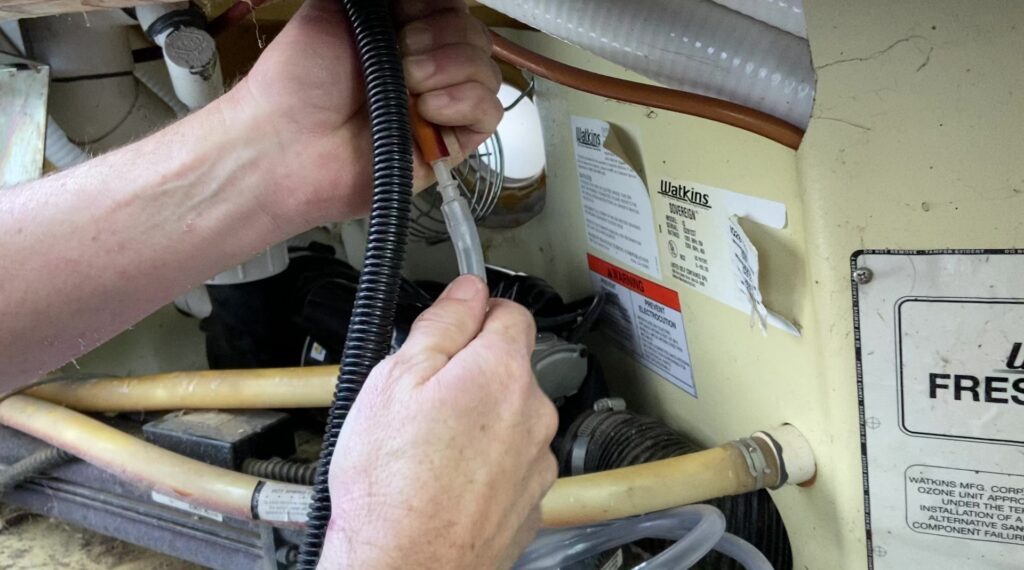
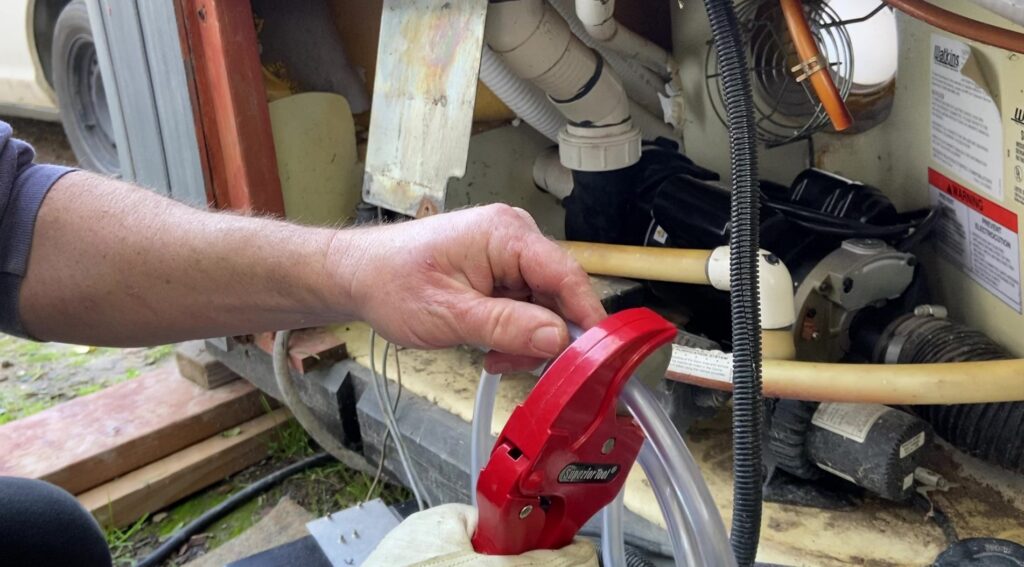
Step 6. Measure and cut the new ¼” bleedline hose.
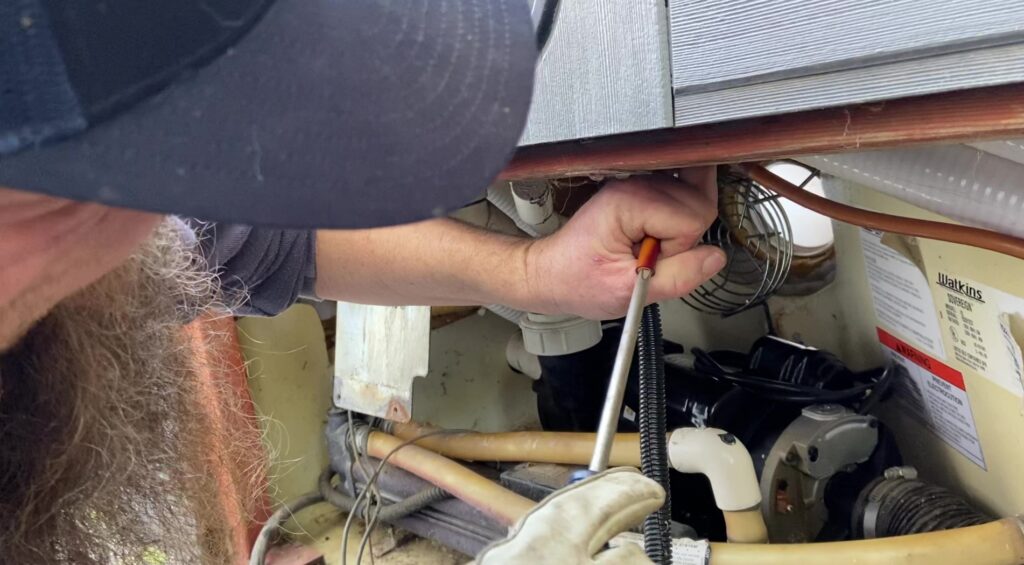
Step 7. Insert a large Phillips head screwdriver into the existing ¼” bleedline hose as far as you can to enlarge the opening.
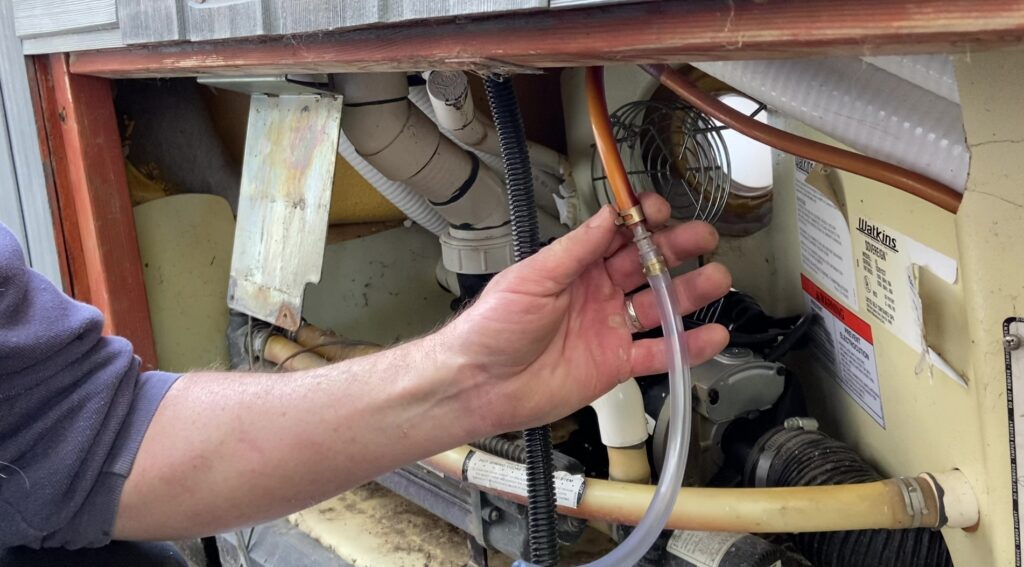
Step 8. Insert the ¼” barbed coupling into the existing bleedline hose as far as you can and secure both hoses to the coupling with ¼” spring clamps.
Step 9. Loosen the ¾” hose clamps from the existing bleedline fitting and heater inlet hose. Disconnect the old bleedline fitting from the circ pump and disconnect the hose from the heater.
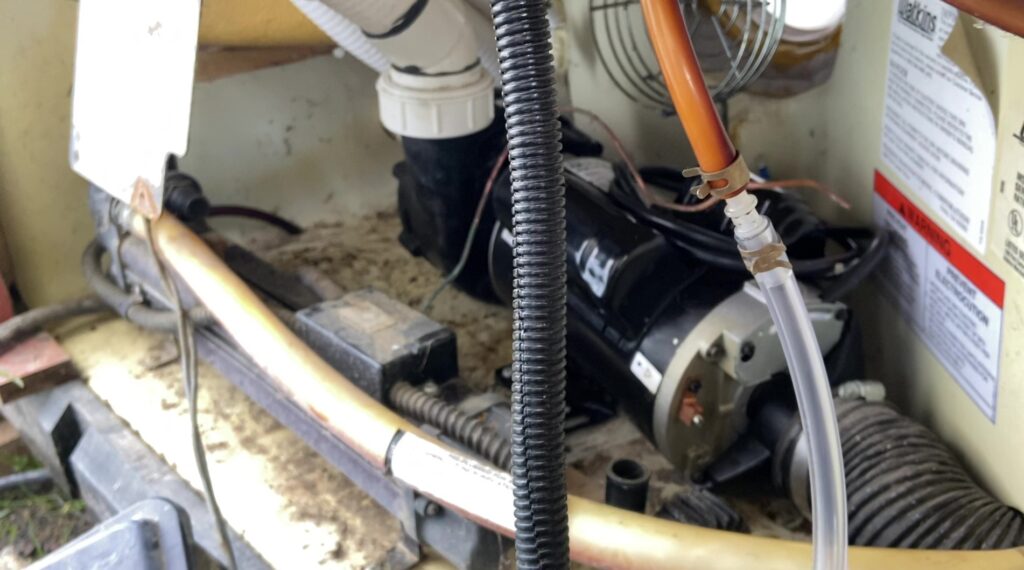
Step 10. Place a hose clamp on the new ¾” tubing, cover the inside edge with silicone grease, and connect it to the heater inlet barbed nipple. Secure it with the hose clamp.
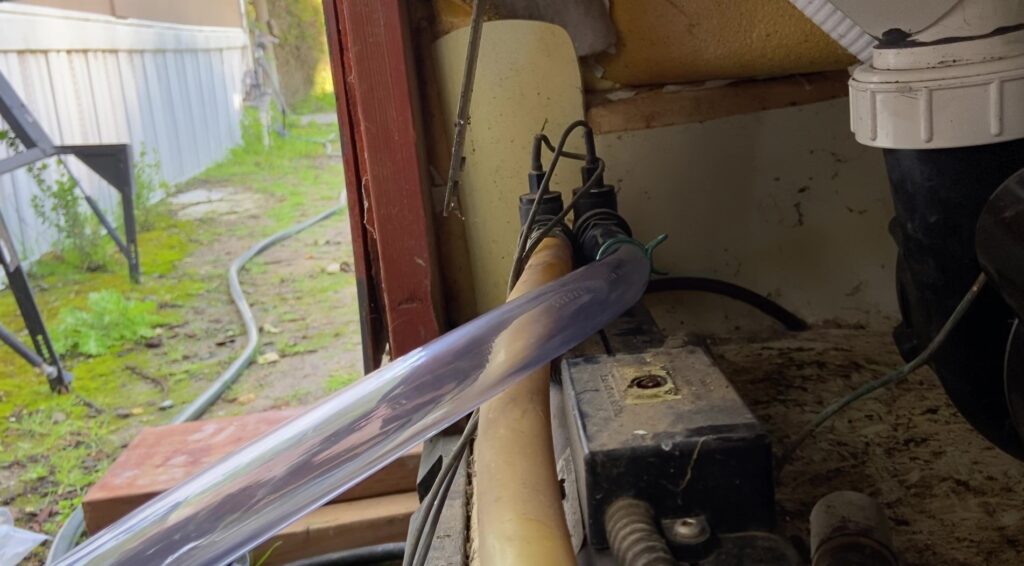
Step 11. Measure and cut the ¾” tubing going from the heater inlet to the bleedline fitting.
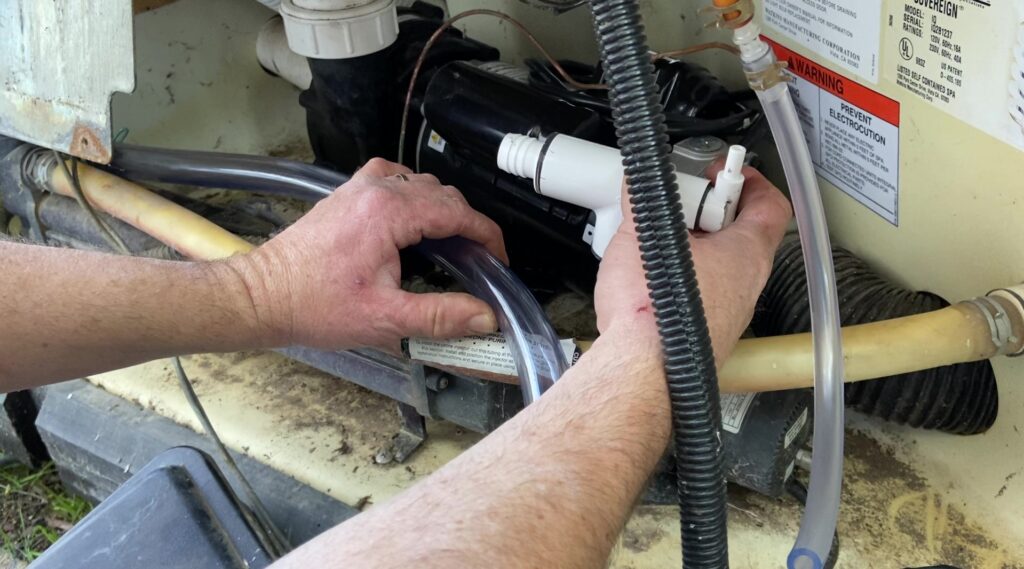
Step 12. Cut another short piece of the ¾” tubing going from the circ pump outlet to the bleedline fitting. Connect it to the barbed nipple of the bleedline fitting.
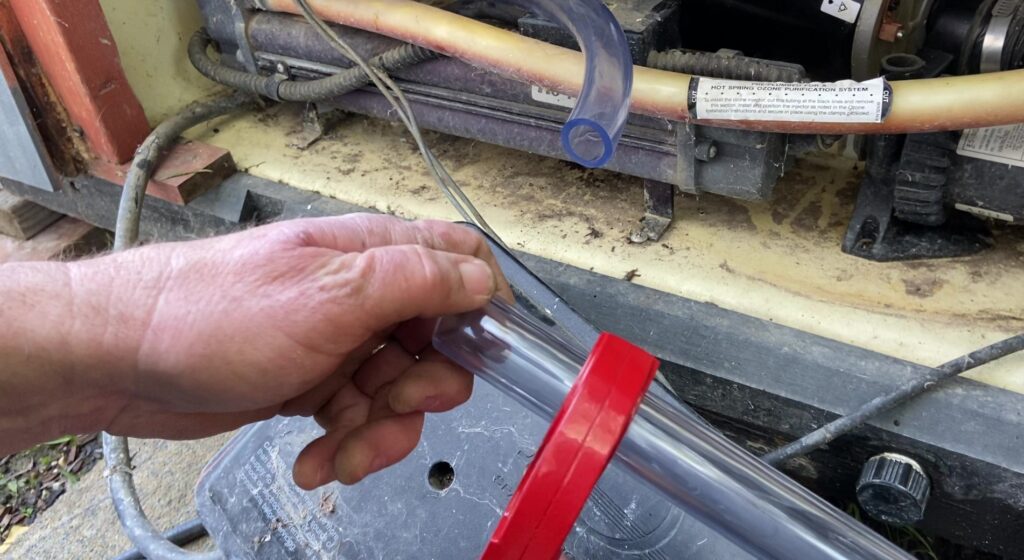
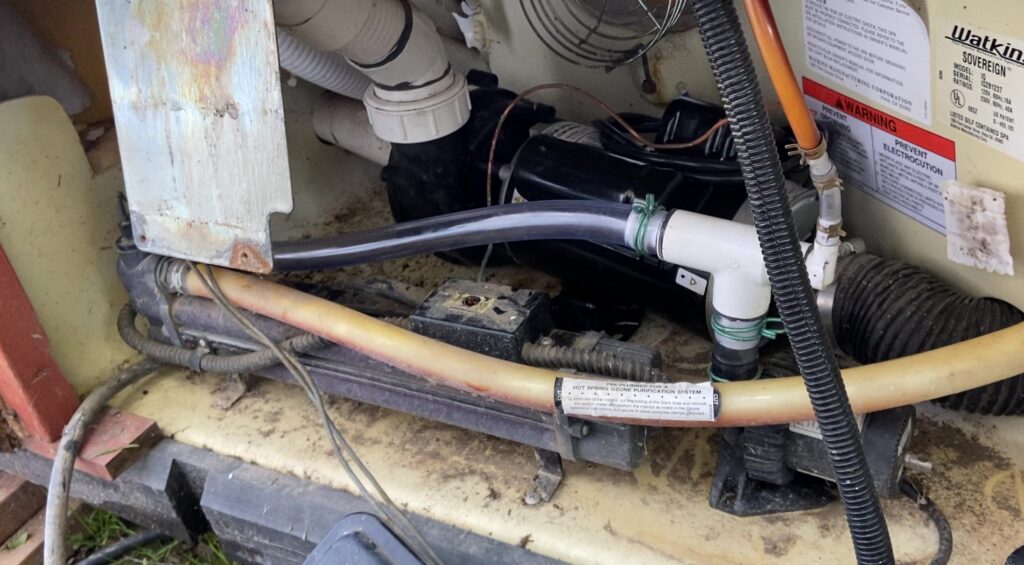
Step 13. Connect the bleedline fitting to the circ pump outlet. Secure the hoses with ¾” spring clamps.
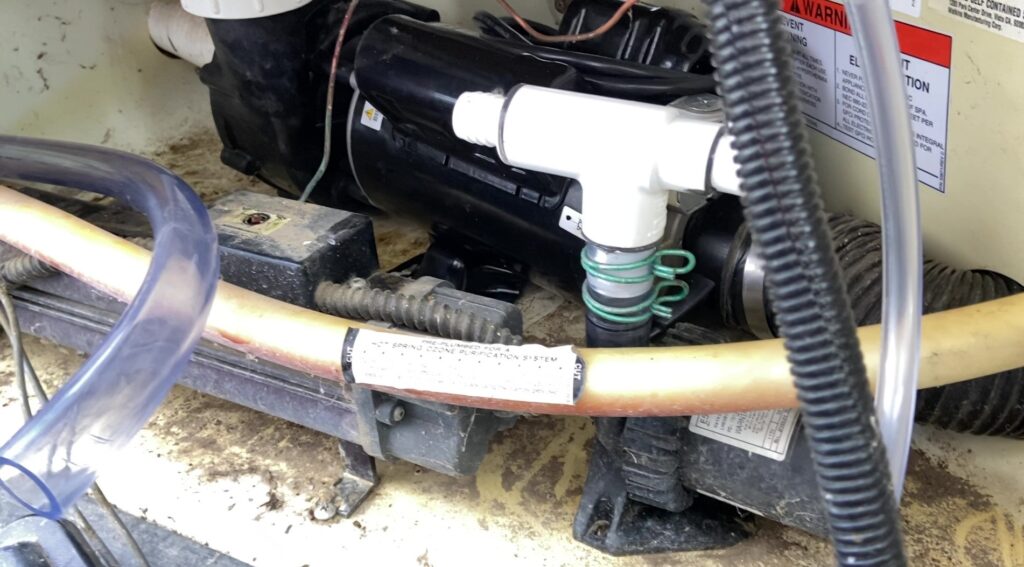
Step 14. Measure and cut the ¼” bleedline to the desired length. Cover the bleedline nipple with silicone grease, connect the hose to the ¼” bleedline nipple, and secure it with a hose clamp.
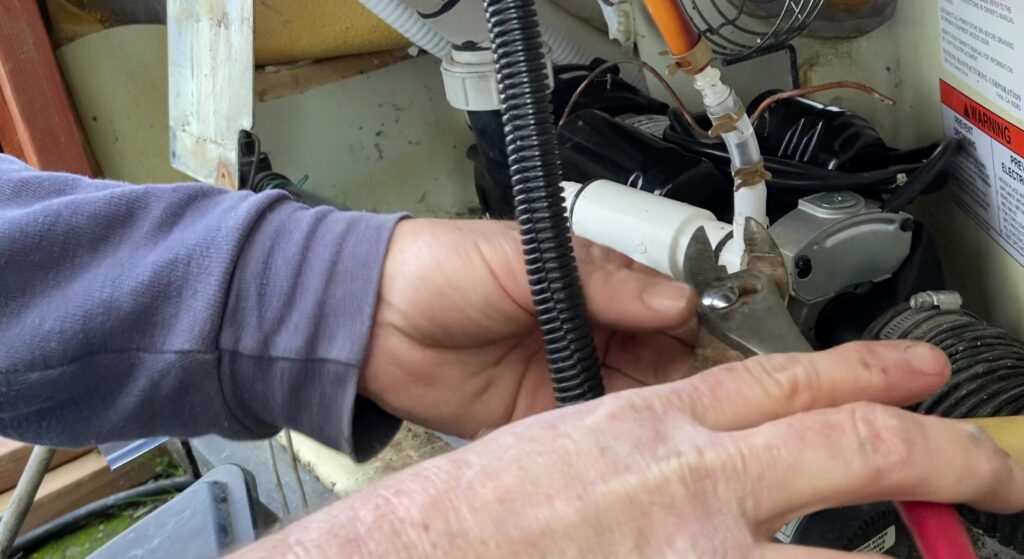
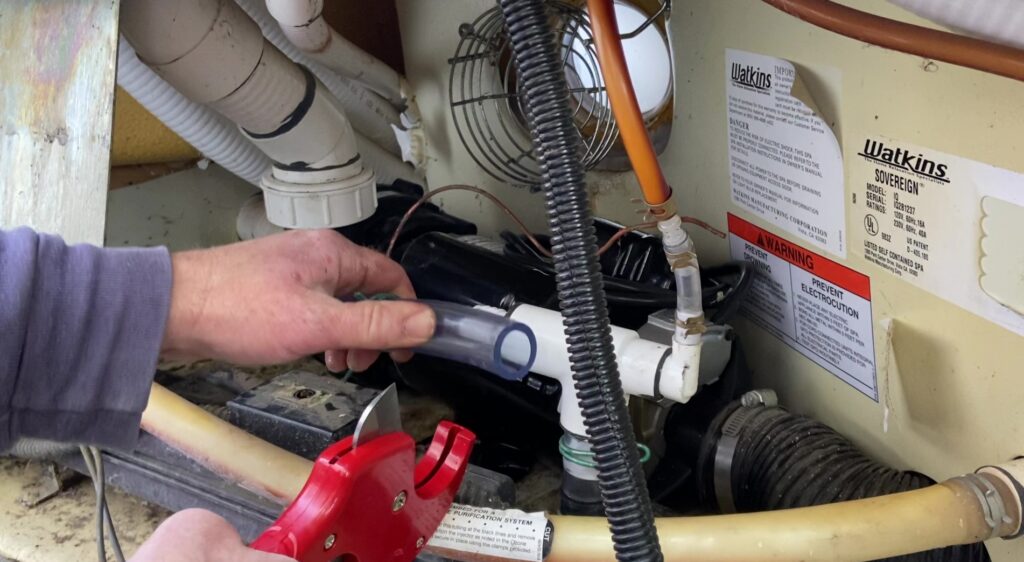
Step 15. Place a spring clamp on the ¾” hose. Measure and cut the hose to the desired length , cover the inside with silicone grease, connect it to the bleedline fitting, and secure it with a hose clamp.
Good job!
Watch the video here!
-
Sku: 70382Coupling, Barbed, 1/4in x 1/4in$3.92
-
Sku: ML-1OZ-BYPSilicone Grease, 1 oz. Tube$5.34
-
Sku: 31134Spring Clamp, 1/4in$1.02
-
Sku: 70318Vinyl Tubing, Thick Walled, 1/4 inch Dia. (ID) x 36 inches$5.29
-
Sku: 70315Vinyl Tubing, Thick Walled, 3/4inch Dia. (ID) x 36inch$16.90
-
Sku: 77427Bleedline Fitting, Circulation Pump$11.10
Thanks for reading “How to Replace a Broken Bleedline Fitting on Your Circulation Pump with the 77427 Bleedline Fitting”.
Backyard Plus is Here to Help You Be the Hero.
Questions about your spa? Contact us! We are the top Hotspring spa parts retailer on the web.
Call us at (805)541-9000
Text us to receive technical support
In addition to “How to Replace a Broken Bleedline Fitting on Your Circulation Pump with the 77427 Bleedline Fitting,” we offer:
- Our Parts Finder which allows you to find exact-match replacements for your hot tub
- Free technical support that will allow you to maintain and repair your own spa accordingly
- Information regarding your products and their usage through our blog posts.
- Tutorials and assistance through our videos
- Follow us on our Facebook page
Our goal here at Backyard Plus is to help save you money by avoiding costly service calls for repairs that you can easily do yourself!
