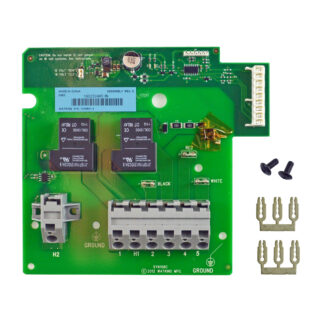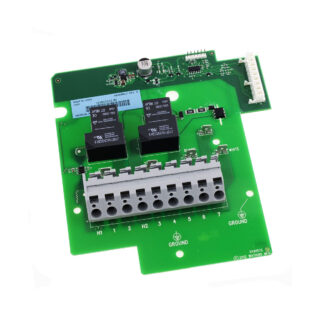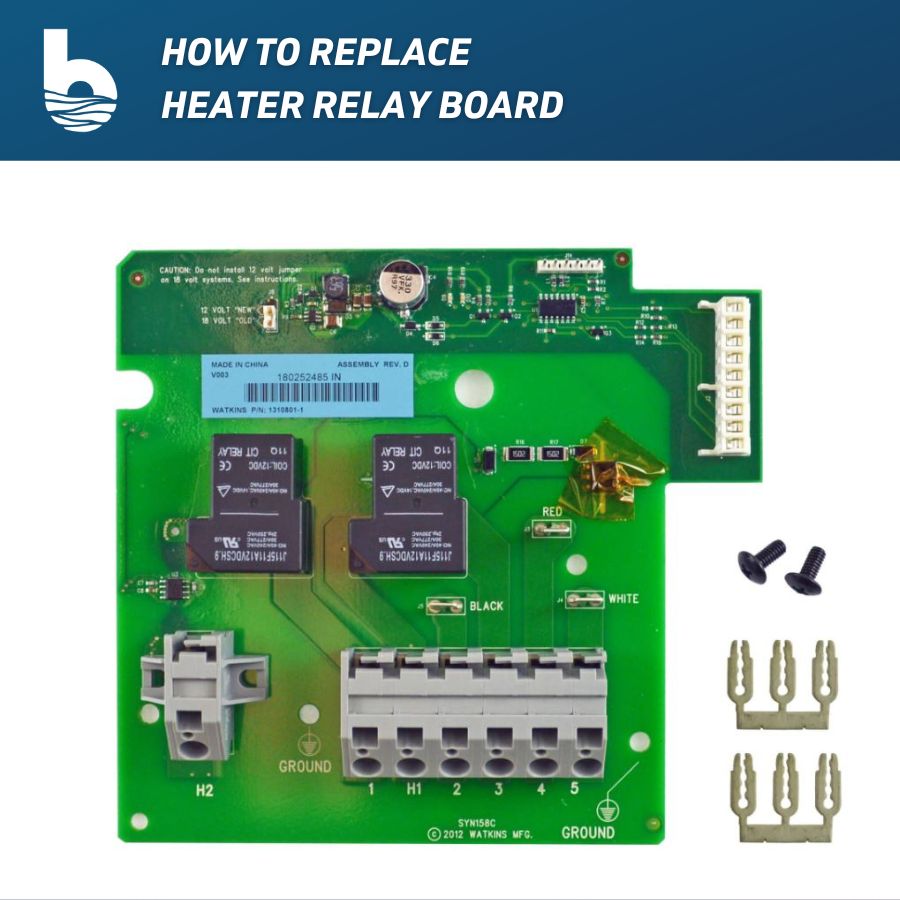
In this post, we will show you how to replace the Watkins Heater Board in your 2001 to 2009 Hot Spring, Tiger River, or Limelight spa. For your safety, make sure you follow the directions in the post carefully.
Watch the video tutorial of How to Replace the IQ2020 Heater Relay Board below.
Tools You Will Need to Replace the Watkins Heater Board
- Small Flathead Screwdriver
- Standard Phillips Screwdriver
- Wire Stripping Tool
- Multimeter
Safety First!
Make sure you turn the power to the spa off before doing any of these steps.
Removing the Watkins Heater Board
Step 1
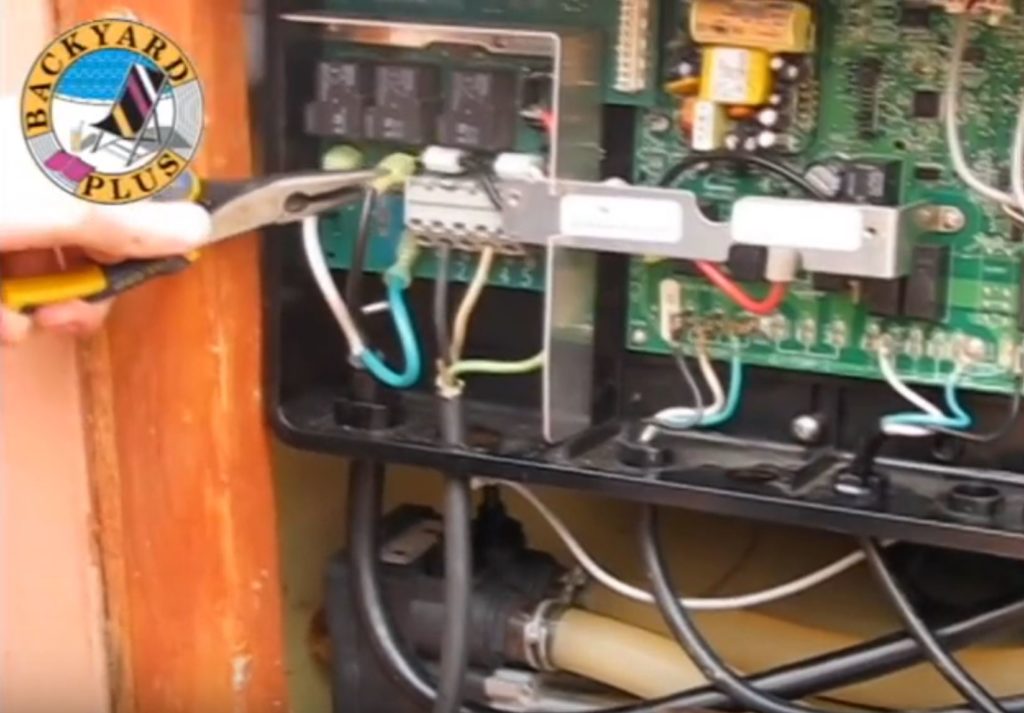
First, remove the lid from the IQ 2020 control box using a Phillips screwdriver. Double-check that the power is turned off, then disconnect the black and white leads of the heater from the Watkins heater board.
Step 2
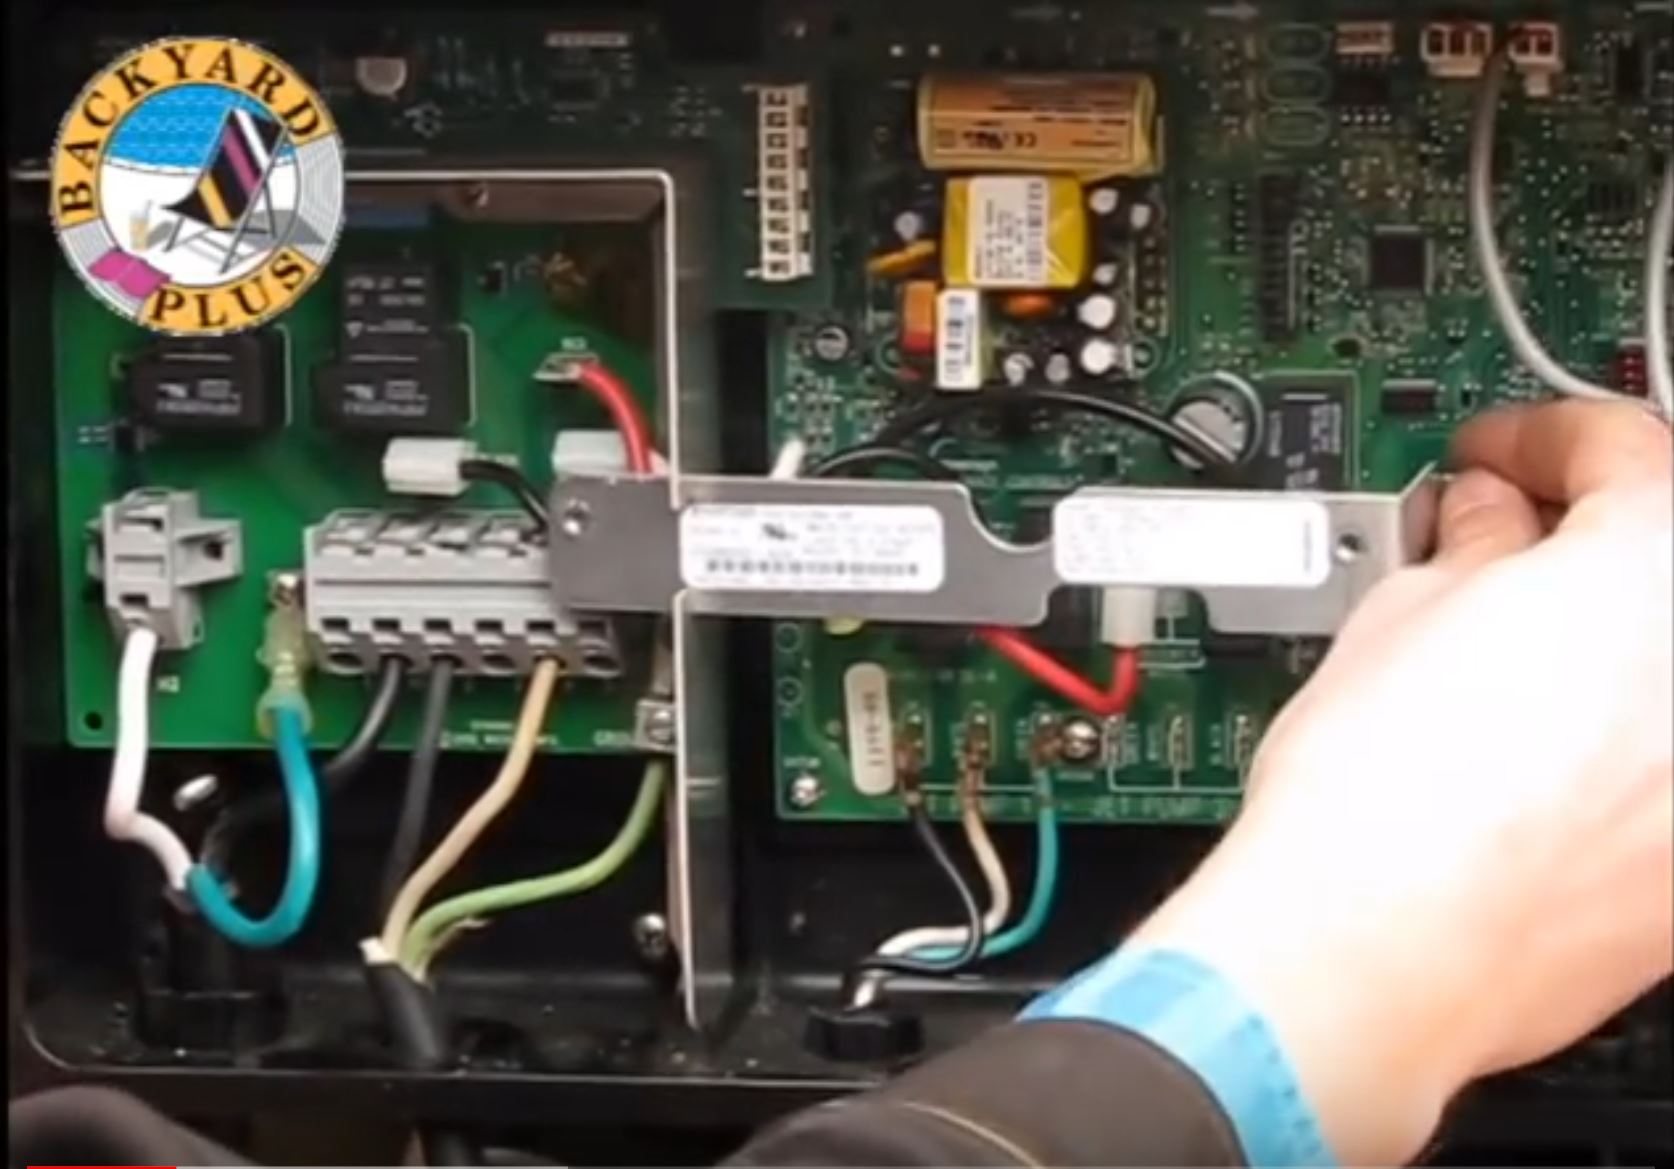
Next, remove the center support bracket from the box by loosening the screw on the right side of the bracket.
Step 3
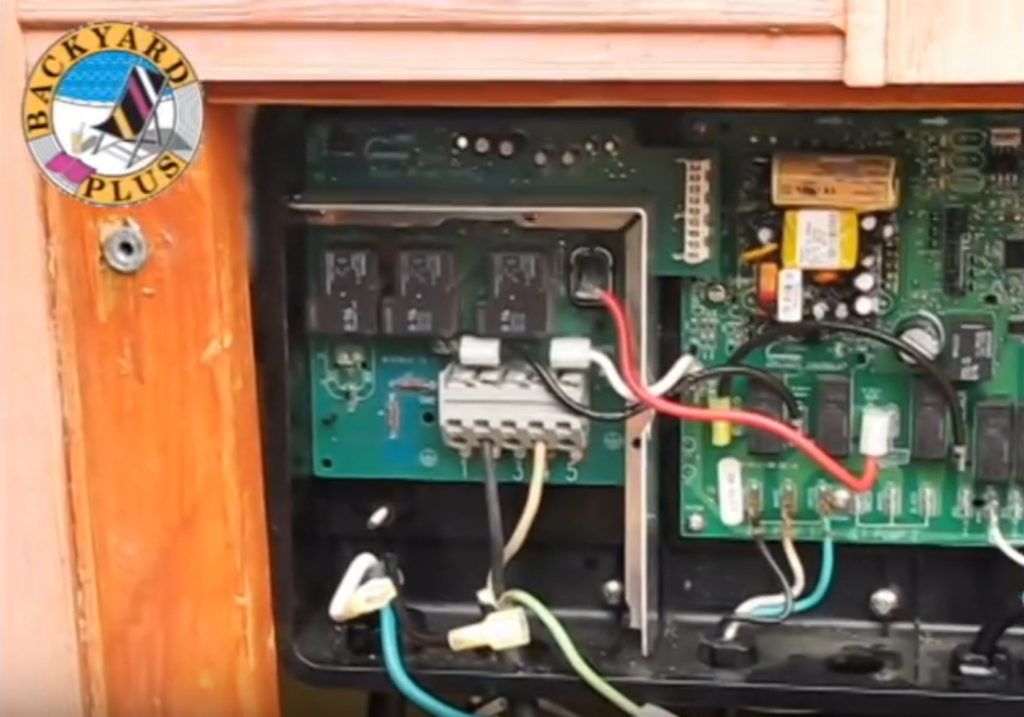
Remove the two green grounding wires secured to the Watkins heater board.
Step 4
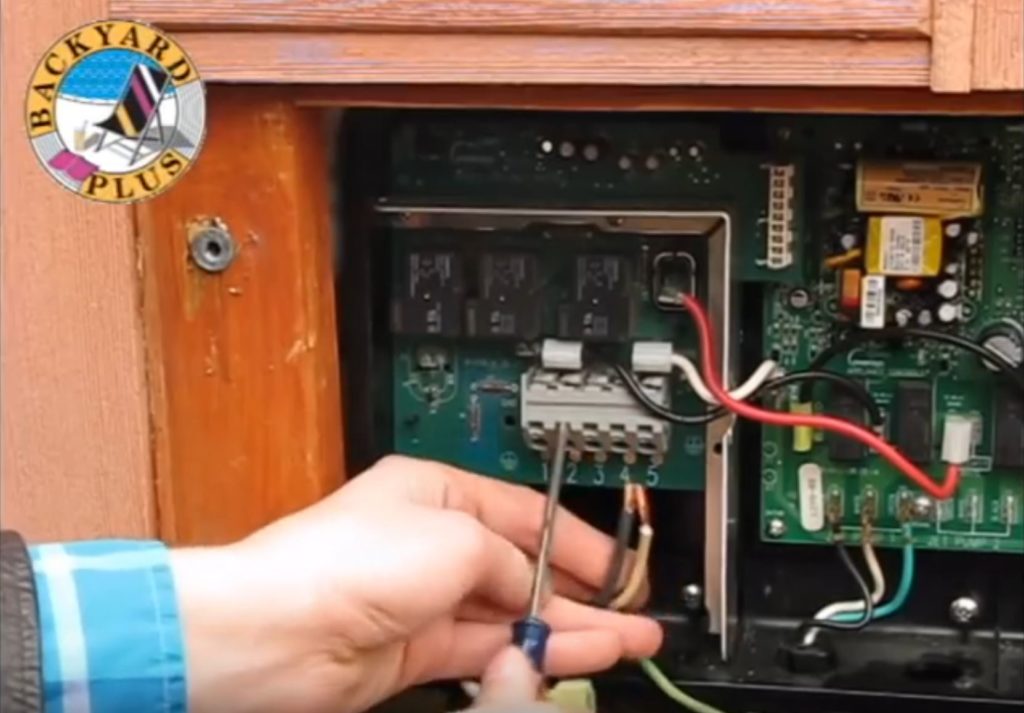
Disconnect the main power wires from the terminal block. To release the wires push a small flat-head screwdriver up into the square slot above the wire and then pull the handle of the screwdriver up and pull the wire out. After the main power wires are all disconnected, disconnect the three jumper wires coming from the main motherboard over to the Watkins Heater Board.
Step 5
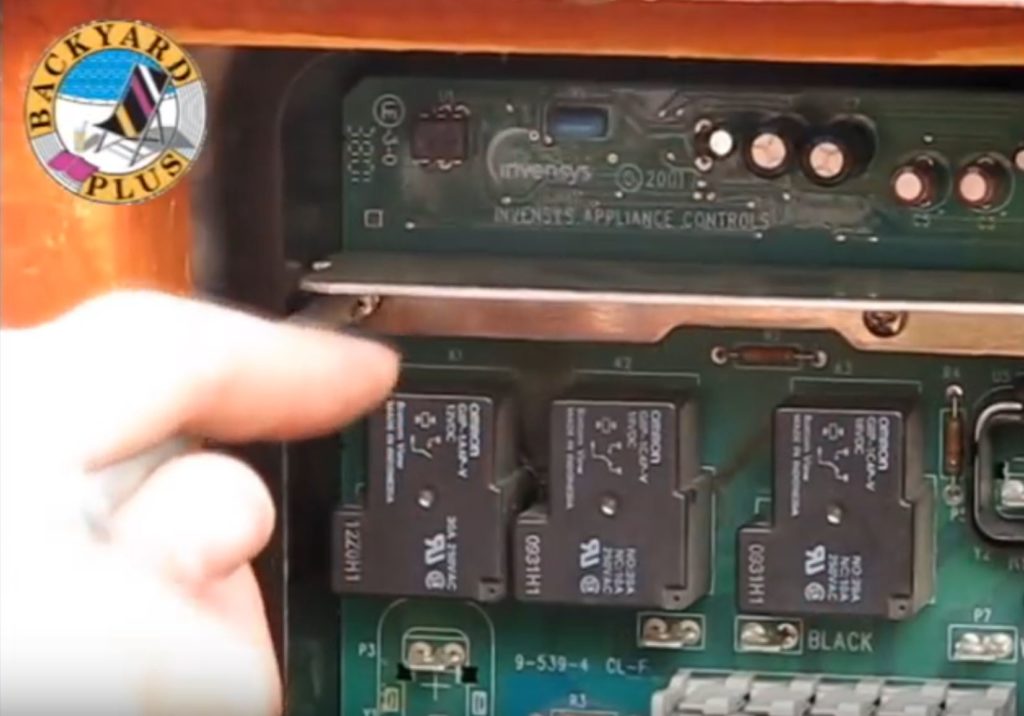
Now, remove the two screws holding the metal L bracket to the Watkins Heater board and remove the bracket.
Step 6
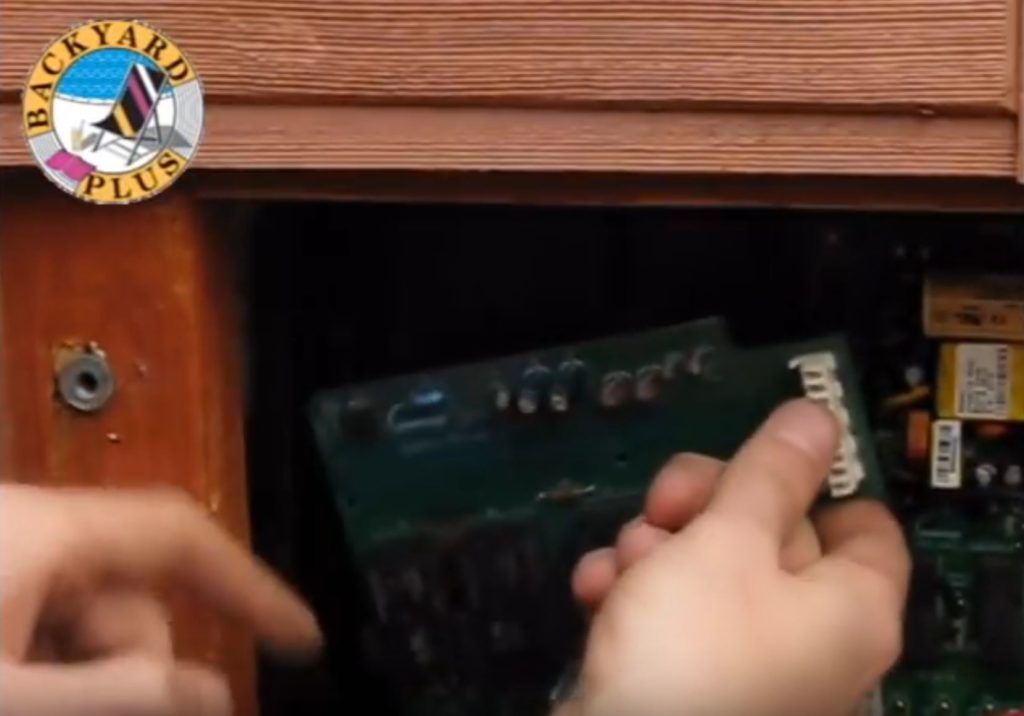
Remove the Watkins Heater board by grabbing it on either side of the plastic clip in the upper right-hand corner. Work it back and forth to free it from the pins the clip is connected to.
NOTE: Sometimes when a heater relay board goes bad, you’ll see burn marks on the backside of it where the relays burnt out.
Replace the Watkins Heater Board
Step 1
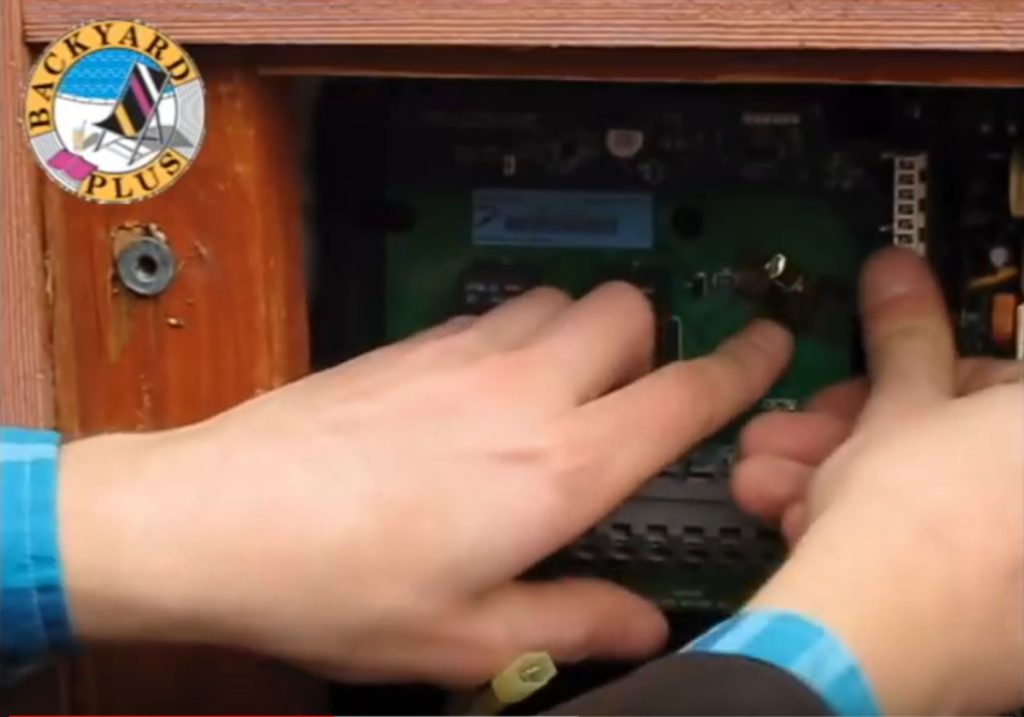
Place the new board into the control box and push down on the white plastic clip firmly to make sure the pins connect securely to the new board. Reinstall the metal L bracket to hold the board in place. The L bracket is held in place by the two Phillips head screws you removed earlier.
Step 2
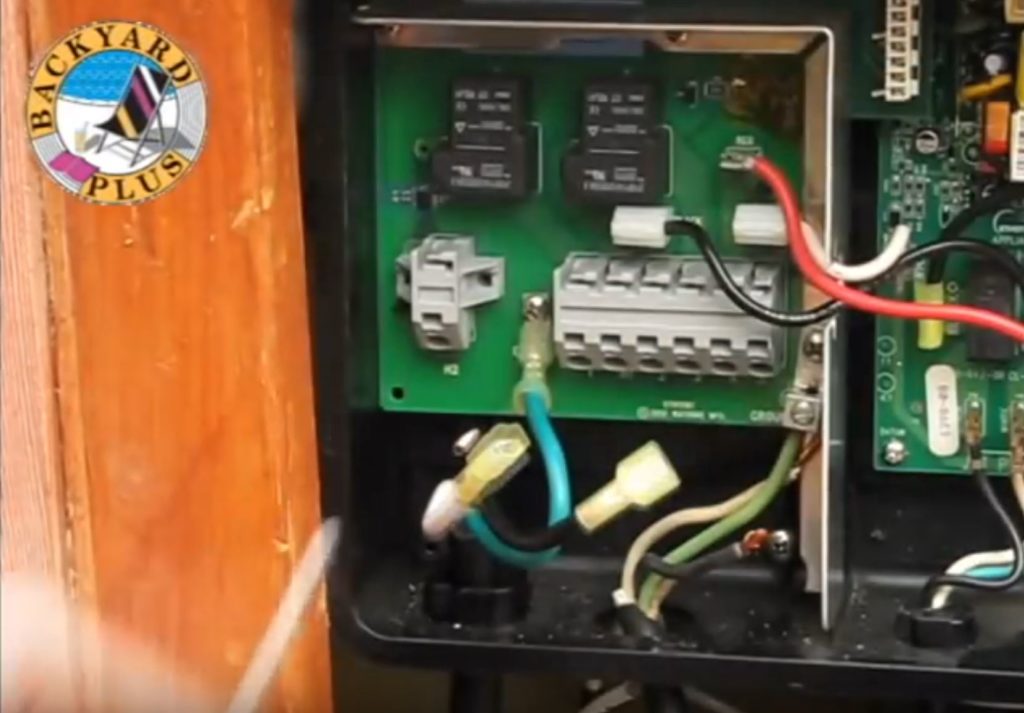
Reinstall the heater ground wire, spa ground wire and reconnect the three wires coming from the mainboard over to the Watkins Heater board. The color of each wire is marked on the heater relay board next to their corresponding connector.
Reinstall Heater & Power Wires
Step 1
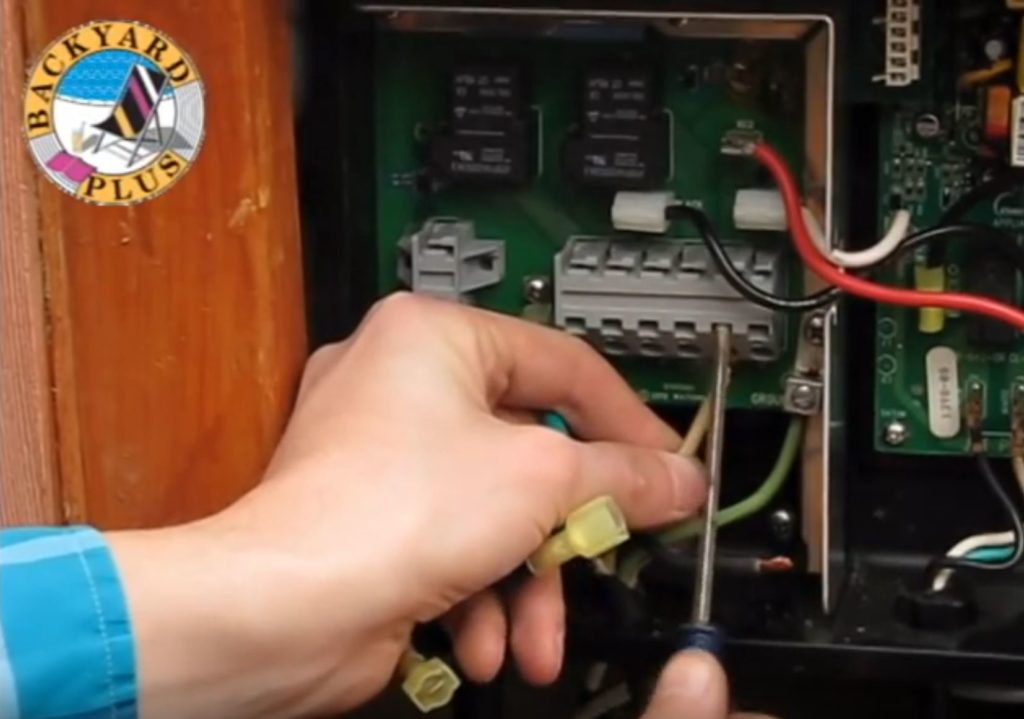
After double-checking that the power is still turned off, twist the ends of each power wire to make sure they don’t fray when you reinsert them. To reinsert each wire, push a small flathead screwdriver into the square slot above the wire entrance and pry upward. While you are prying carefully insert the wire.
NOTE:
The wire should go in easily if you have the connector properly open. The connectors are labeled 1, H1, 2, 3, 4, and 5. Make sure you put the wires in the same numbered spots as before. Don’t be thrown off by the extra connector labeled H1 (that is where one of the heater wires will be connected). Next, we will connect the heater wires to the two connectors labeled H1 and H2.
Install the Heater Wires
Step 1
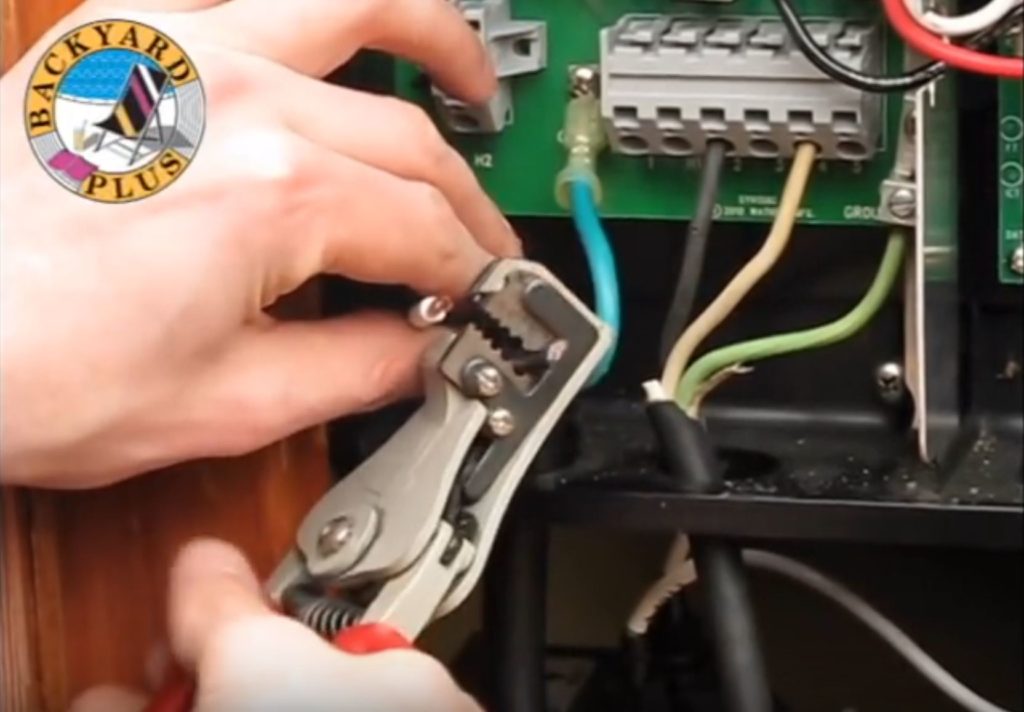
Because of the different type of connections on the new board, you may need to clip the old connectors from the heater wires and strip off about a 1/2 inch of the plastic insulator from the wire. You can use any type of wire stripper to do this.
Step 2
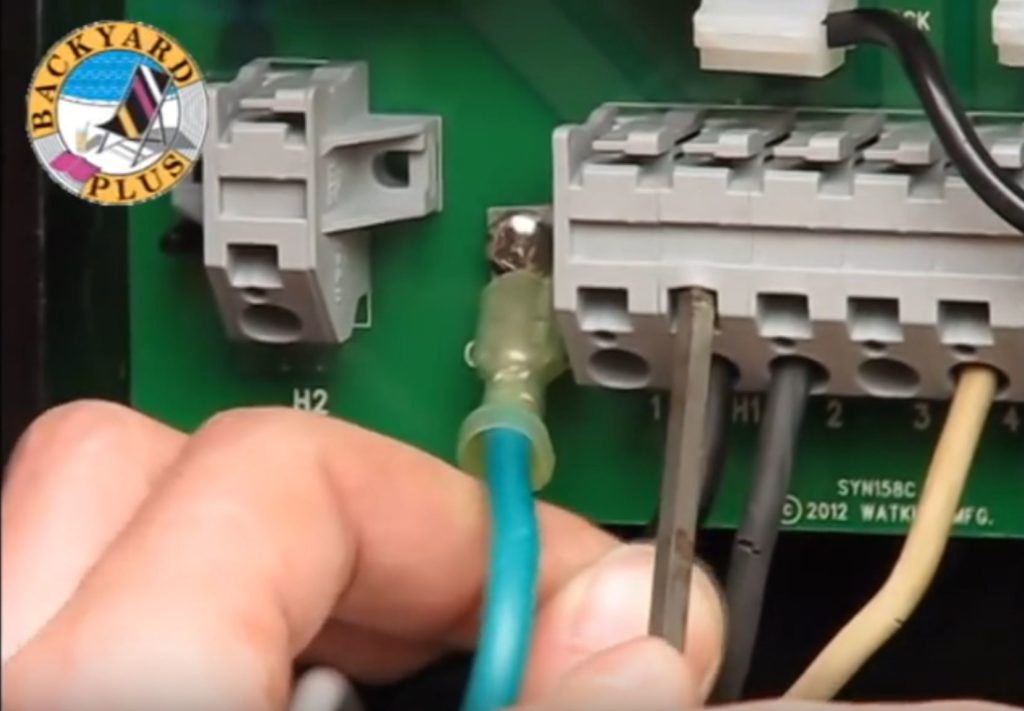
Twist the ends of the exposed wires so they don’t fray then insert one wire into h1 and the other in h2. It doesn’t matter which color wire goes to h1 and which goes to h2.
Step 3
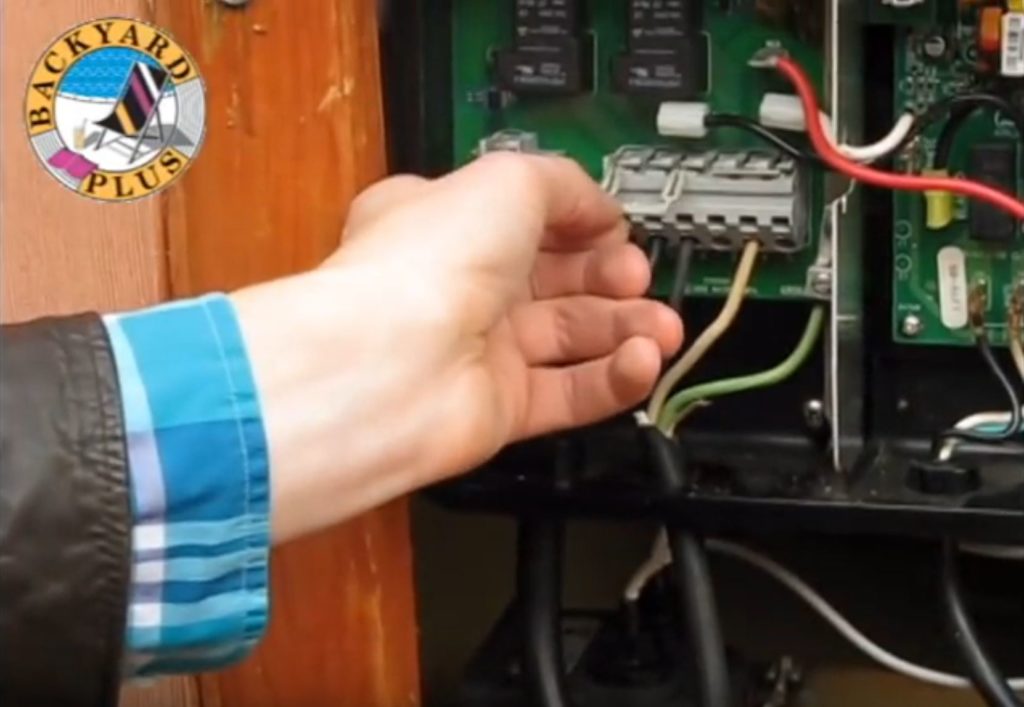
Next, we need to install the power jumpers. The power jumpers slide into grooves at the top of the terminal block. You can use a small flathead screwdriver to push the power jumper(s) down all the way.
Note:
- If your spa is wired for 120V, you will need to use 2 power jumpers. (Connect terminals 1,2 & 3,4,5)
- If your spa is wired for 240V, you won’t need any jumpers.
- If your spa was 120V but got converted to 240V you will need to use 1 jumper. (Connect terminals 3,4 & 5)
The h1 terminal will be jumped as well if you don’t remove the center prong from the power jumper. Remove the middle of the 3 prongs from the power jumper and then install the jumper. Make sure you push the jumpers in securely using a flathead screwdriver.
Step 4
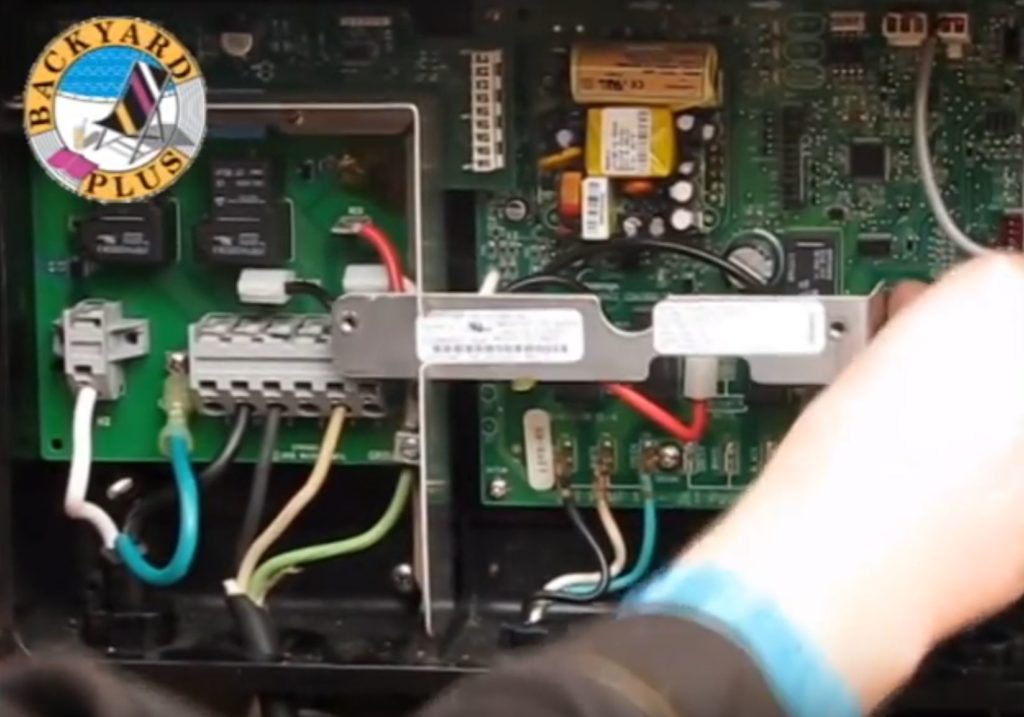
Now, reinstall the center support bracket using the Phillips head screw you removed before.
Step 5
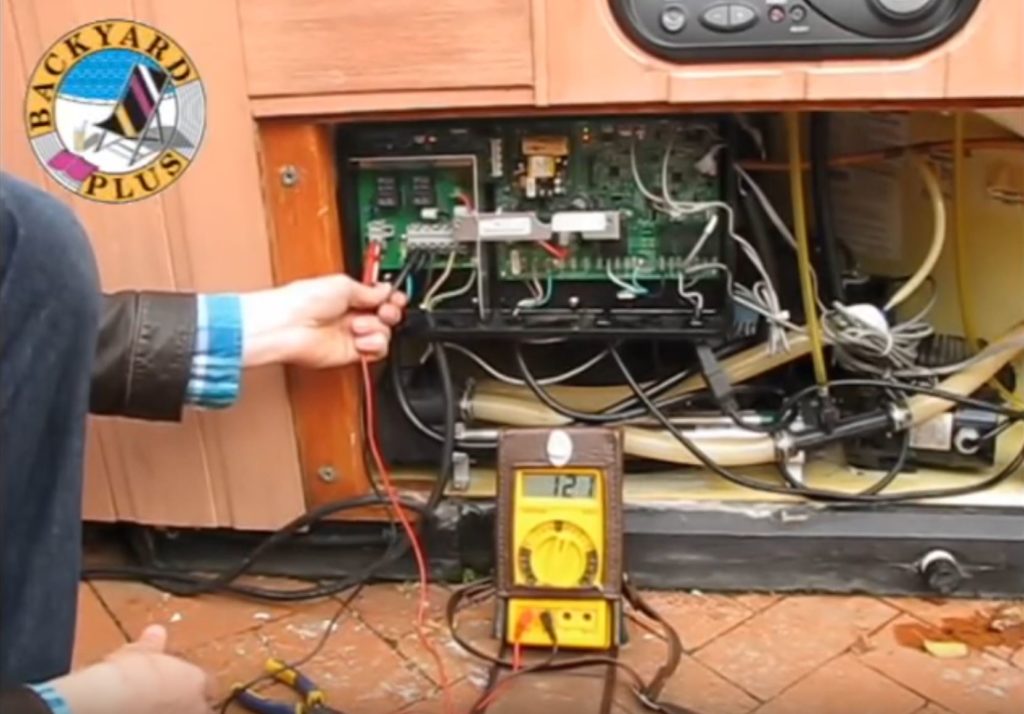
Turn the power back on and check to make sure the “HTR ON” light is lit on the motherboard. If it is, check the voltage between terminals H1 and H2 to make sure that you are getting the proper voltage to the heater. On 120 volt spas, the reading at H1 and H2 should be approximately 120 volts. On 240 volt convertible and permanently connected spas. The voltage reading should be approximately 230-240 volts.
Now all that’s left to do is put the control box lid back in place. Make sure you use the new screws that came with the new heater relay board because the old screws are too long for the new board.
Backyard Plus is Here to Help You Be the Hero.
Questions about your spa? Contact us! We are the top Hotspring spa parts retailer on the web.
Call us at (805)541-9000
Text us to receive technical support
We offer:
- Our Parts Finder which allows you to find exact-match replacements for your hot tub
- Free technical support that will allow you to maintain and repair your own spa accordingly
- Information regarding your products and their usage through our blog posts.
- Tutorials and assistance through our videos
- Follow us on our Facebook page
Our goal here at Backyard Plus is to help save you money by avoiding costly service calls for repairs that you can easily do yourself!

