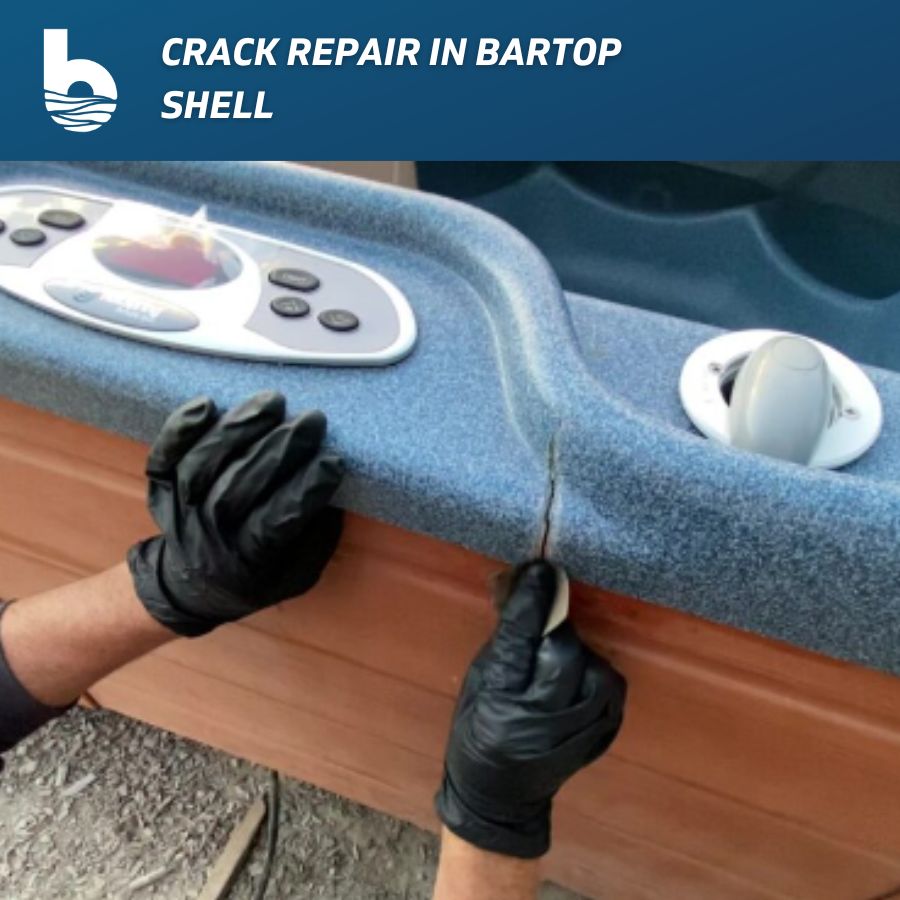
In this post, we show you how to perform a Tiger River bartop crack repair. Cracks can occur on any part of the bar top. When this happens, the shell must be reinforced on the backside as well as the front side. Before we get started, let’s identify the tools and parts you will need for this repair.
Table of Contents
Tools You Will Need for a Tiger River Bartop Crack Repair:
- Hammer
- Two ½”- ¾’ thick shims
- Safety glasses
- Respirator
- Dremel tool with grinding stone and cutting wheel.
- Latex or nitrile gloves
- 40 grit sandpaper
- 180 and 400 grit wet/dry sandpaper
- Spray bottle (for wet sanding)
- Acetone, mineral spirits, or lacquer thinner.
- Rubbing Alcohol
- Clean wiping cloths or paper towels
Parts You Will Need for a Tiger River Bartop Crack Repair:
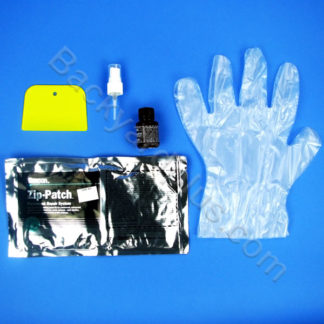
- Bartop Crack Repair, Hot Spring Item #: 73493
- Watkins Granite Repair Kit/Granite Surface Repair, Carribean Blue Item #: 73529
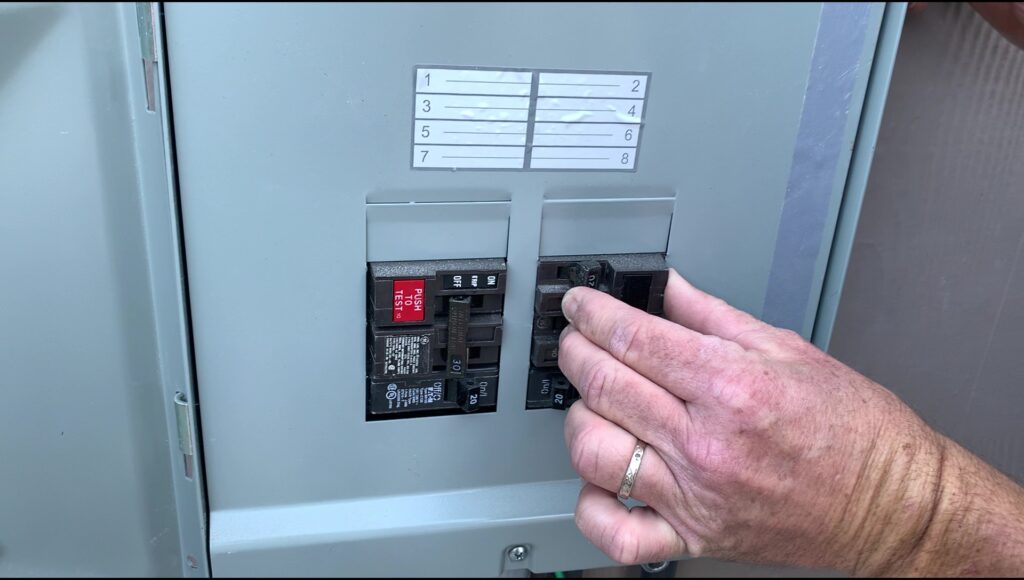
Step 1. Disconnect power from the spa.
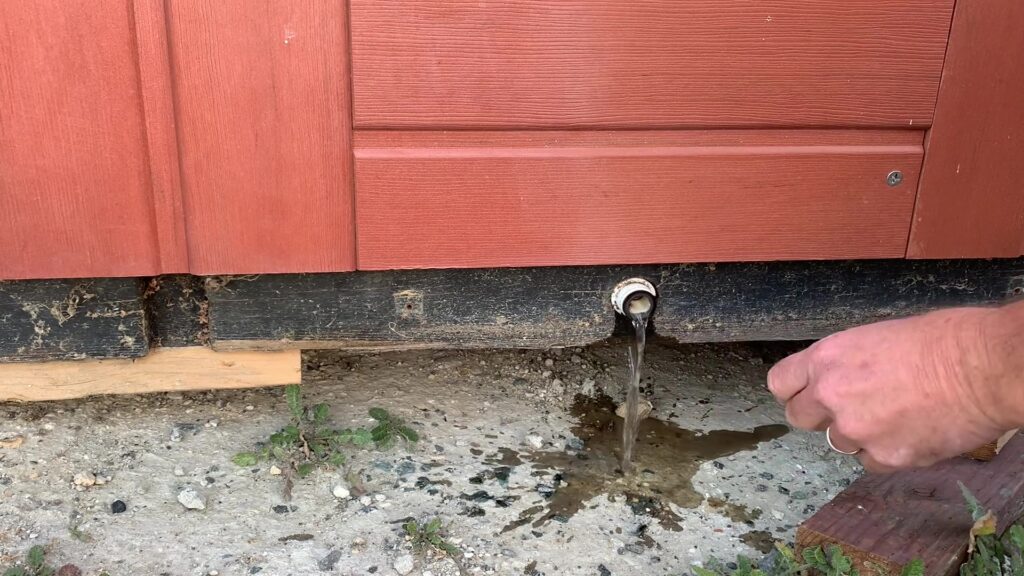
Step 2. Drain the spa.
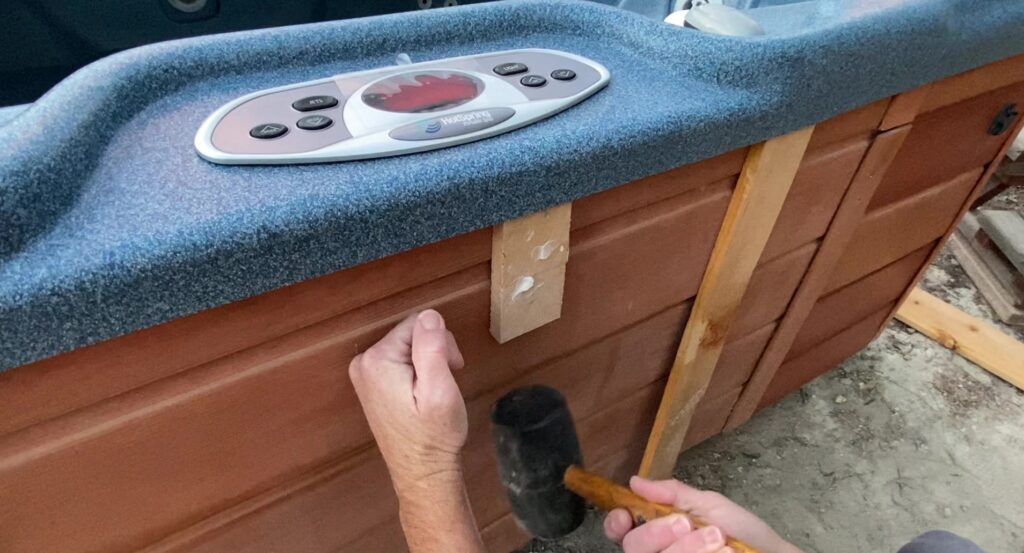
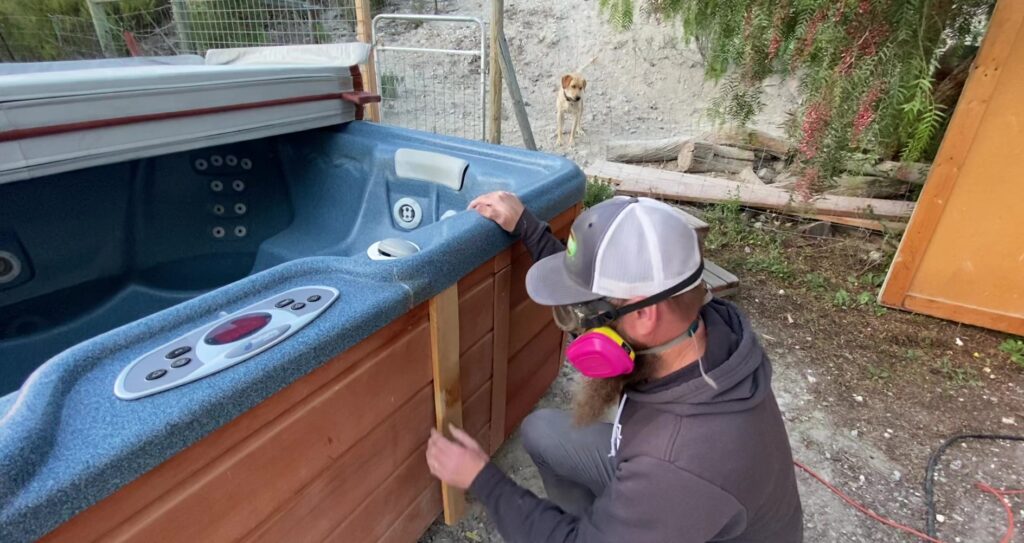
Step 3. Use a hammer to tap in a shim on each side of the crack. The wedge is to create an opening on each side of the crack between the bartop and the front paneling.
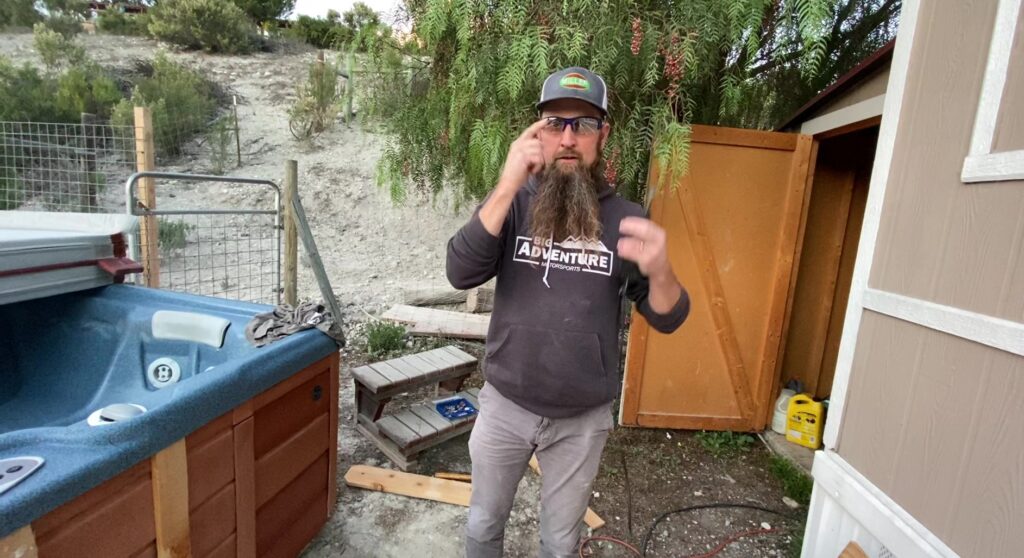
Step 4. Put on your safety glasses.
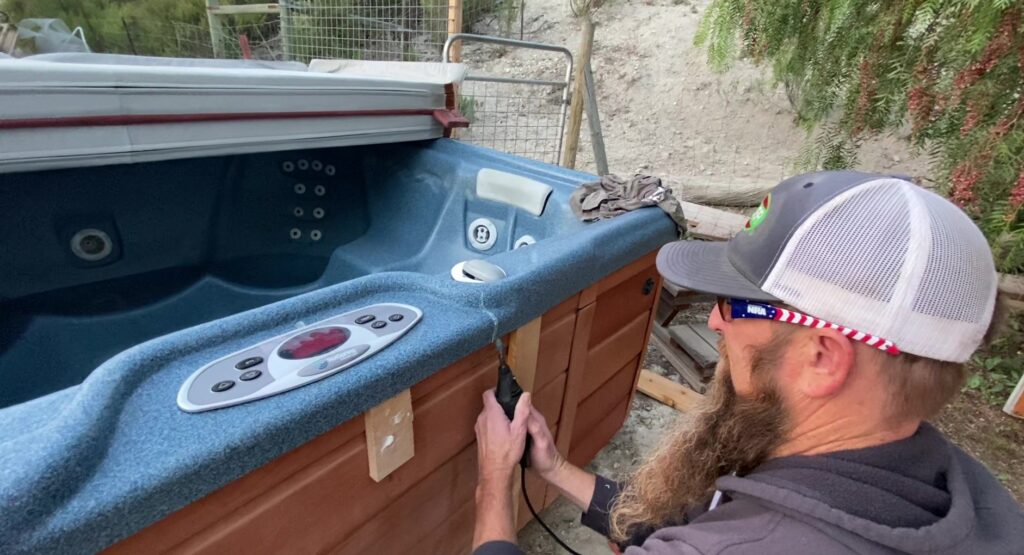
Step 5. Install a grinding stone on your Dremel tool and route out the crack at a 45-degree angle. Terminate the crack by removing all the material and opening up the the ends. This will prevent further cracking after the repair.
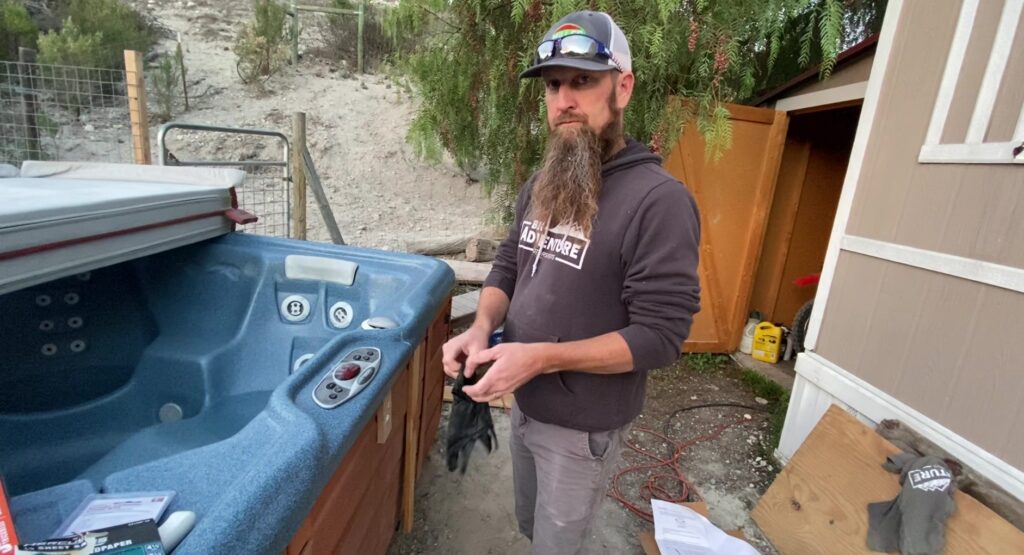
Step 6. Put on your latex or nitrile gloves.
Step 7. Sand the underside of the bartop crack with 40 grit sandpaper.
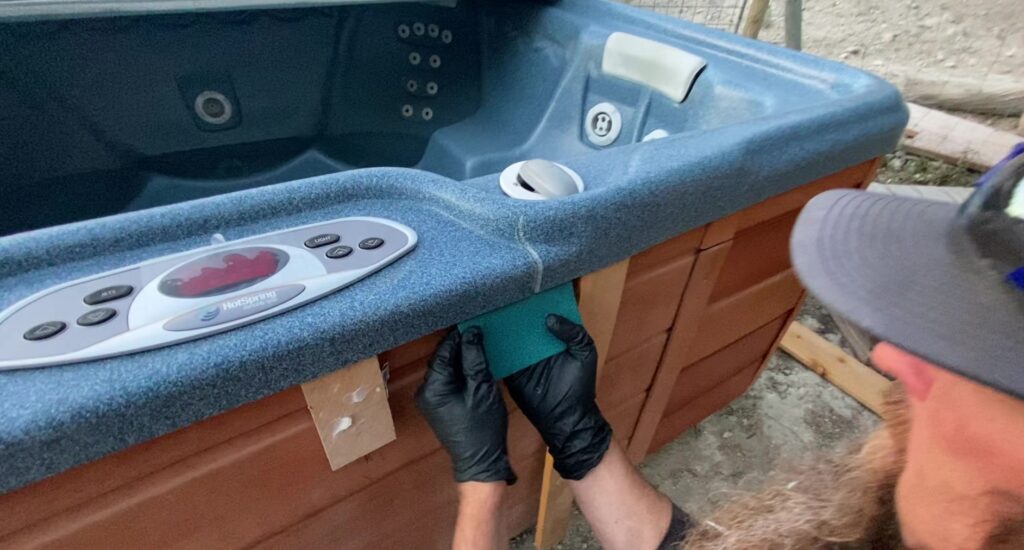
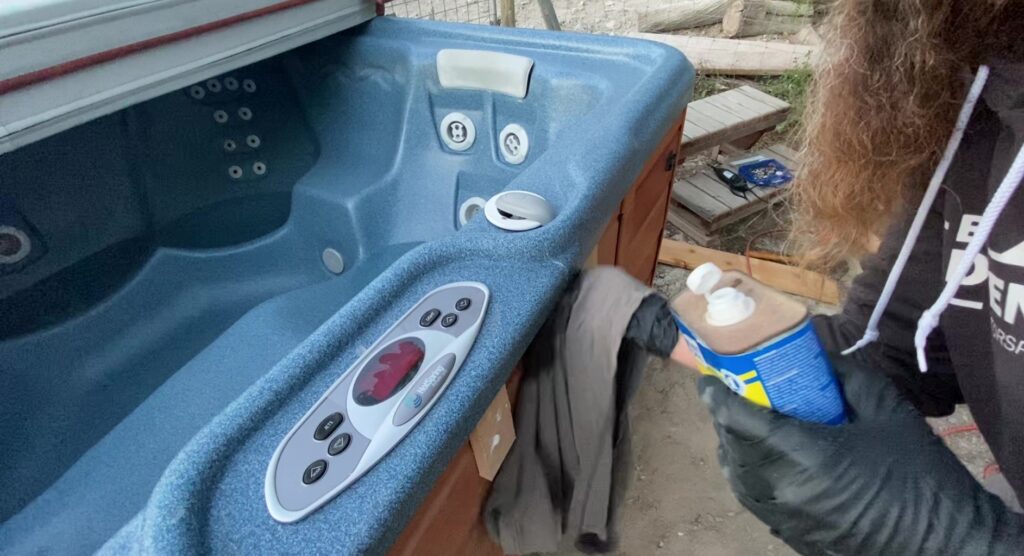
Step 8. Wipe down the sanded area with acetone, mineral spirits, or lacquer thinner.
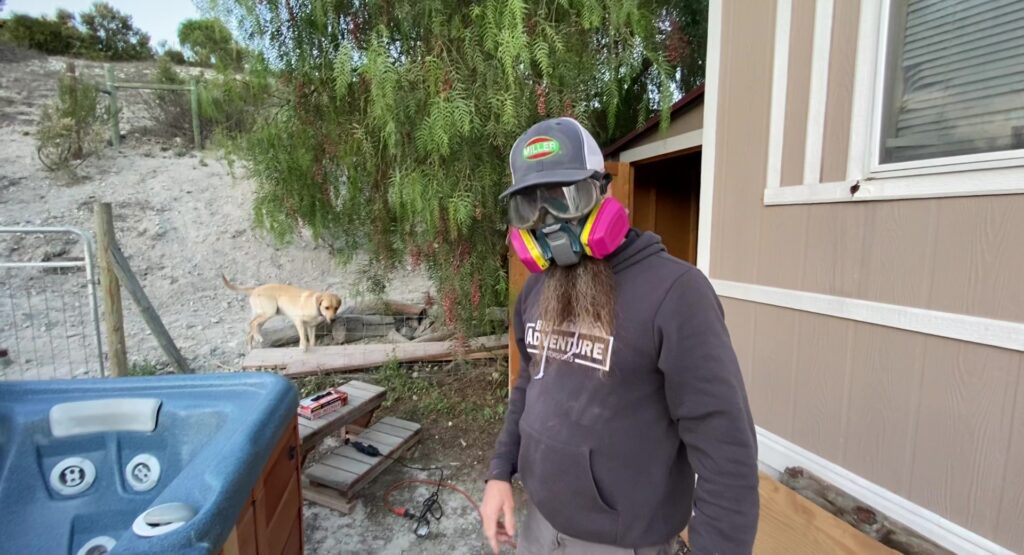
Step 9. Put on your respirator and safety glasses. The Zip Patch vapors are extremely strong and flammable so do this repair in a well-ventilated area!
Step 10. Open the Devcon Zip Patch, Bartop Crack Repair kit. Cut out a section with scissors.
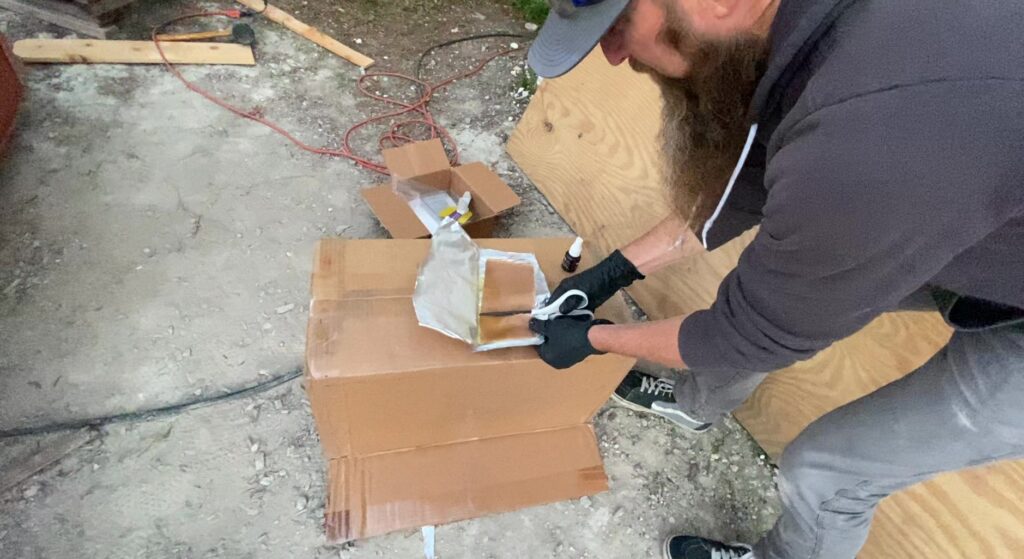
Step 11. Spray the Zip Patch with the activator and wait until it darkens.
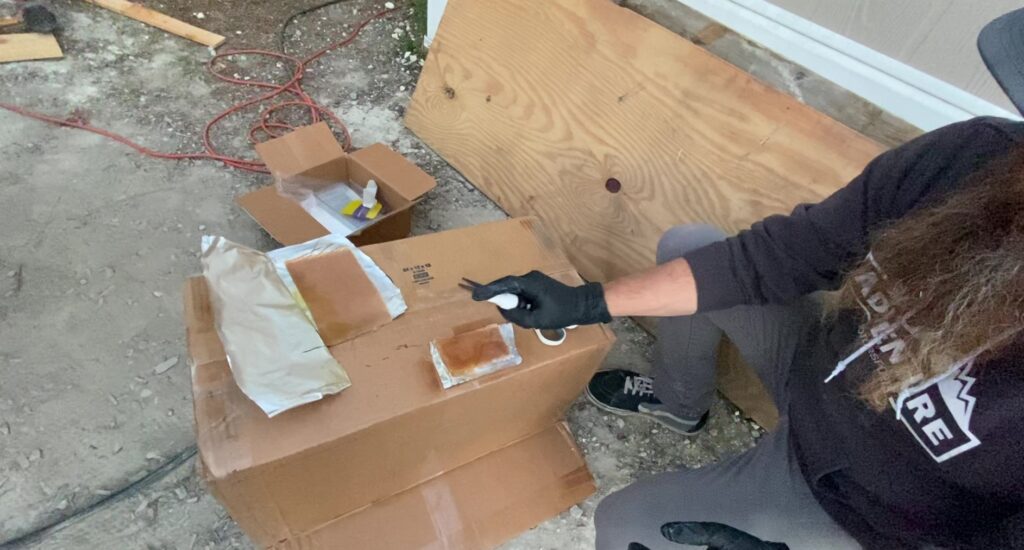
Step 12. After the Zip Patch darkens, install it underneath the bar top crack.
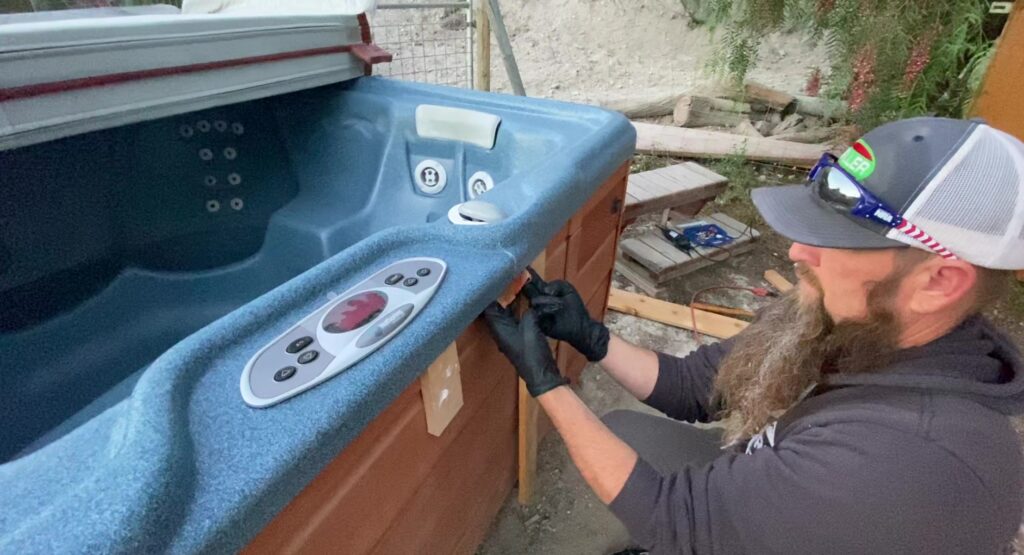
Step 13. Spray it again with the activator. The cure time is approximately 60 minutes.
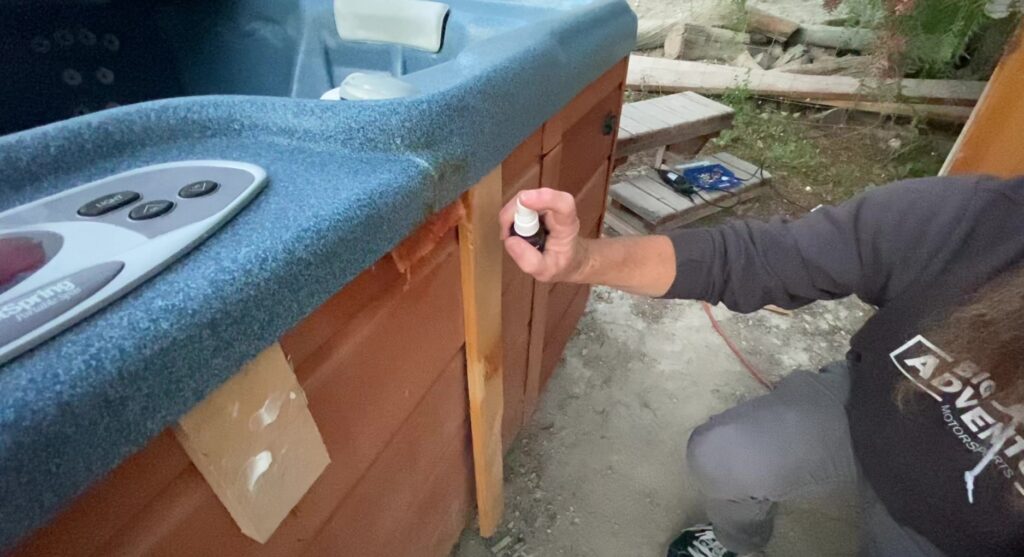
Step 14. Trim off the excess Zip Patch with a Dremel tool cutting wheel.
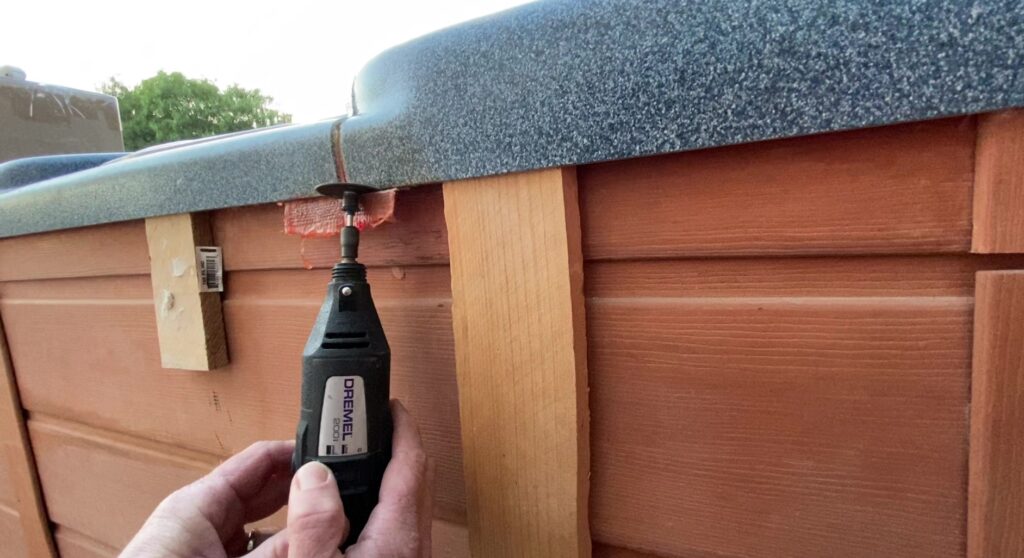
Step 15. Remove the shims.
Step 16. Sand the bar top crack with 40-grit sandpaper.
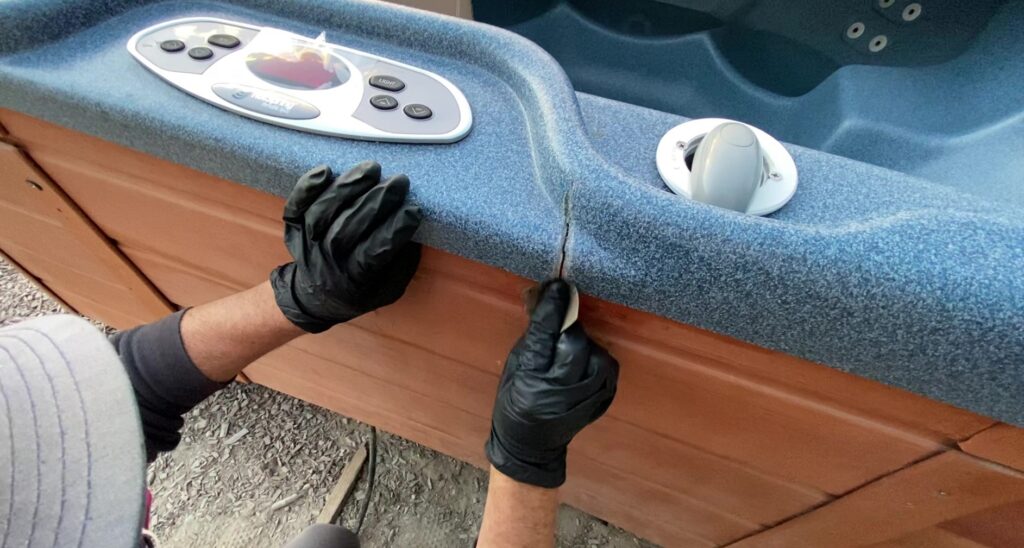
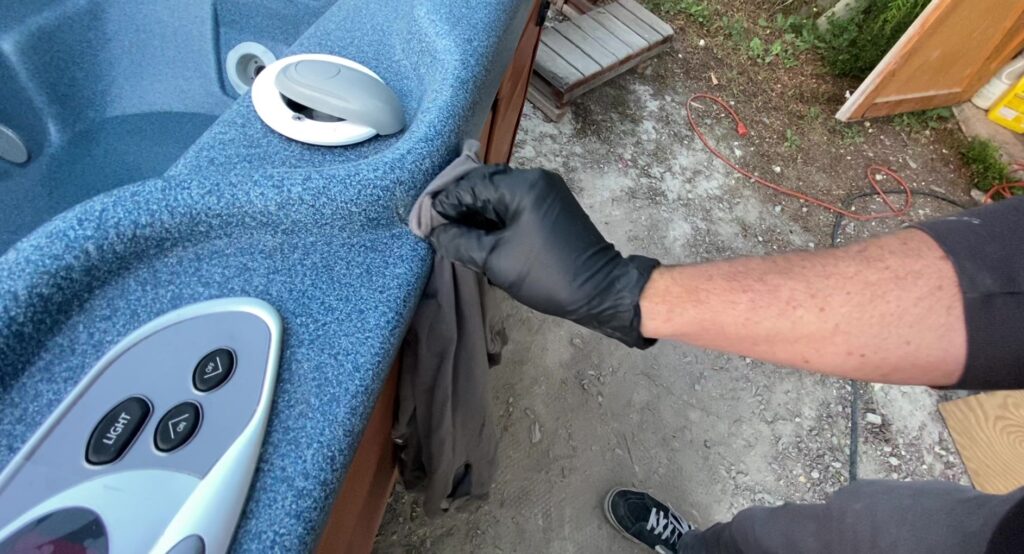
Step 17. Clean the crack with rubbing alcohol.
Step 18. Open the Multitech Acrylic repair kit Item #: 73529. Follow the instructions carefully.
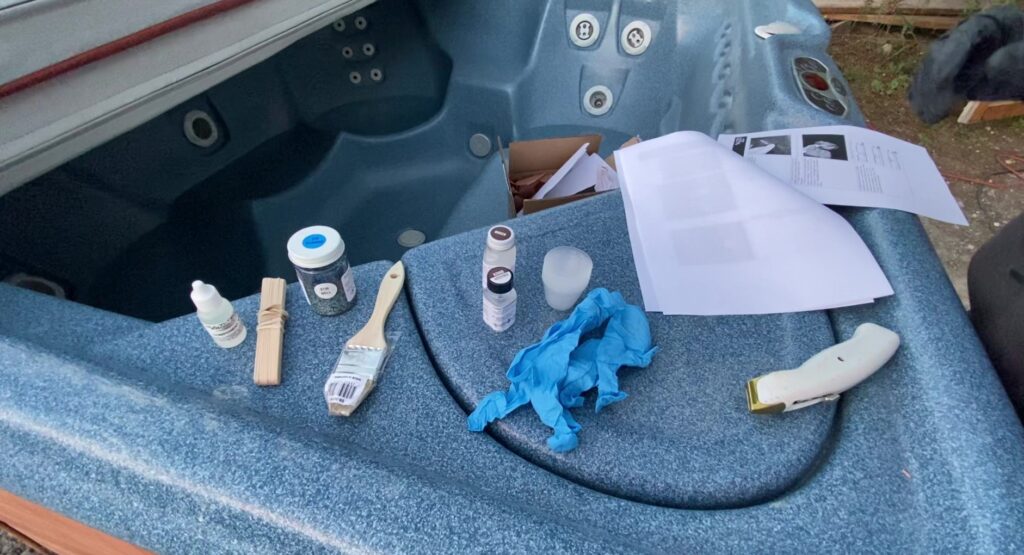
Step 19. Add 30 drops of component “B” per each ½ ounce of “A”. Mix thoroughly with the wooden stirrer. Use immediately, since it will harden in 15 minutes.
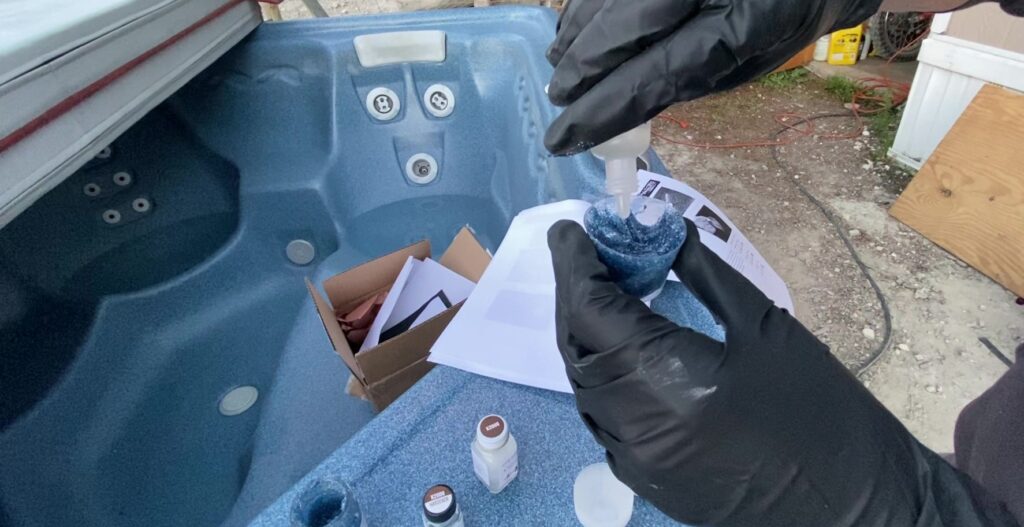
Step 20. Fill the crack with the acrylic resin to slightly below the spa surface. Allow to cure for 5 to 10 minutes.
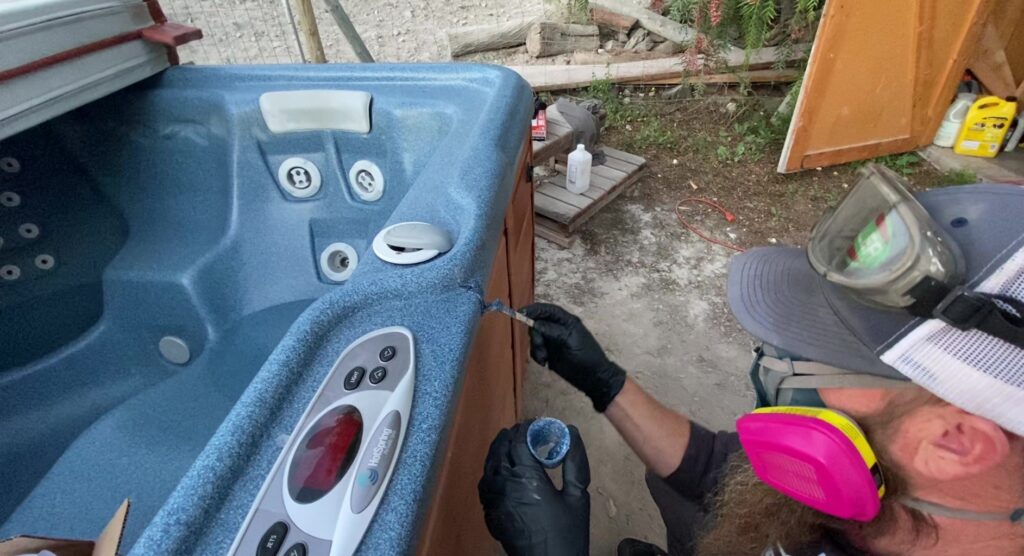
Step 21. Fill the crack with the acrylic resin a 2nd time. The filling should still be below the spa surface. Allow to cure for 5 to 10 minutes.
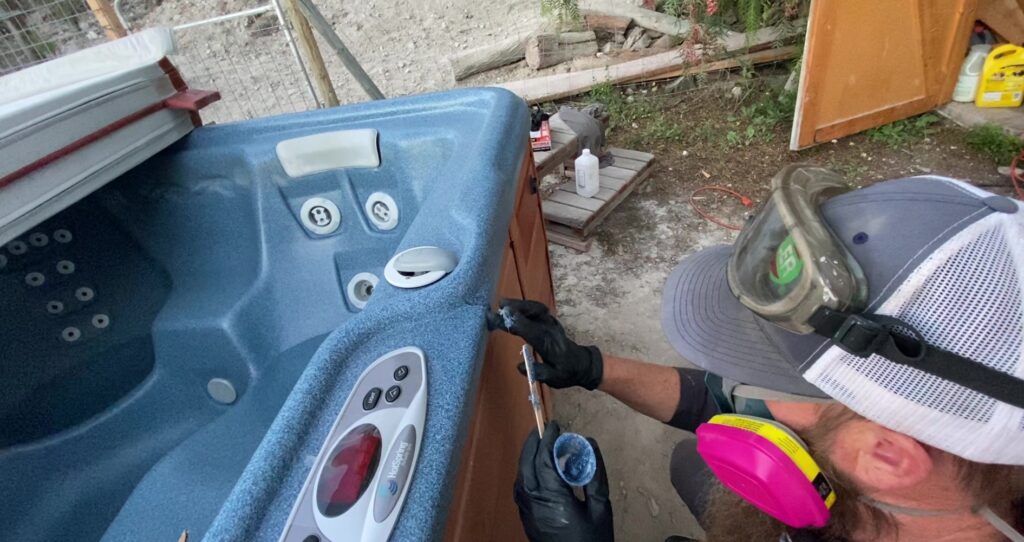
Step 22. Immediately, fill again (3rd time) so that the fill is slightly above the spa surface.
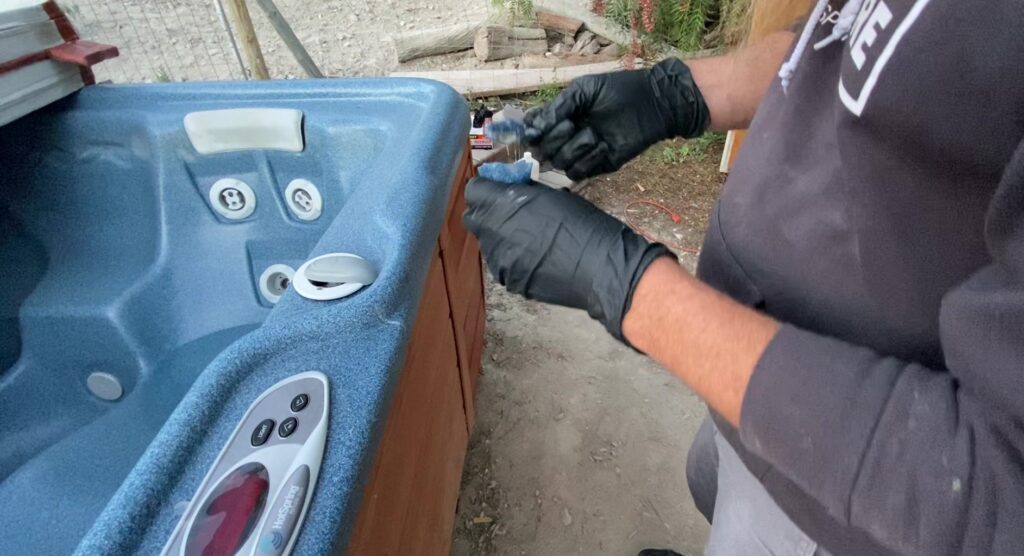
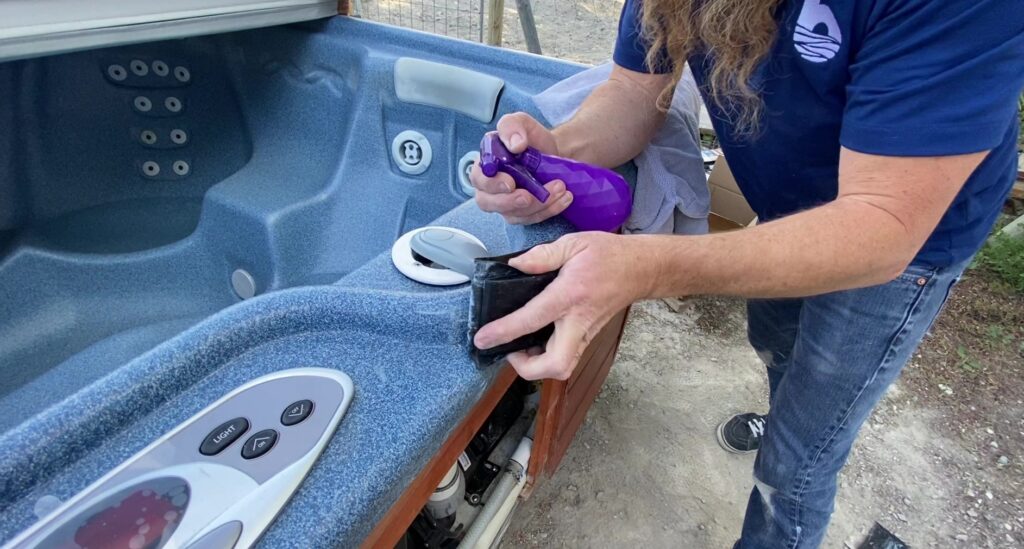
Step 23. Allow a few minutes for curing, and then begin wet sanding with a progression from 40 to 400 grit wet/dry sandpaper.
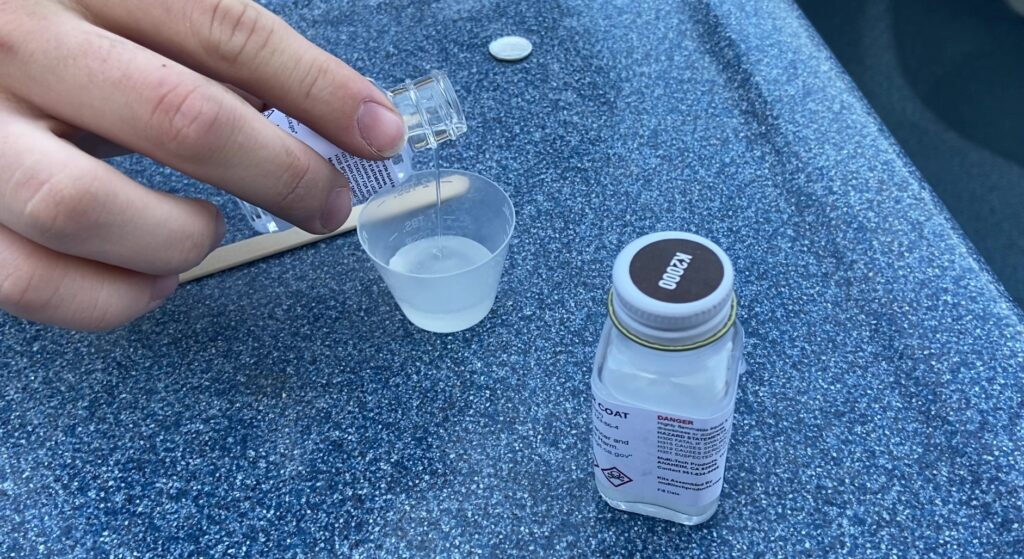
Step 24. Pour an ample amount of K2000 topcoat into a mixing cup. Add the hardener in the ratio of 1 part hardener to 3 parts topcoat.
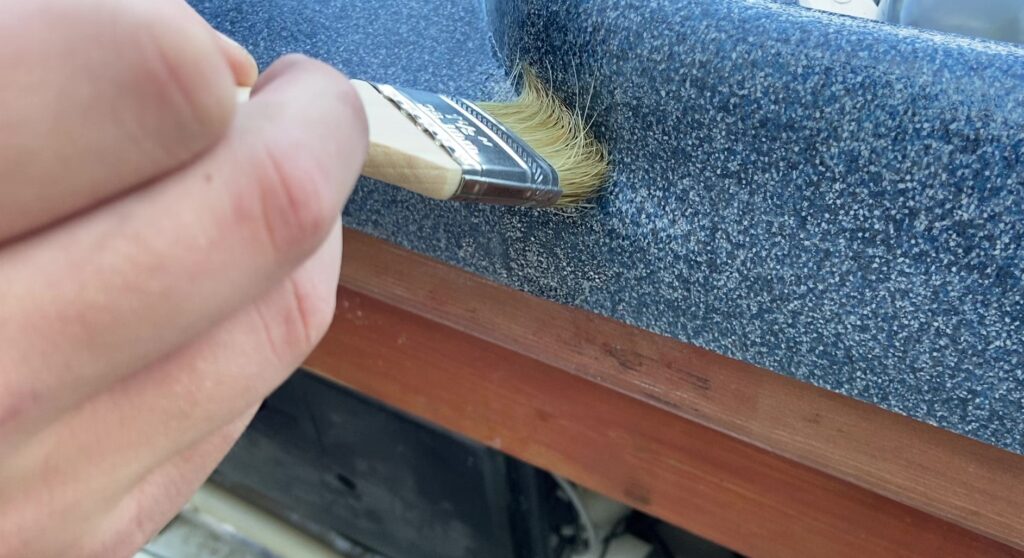
Step 25. Apply this mixture to the repaired area by dabbing it with a small paintbrush. Allow up to 7 days before filling spa with water, and keep the surface dry to prevent damage to the repaired surface until it is ready to be filled.
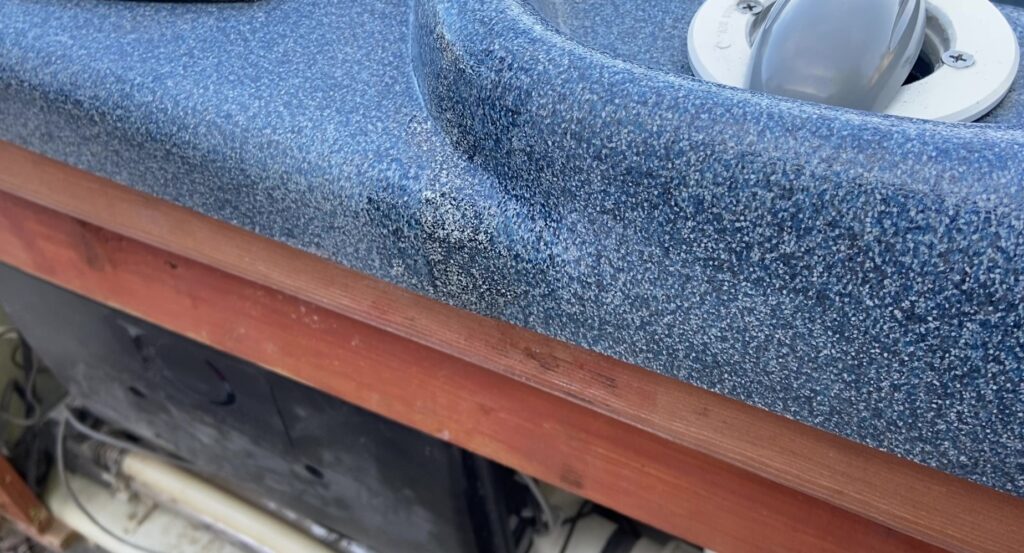
Bartop Repaired!
Watch the video here “Tiger River Bartop Crack Repair”
Thank you for reading this guide “Tiger River Bartop Crack Repair” from Backyard Plus.
Backyard Plus is Here to Help You Be the Hero.
Questions about your spa? Contact us! We are the top Hotspring spa parts retailer on the web.
We offer:
- Our Parts Finder which allows you to find exact-match replacements for your hot tub
- Free technical support that will allow you to maintain and repair your own spa accordingly
- Information regarding your products and their usage through our blog posts.
- Tutorials and assistance through our videos
- Follow us on our Facebook page
Our goal here at Backyard Plus is to help save you money by avoiding costly service calls for repairs that you can easily do yourself!

