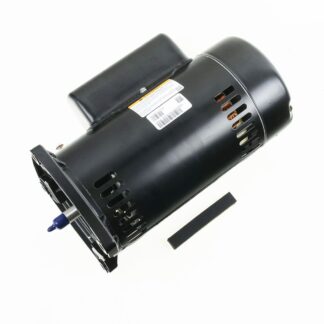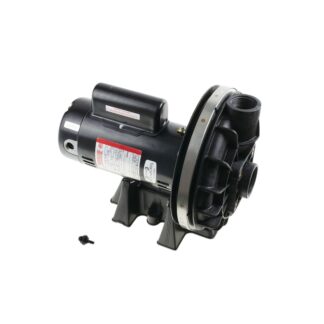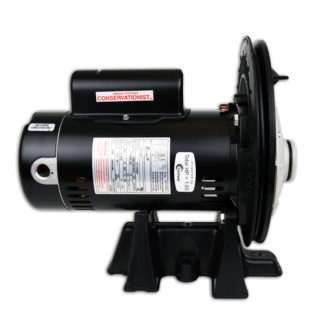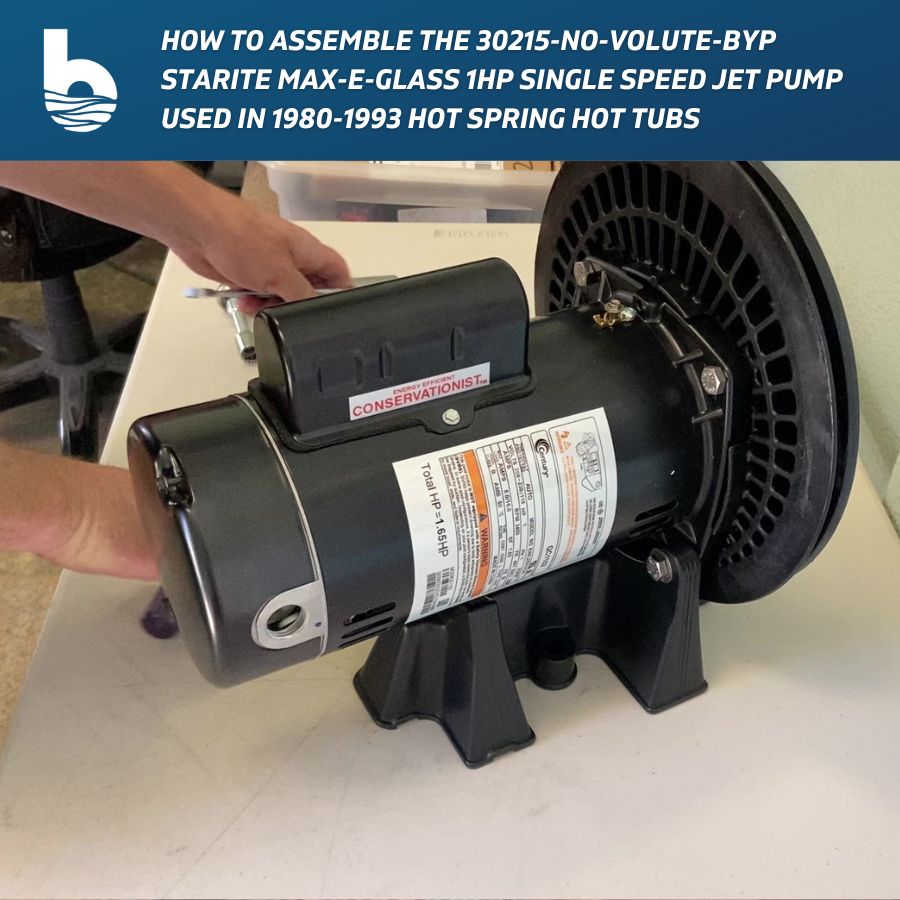
Welcome to Backyardplus! In this post, we show you how to assemble the Starite Max-e-glass one horsepower single speed jet pump that was used in 1980-1993 Hot Spring spas. This pump is sold without the front volute cover and steel band to save you from having to disconnect your hard plumbed suction and discharge fittings. Before we get started, let’s go over the tools and parts you will need.
Tools You Will Need:
- 9/16” wrench
- 1/4” driver
- 8mm driver
- Flat blade screwdriver
- Pliers
Parts You Will Need:
- 30215-Motor-BYP 1HP Starite Energy Effiecient Motor
- 17304-0100S Shaft Seal, Wavemaster 7000 (v.1)
- 30220 Volute O-Ring, Starite
- 30222 Sta Rite Diffuser O-Ring
- 30223 Impeller, 1Hp Starite
- 30370 Bolt, 5/16 X 1-1/2in Stainless Steel Hex Cap, Starite X 2
- 30413 Mounting Bolt Washer, Wavemaster X 2
- 32267 Barbed Fitting with o-ring, Wavemaster and Starite
- 70031 Pump Mounting Bracket, Starite 1HP
- 70035 Bolt, Hex Hd 3/8in-16 X 1-3/4in, Starite X 2
- 70036 Diffuser Screw, #8-32 X 7/8in, Starite X 5
- 70059 Bolt, #3/8in-16 X 1in Hex, Starite X 2
- 70158 Diffuser Screw Washer, #8 Ext Tooth, Starite X 5
- 70396 Washer, Flat 3/8in Wavemaster X 2
- ML-1OZ-BYP Silicone Grease, 1 oz. Tube
- 30221-BYP Diffuser, Starite- After Market
- 70032-SP Seal Plate only
Step 1. Install the rubber pad on the pump mounting bracket.
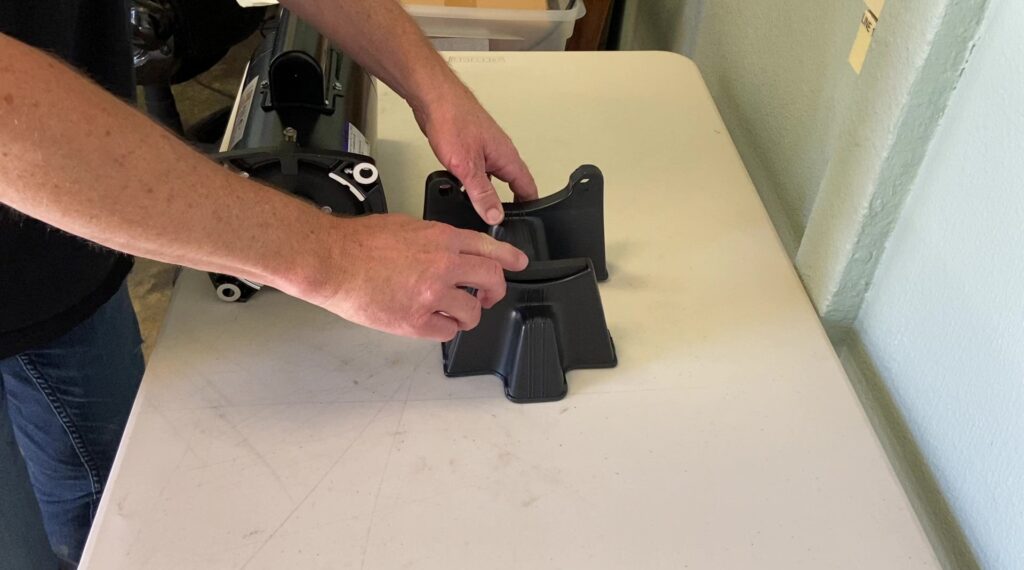
Step 2. Place the jet pump on the pump mounting bracket. Put the washers on the two long bolts and attach the pump to the pump mounting bracket with the bolts.
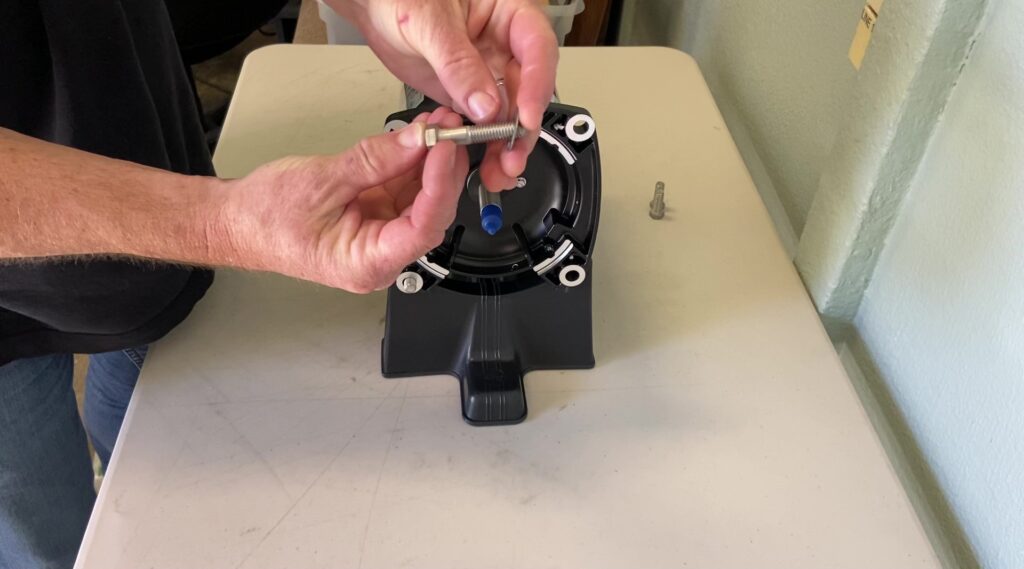
Step 3. Cover the rubber part of the shaft seal with grease and push it into the seal plate with the ceramic side facing outward.

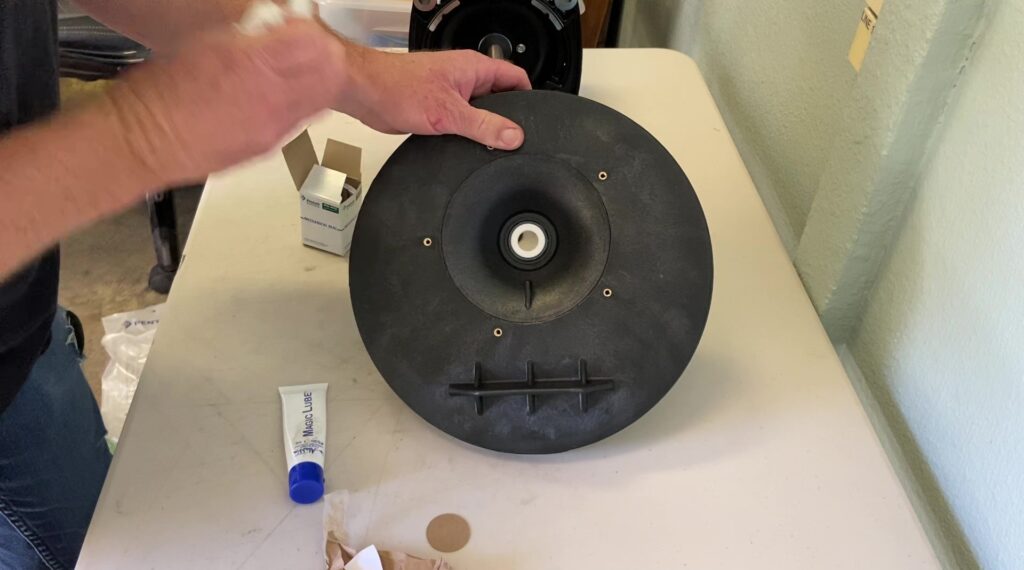
Step 4. Attach the seal plate to the pump with the four bolts, using your 9/16” wrench.
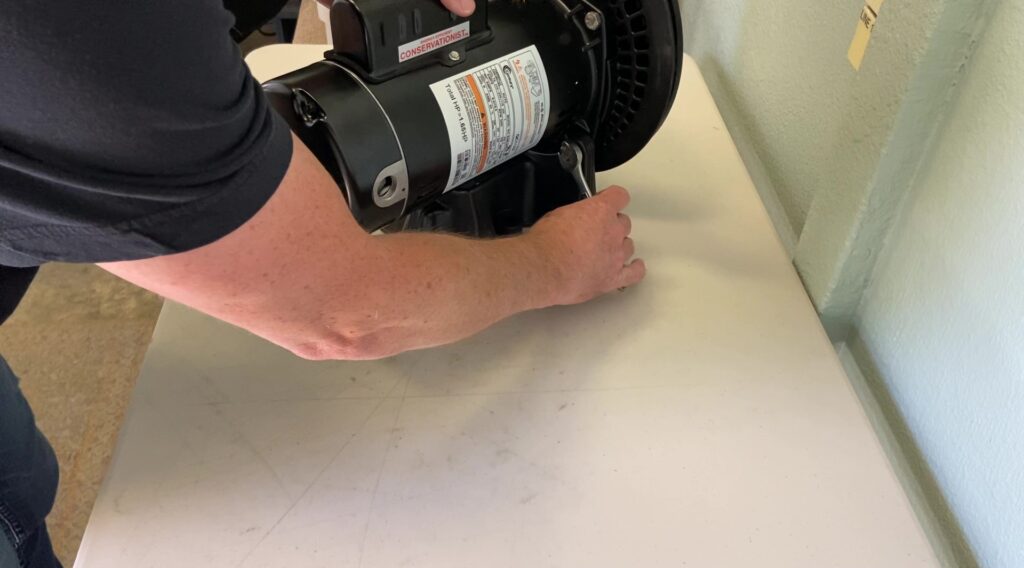
Step 5. Install the second part of the shaft seal. The side with the rubber O-ring will face the impeller. The side with the graphite surface will face away from the impeller and butt up against the white ceramic surface.
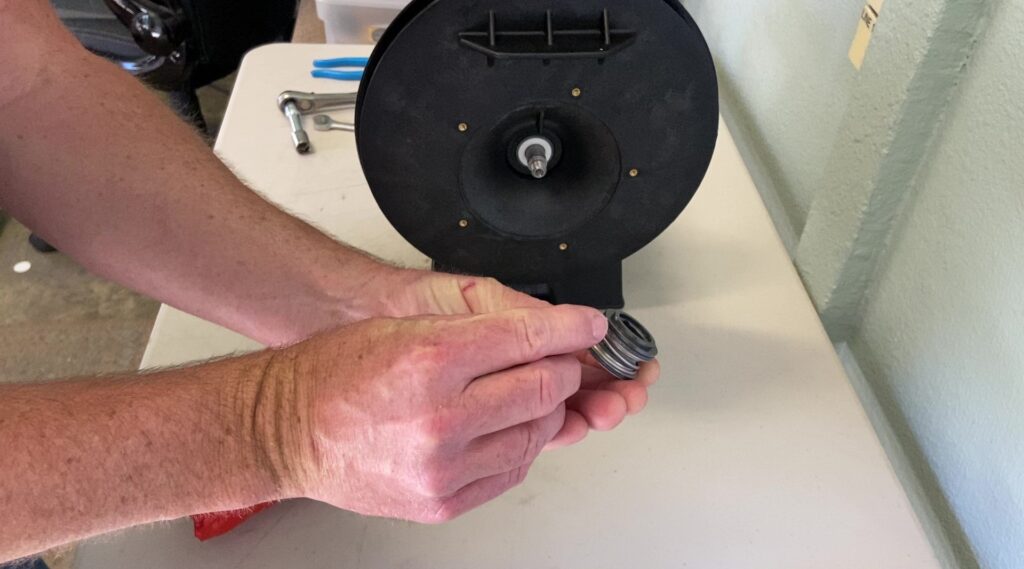
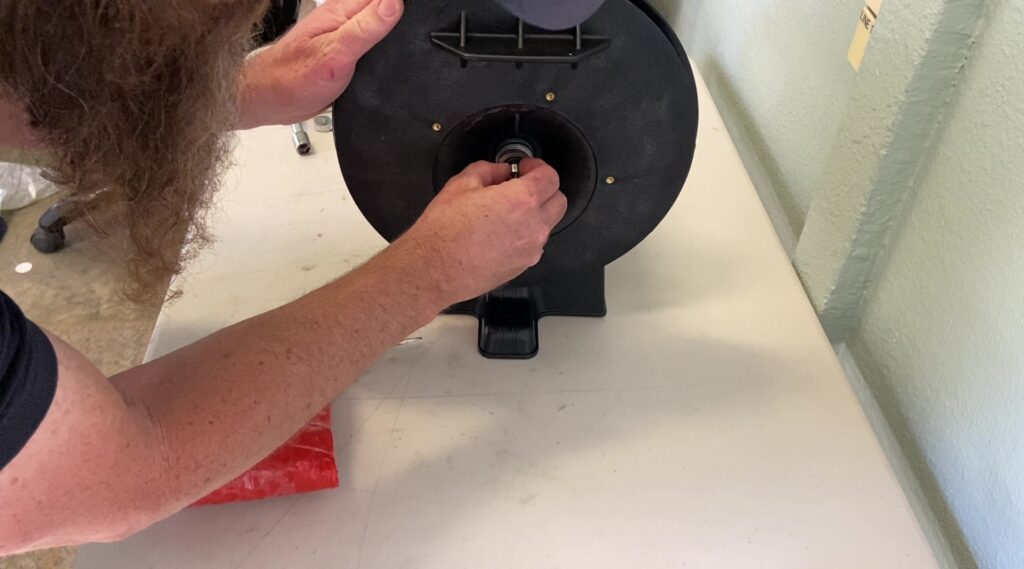
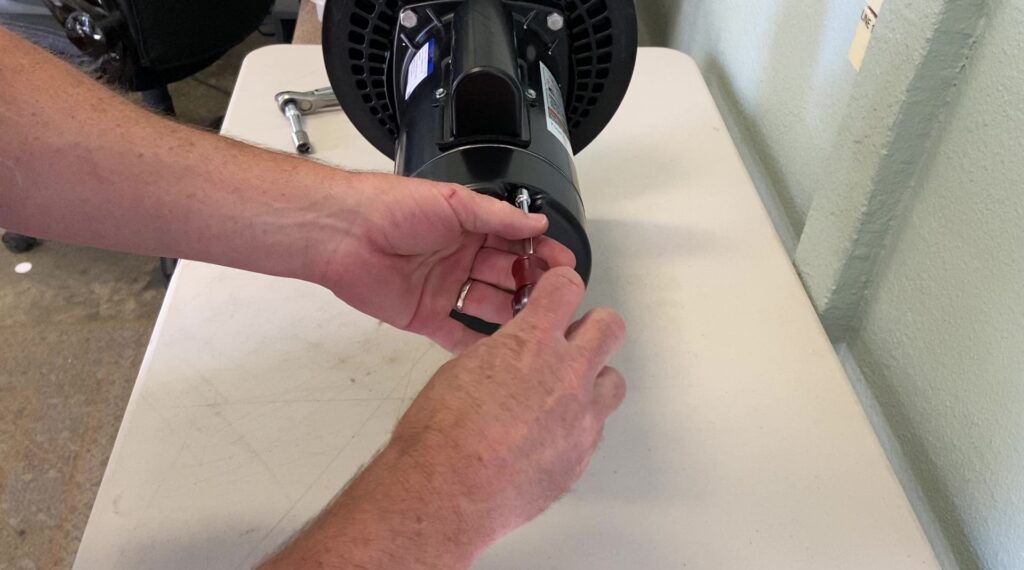
Step 6. Remove the back cover with your ¼” nut driver.
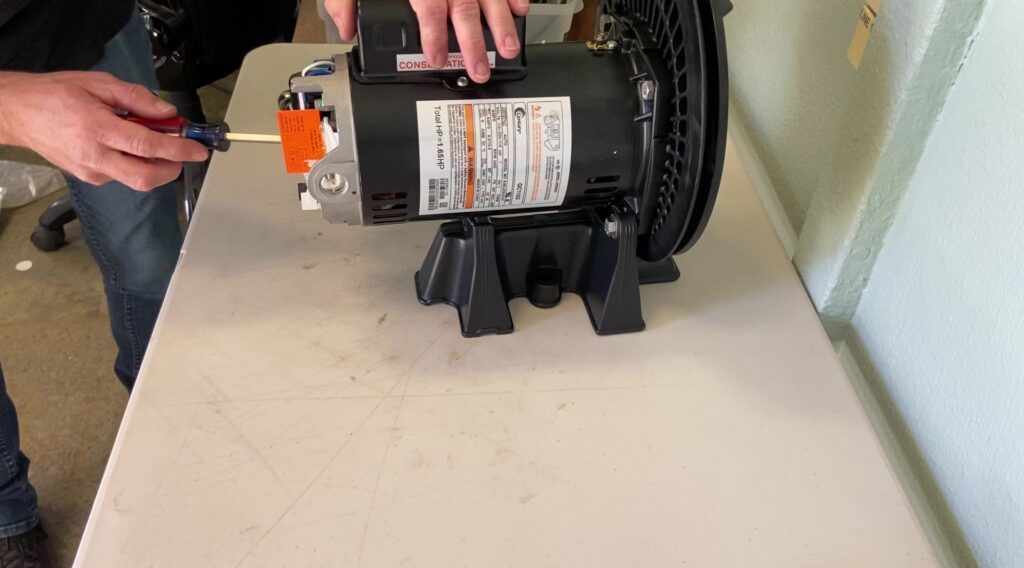
Step 7. Install the impeller. Hold the shaft in place with pliers or a screwdriver while you hand tighten the impeller.
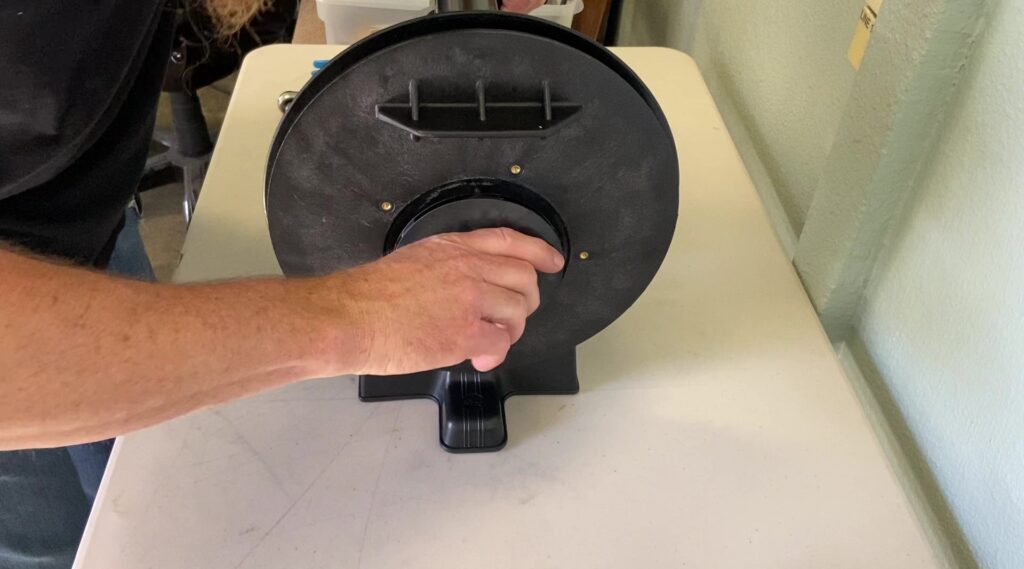
Step 8. Install the diffuser with your 8mm driver using the five diffuser screws and washers.
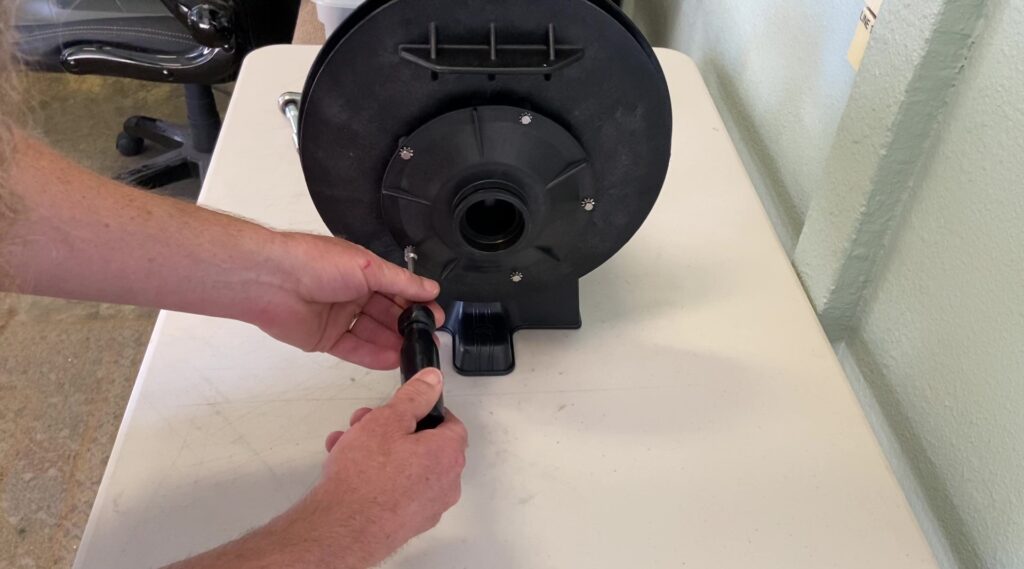
Step 9. Cover the diffuser O-ring with silicone grease and install it on the diffuser.
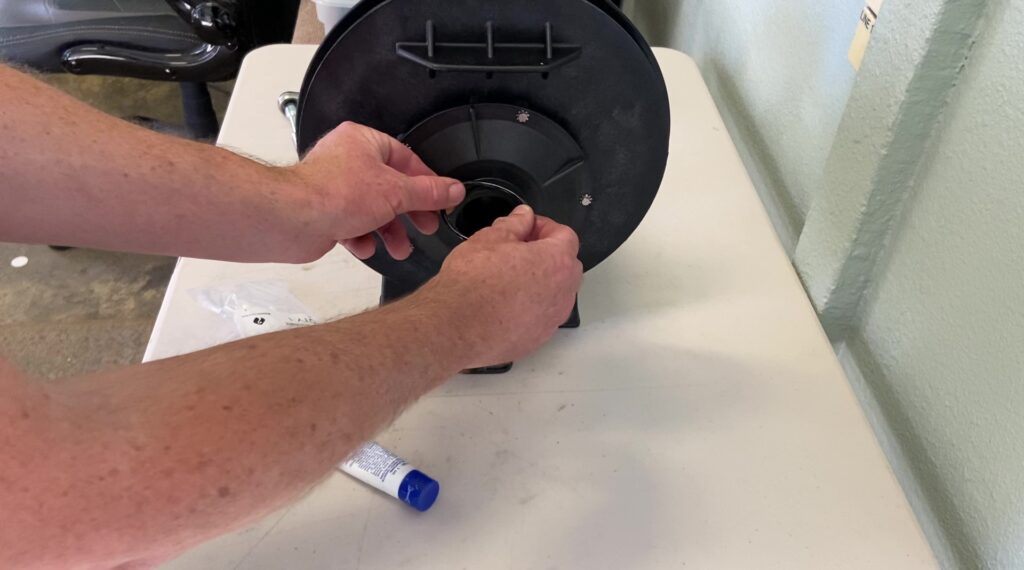
Step 10. Re-install the back cover with your ¼” driver.
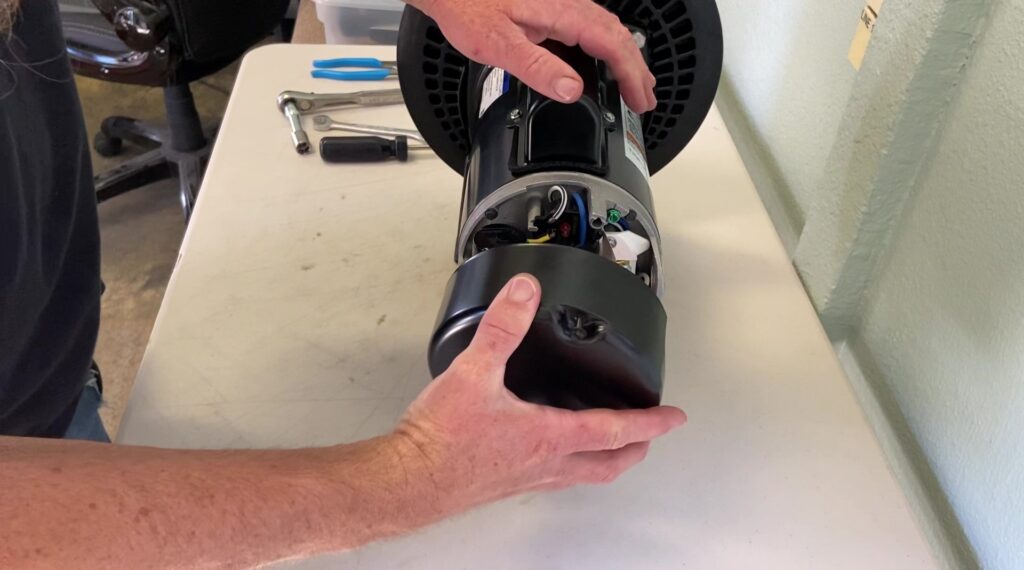
Good job!
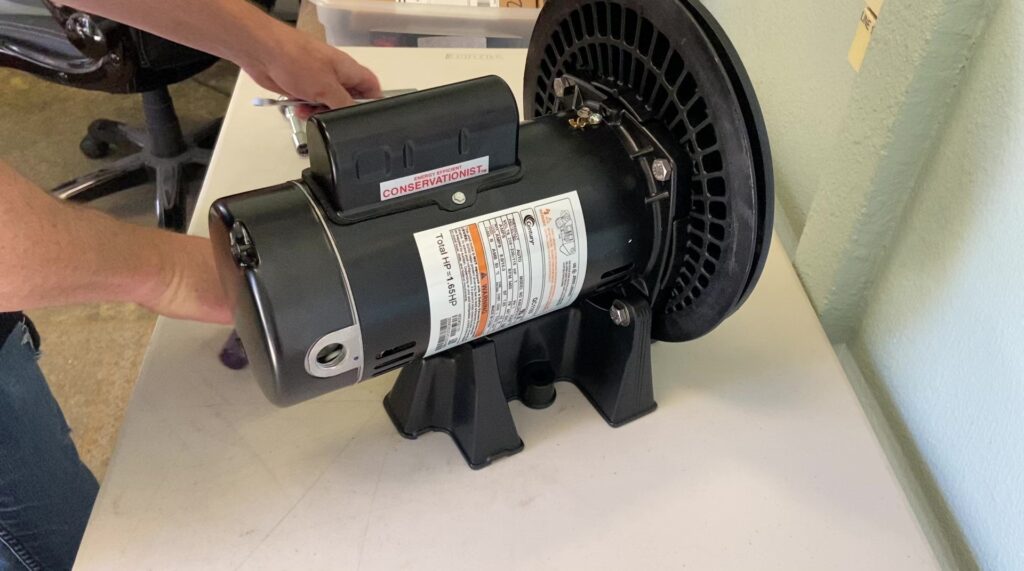
Watch the video here! “How To Assemble the 30215-NO-VOLUTE-BYP Starite Max-e-glass 1HP Single Speed Jet Pump Used In 1980-1993 Hot Spring Hot Tubs”
Questions about your spa? Contact us! We are the top Hotspring spa parts retailer on the web.
Call us at (805)541-9000
Text us to receive technical support
In addition to “How To Assemble the 30215-NO-VOLUTE-BYP Starite Max-e-glass 1HP Single Speed Jet Pump Used In 1980-1993 Hot Spring Hot Tubs” we offer:
- Our Parts Finder which allows you to find exact-match replacements for your hot tub
- Free technical support that will allow you to maintain and repair your own spa accordingly
- Information regarding your products and their usage through our blog posts.
- Tutorials and assistance through our videos
- Follow us on our Facebook page
Our goal here at Backyard Plus is to help save you money by avoiding costly service calls for repairs that you can easily do yourself!
