Welcome to Backyardplus! In this post, we show you how to replace the diverter valve collar and body on a Hot Spring, Tiger River, and Hot Spot spa. Before we get started, let’s go over the tools and parts you will need.
Tools you will need:
- Reciprocating saw
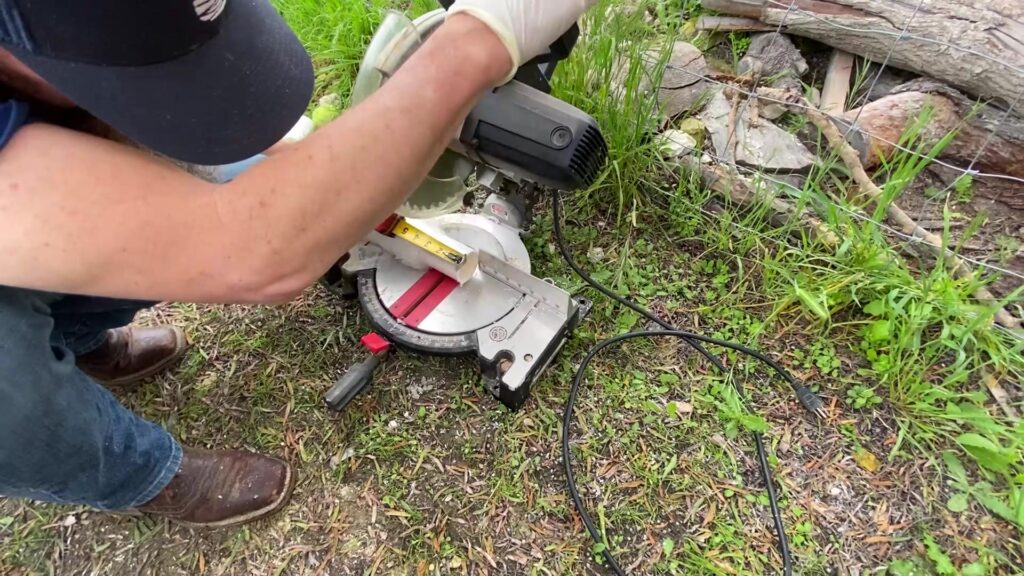
- Compound miter saw
- Chisel
- Hammer
- PVC Glue
- Purple primer
Part you will need:
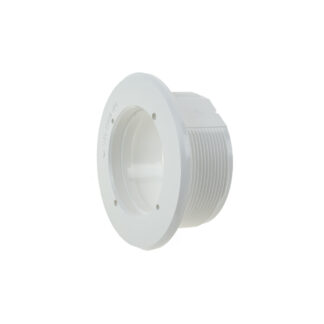
- 75116 Diverter Valve Collar
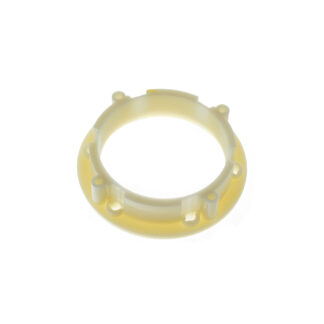
- 75117 Diverter Valve Nut
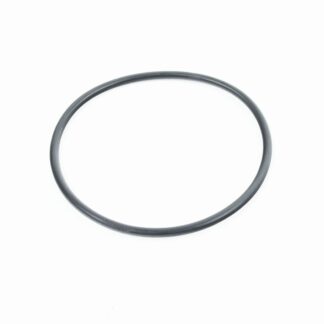
- 34319 Diverter Valve O-ring
- 37704 Diverter Valve Body
- 70308 2” Flexible PVC
- 70309 1 ½” Flexible PVC
- 30665 2” Slip x Slip Coupling
- 30664 1-1/2” Slip X Slip Coupling
- 31288 Reducer, 2” X 1-1/2” Spig X Slip
- 31401 Elbow, Reducing, 2” X 1-1/2”
Attention: The plumbing on each Hot Spring, Tiger River and Hot Spot spa is different. You may need different parts than the ones listed in this post. If you are unsure of which parts you need for your diverter valve collar replacement, call our tech support @ 805-541-9000.
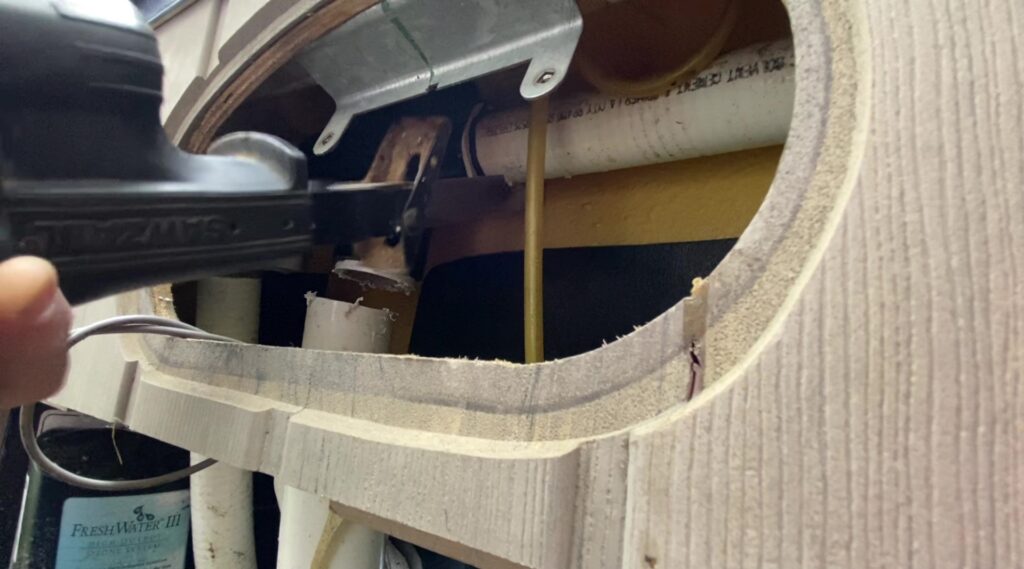
Step 1. Cut the flexible PVC as close as you can to the diverter valve body with the reciprocating saw.
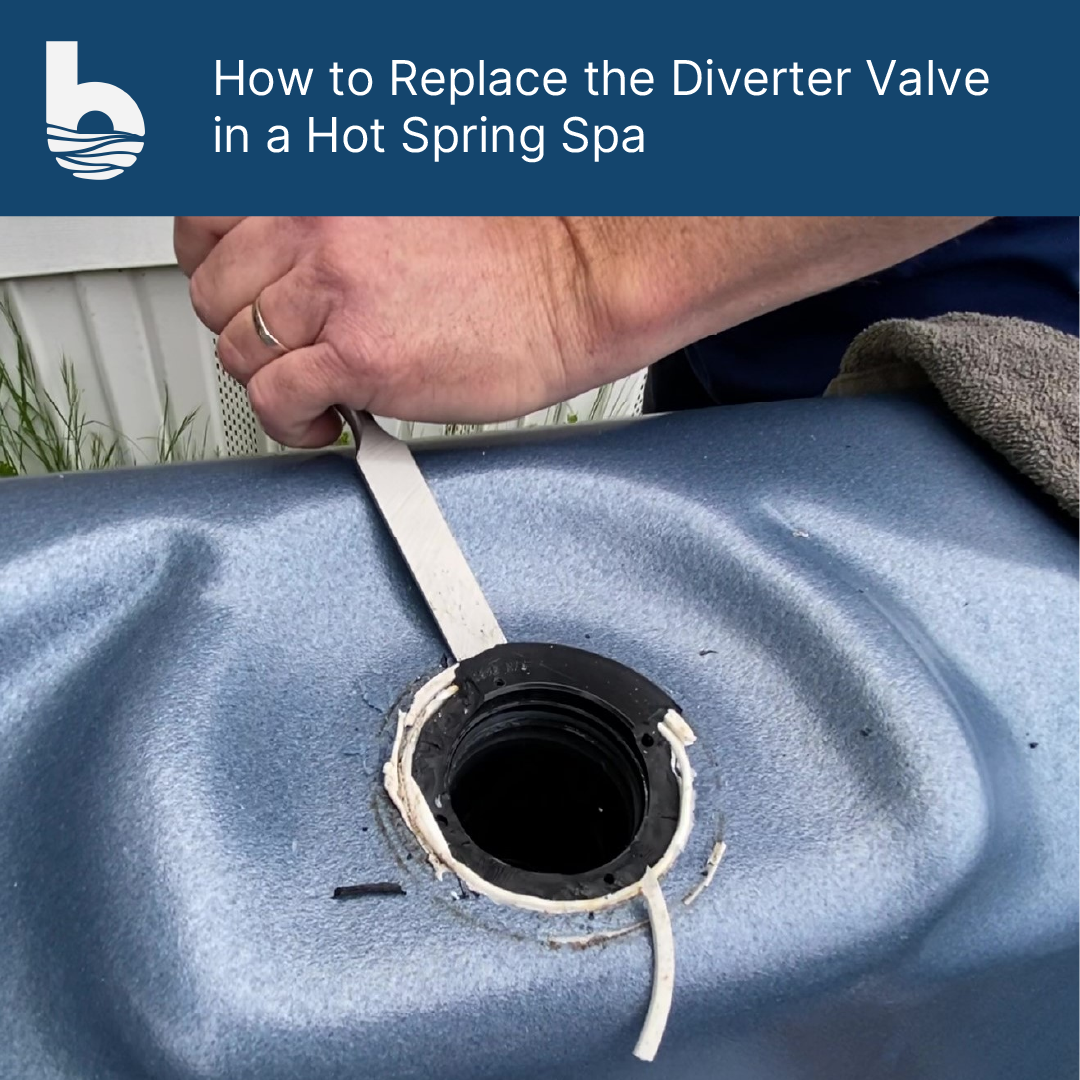
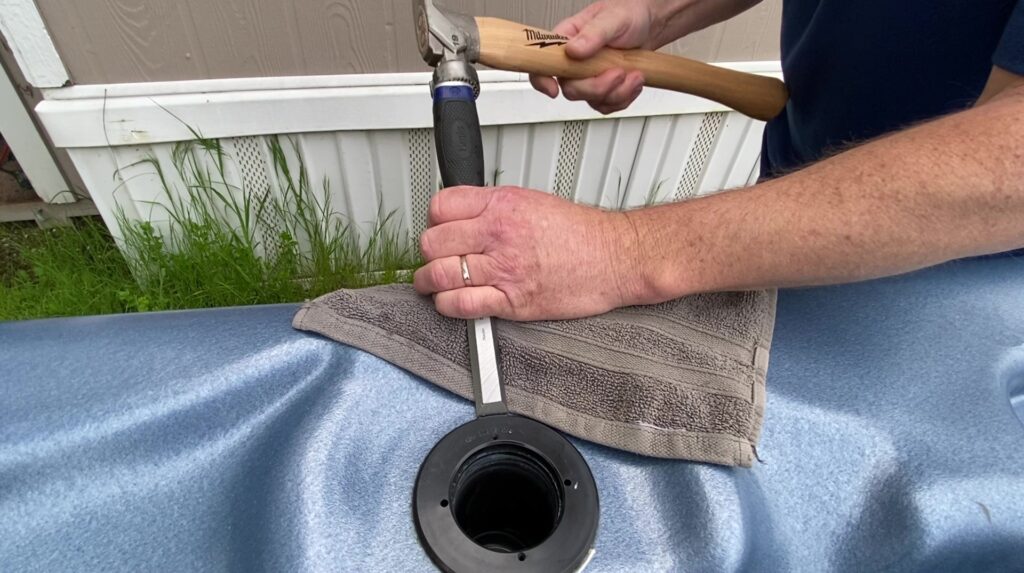
Step 2. Using the chisel and hammer, chip away at the collar where the collar meets the bar top. Be careful not to damage the bar top with the chisel.
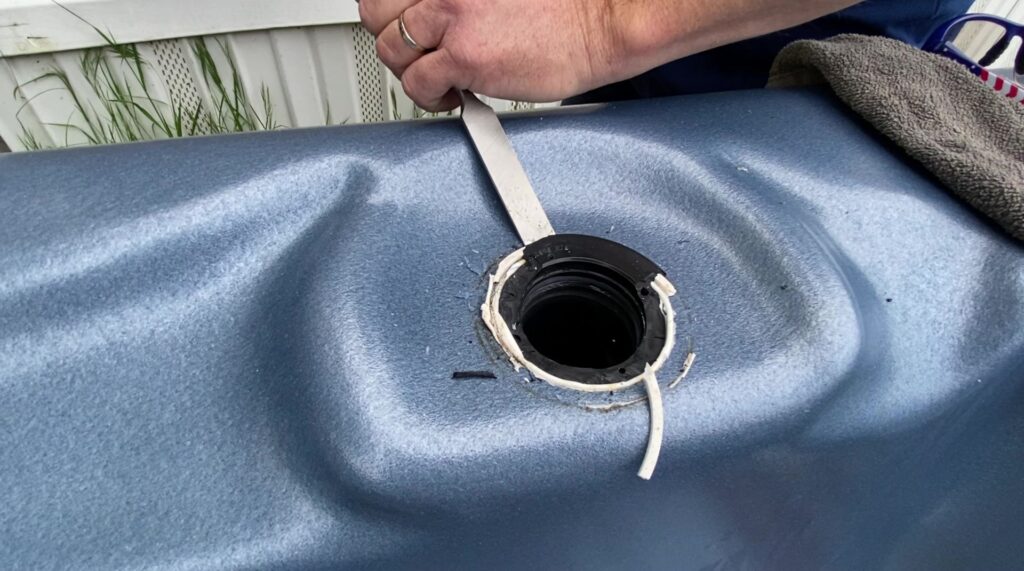
Step 3. Remove the diverter valve collar, nut, and body from the spa.
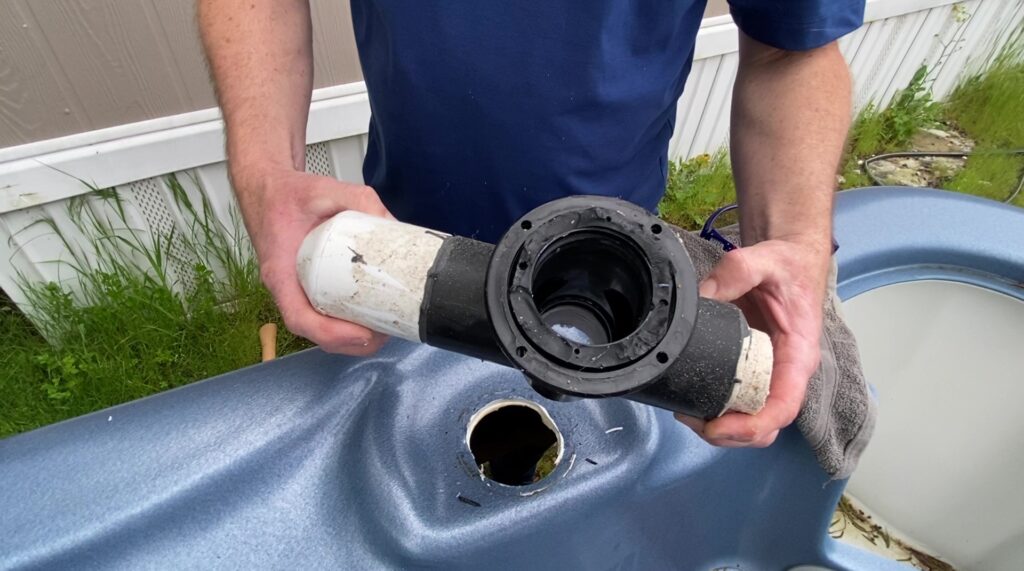
Step 4. Prime and glue the reducer to the diverter valve body.
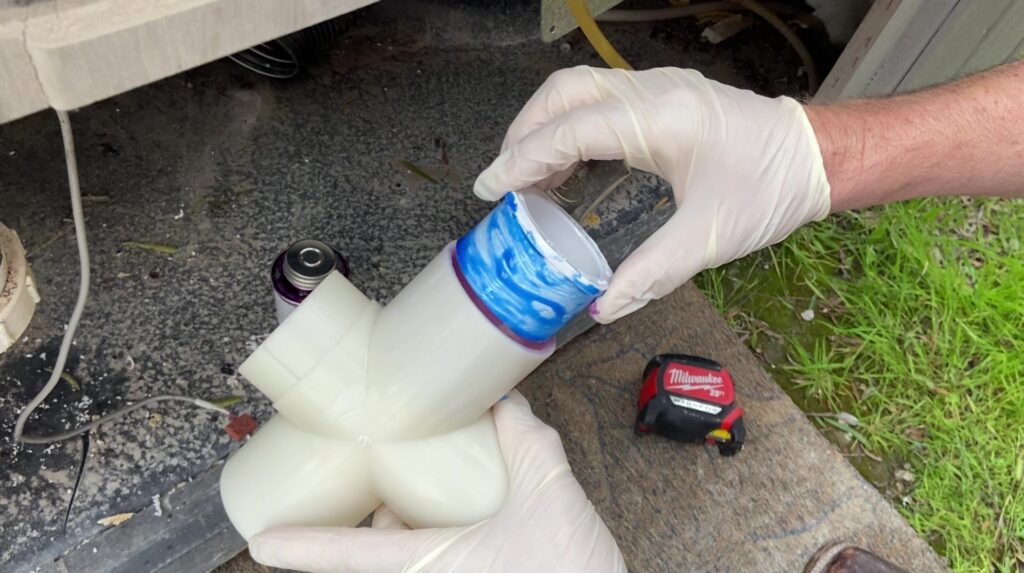
Step 5. Cut a piece of 2” PVC. Prime and glue the PVC to the other side of the diverter valve body.
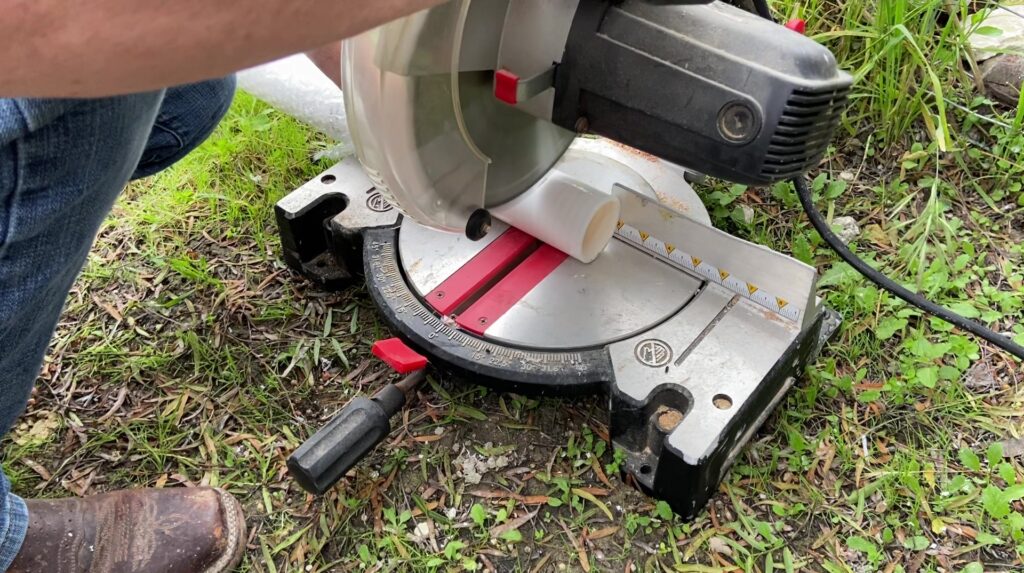
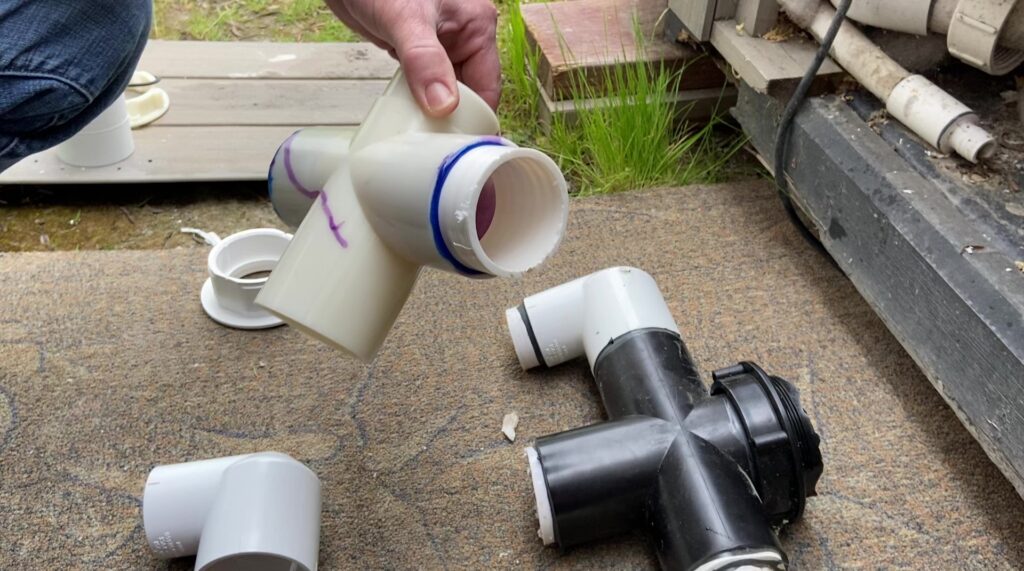
Step 6. Prime and glue the reducing elbow to the PVC. Make sure to orient the elbow the same way the original elbow was oriented.
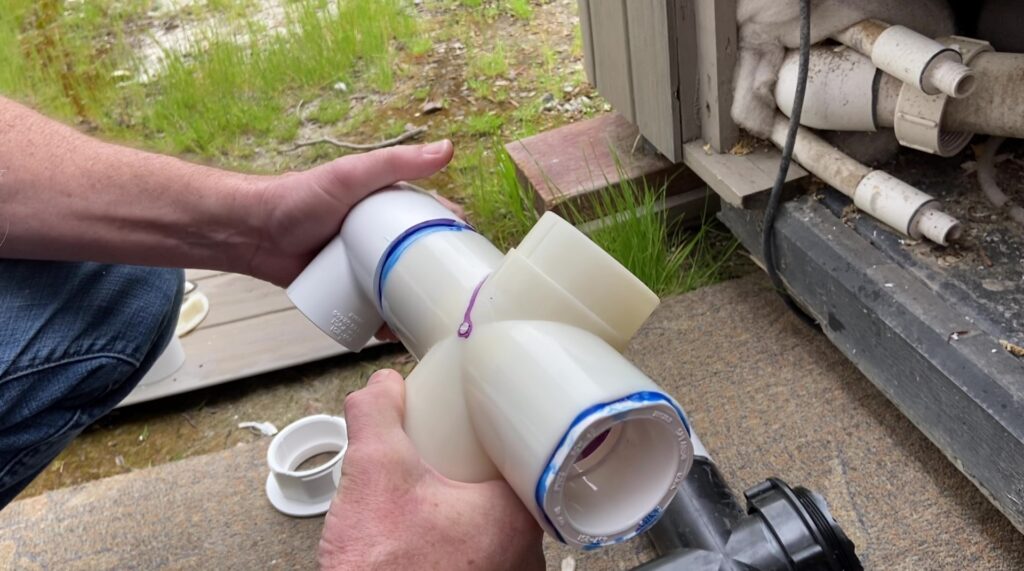
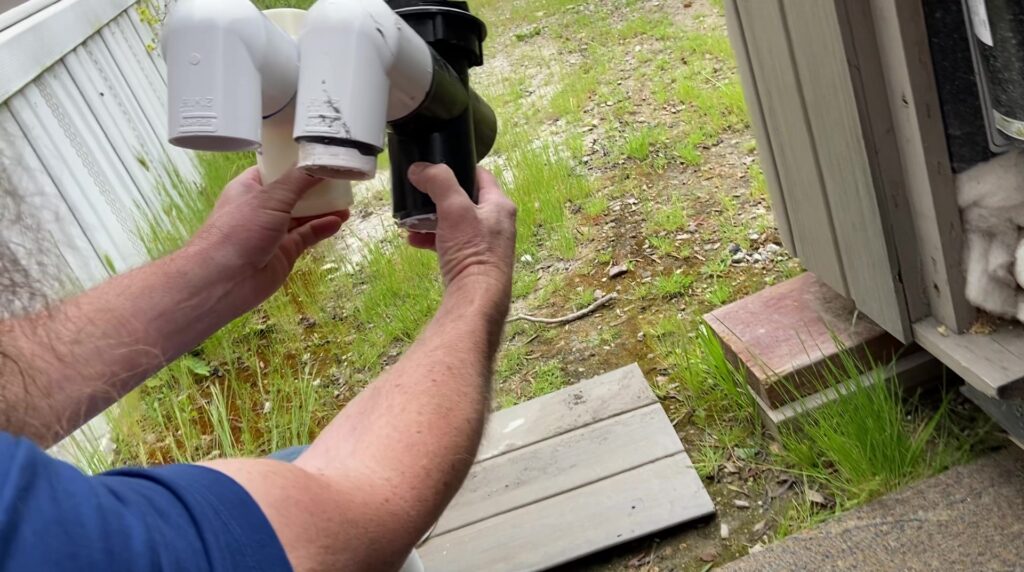
Step 7. Prime the diverter valve body, install the nut, and install it in the bar-top. Brace the body against the floor of the spa with a 4×4 post so that you can push the collar down all the way over the diverter valve body when you glue them together.
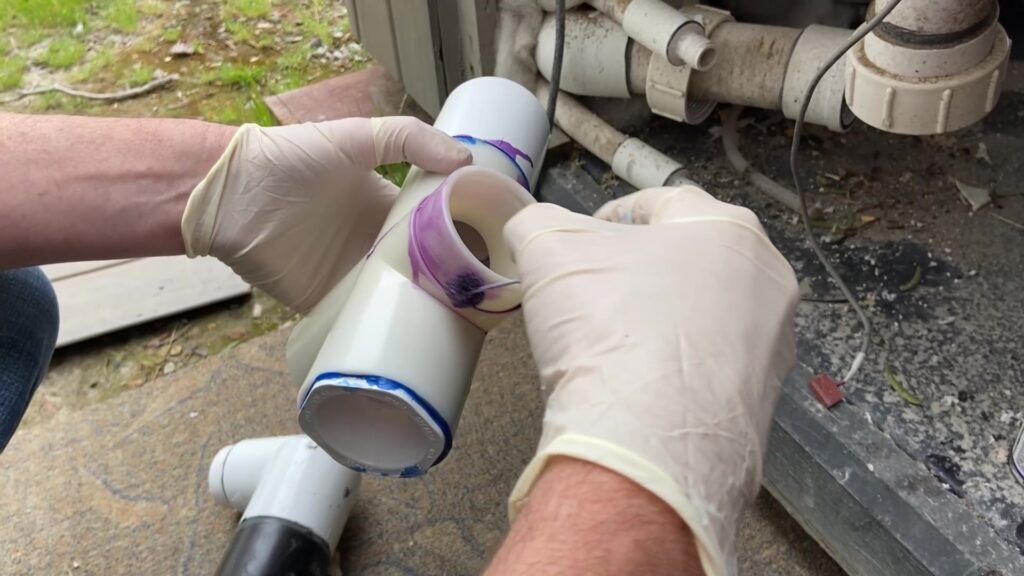
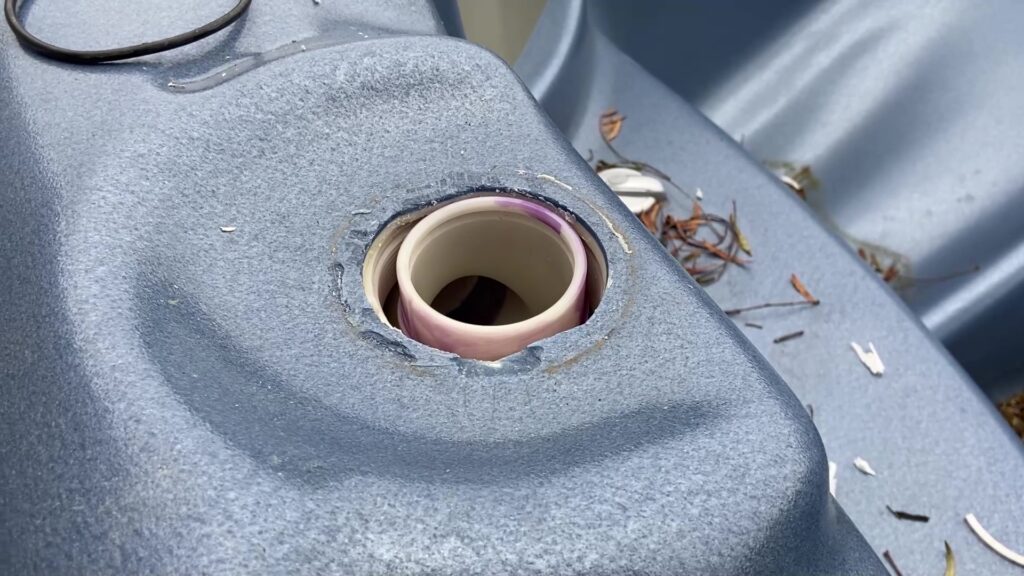
Step 8. Put glue on the collar. Install the O-ring on the bar top. Align the collar with the groove on the body and push the collar down around the body as far as it will go (do it quickly because the glue will start to set as soon as it touches the primer).
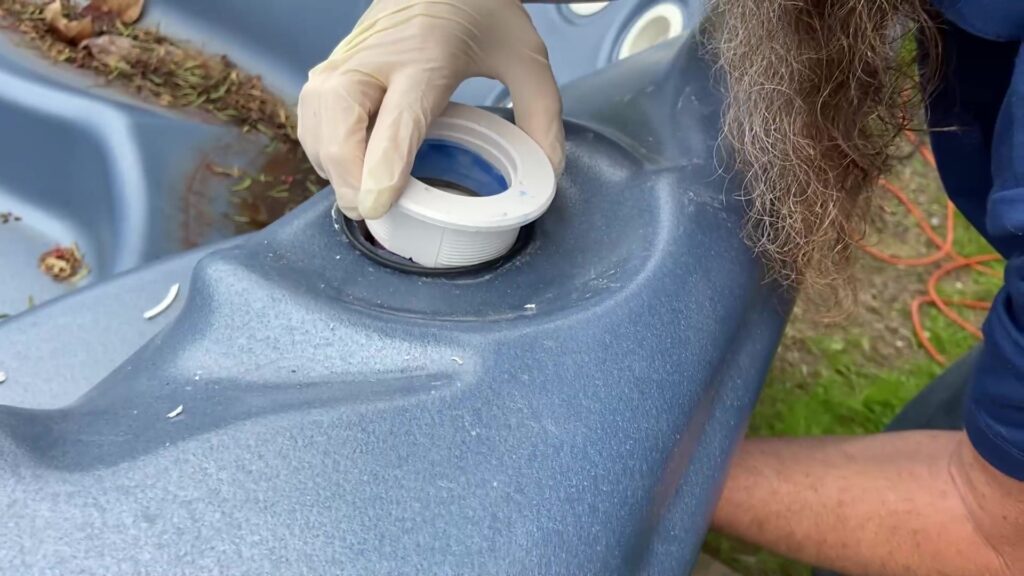
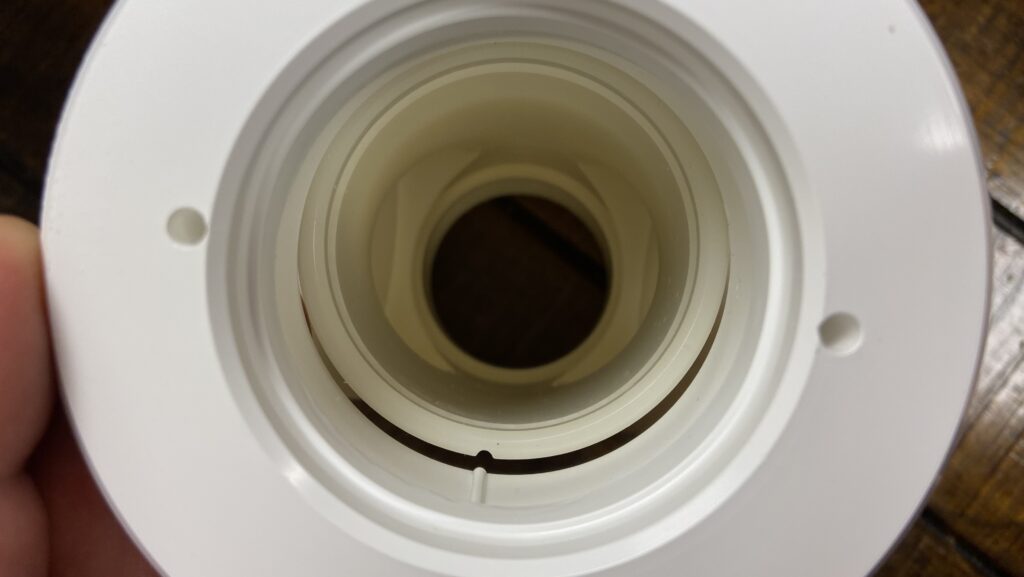
Step 9. Secure the collar to the bar top by tightening the nut.
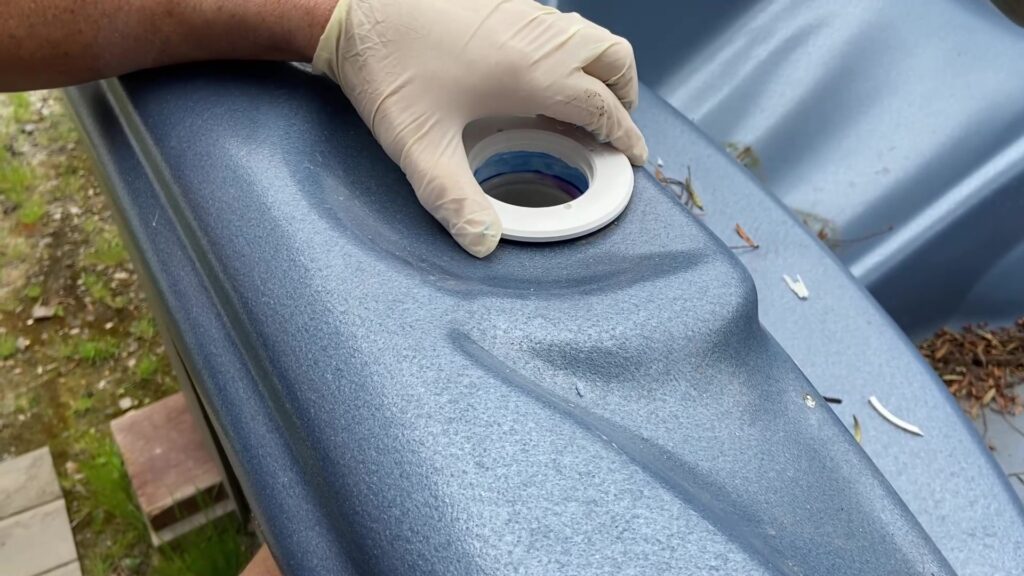
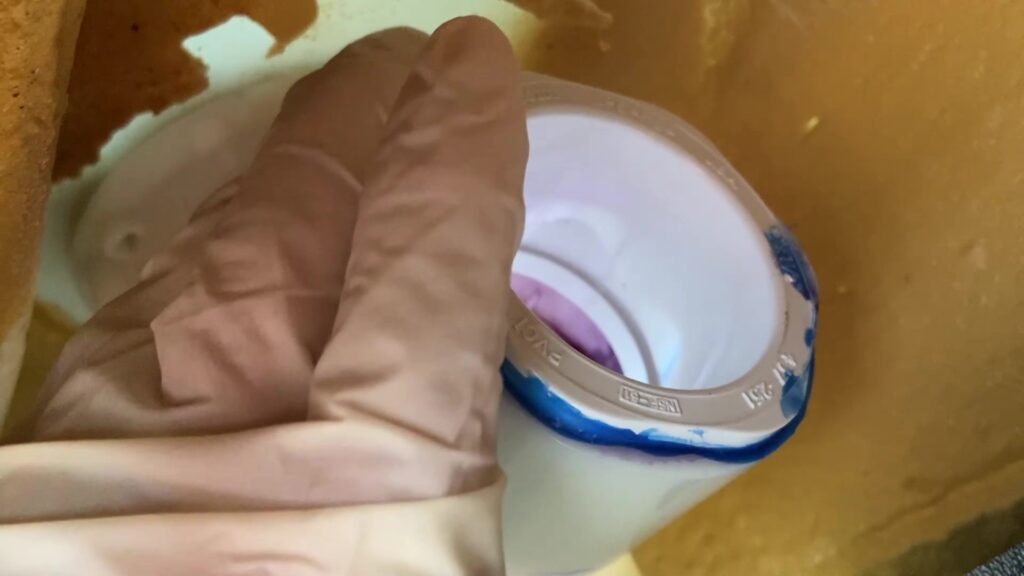
Step 10. Prime and glue the 1-1/2” coupling to the existing PVC.
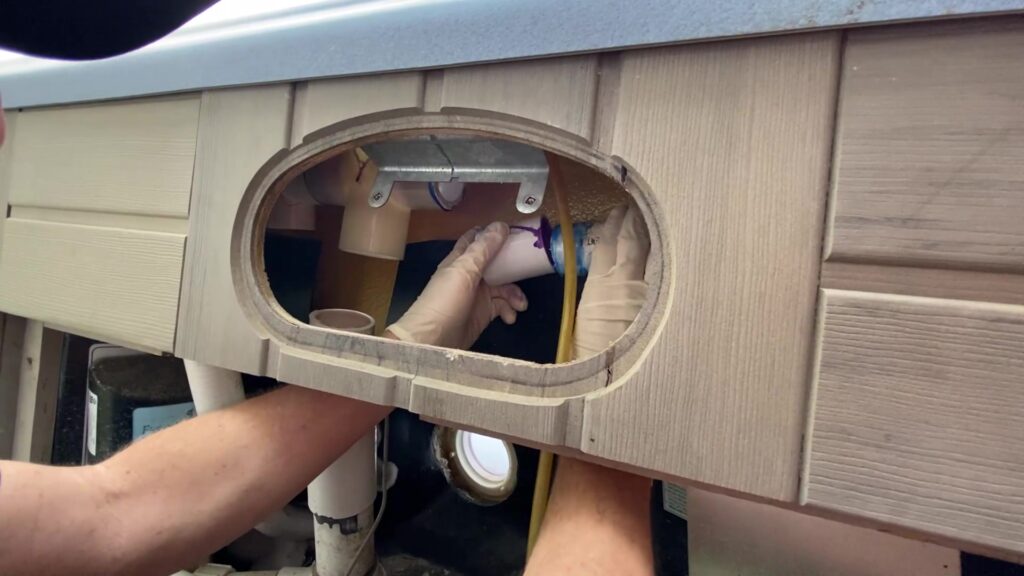
Step 11. Measure and cut a new piece of 1-1/2” PVC. Prime and glue the PVC to the coupling and the diverter valve body.
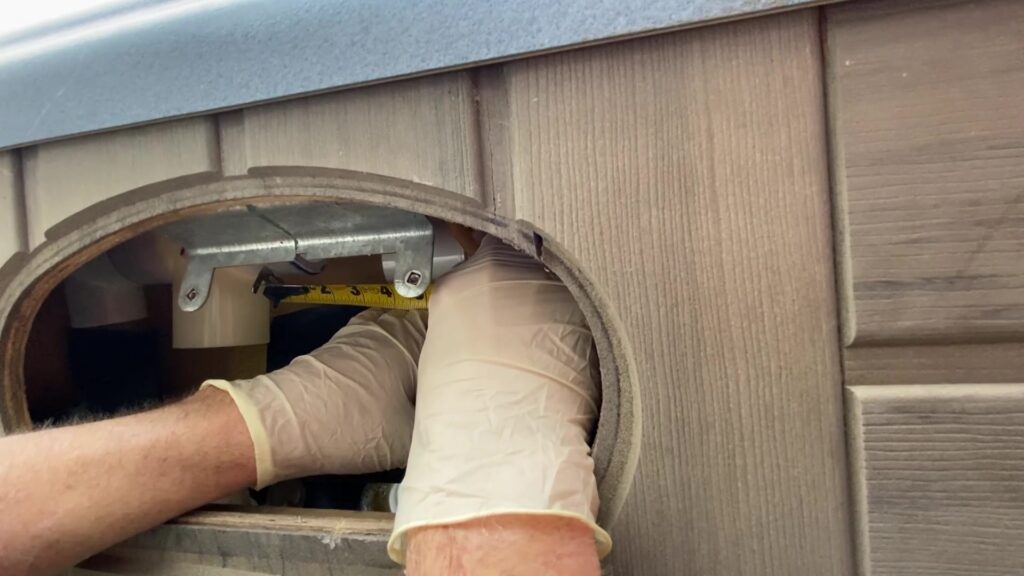
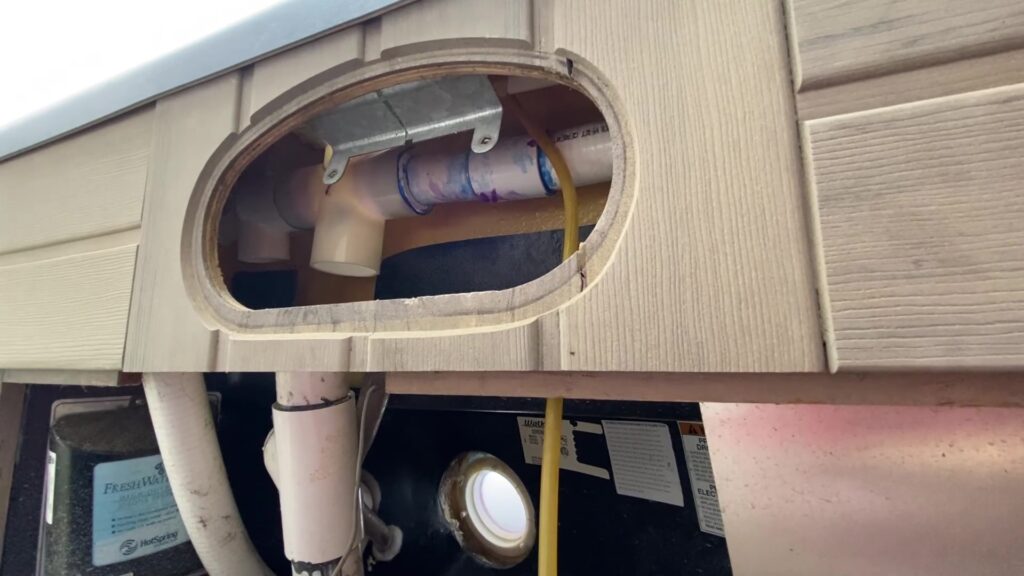
Step 12. Measure and cut a new piece of 1-1/2” PVC.
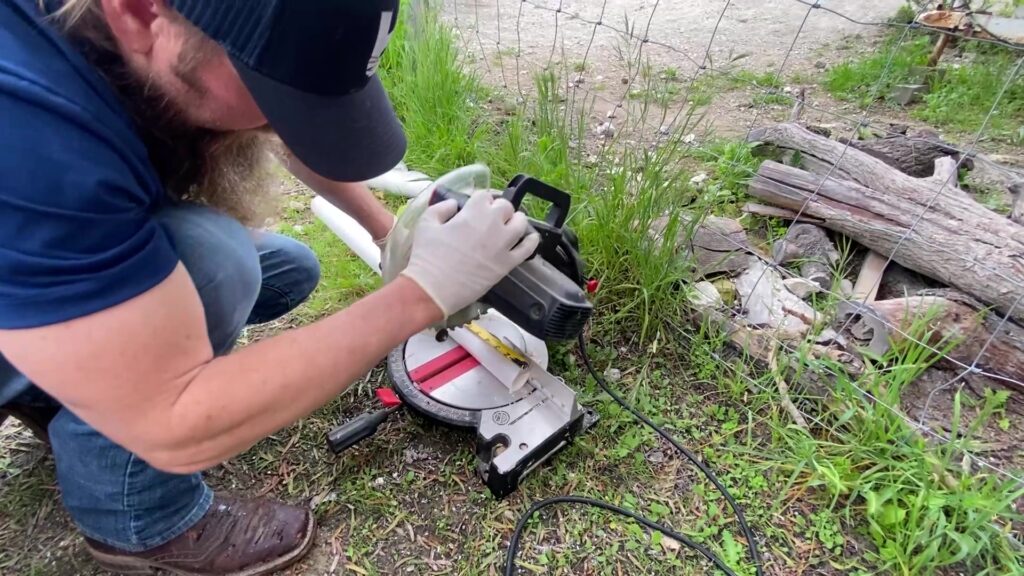
Step 13. Prime and glue the other 1-1/2” coupling to the existing PVC. Prime and glue the new piece of PVC to the coupling and reducing elbow.
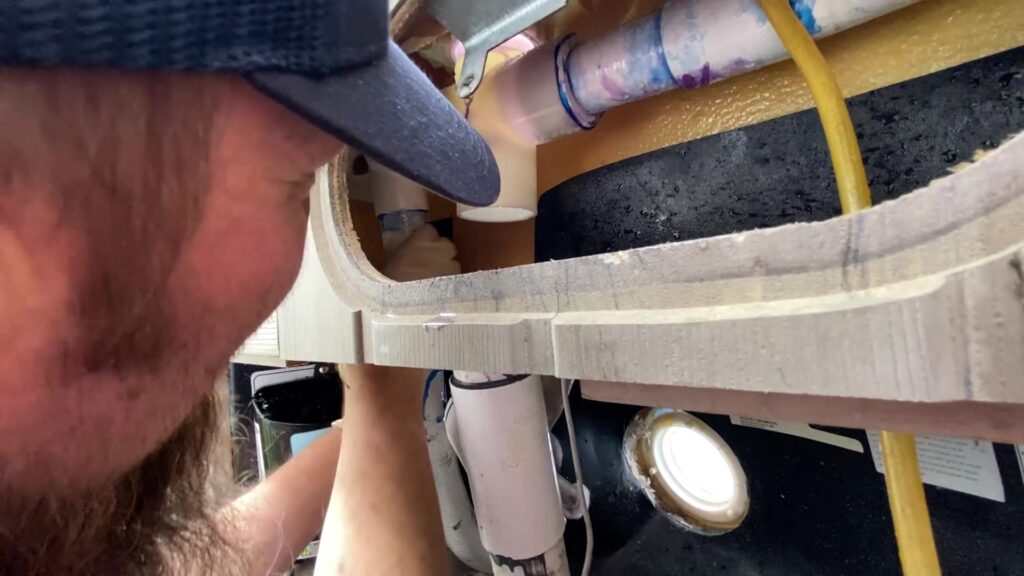
Step 14. Measure and cut a piece of 2” PVC. Dry fit everything before you prime and glue. Make sure the height of the discharge pipe matches the height of the jet pump.
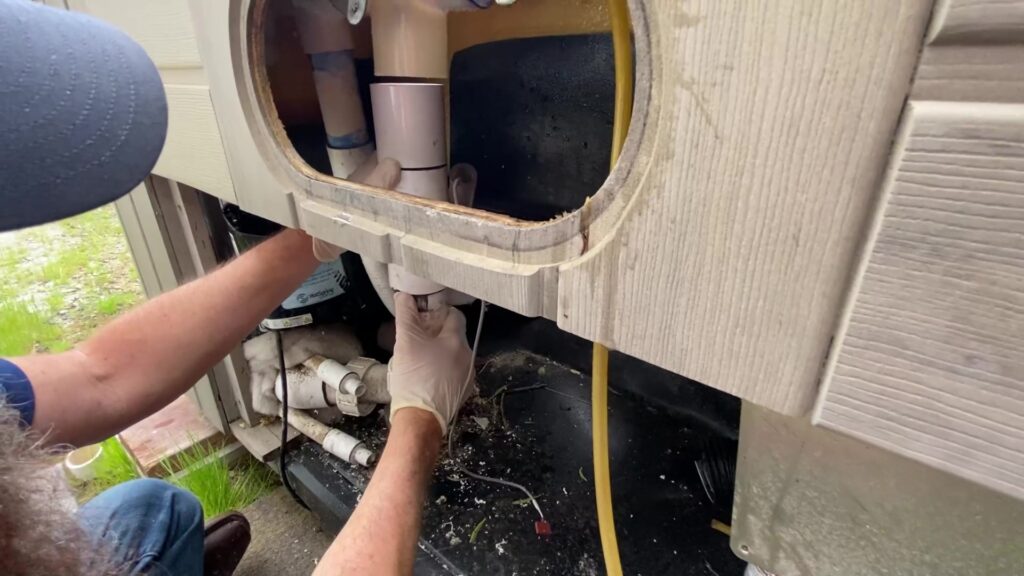
Step 15. Prime and glue the 2” coupling to the discharge pipe.
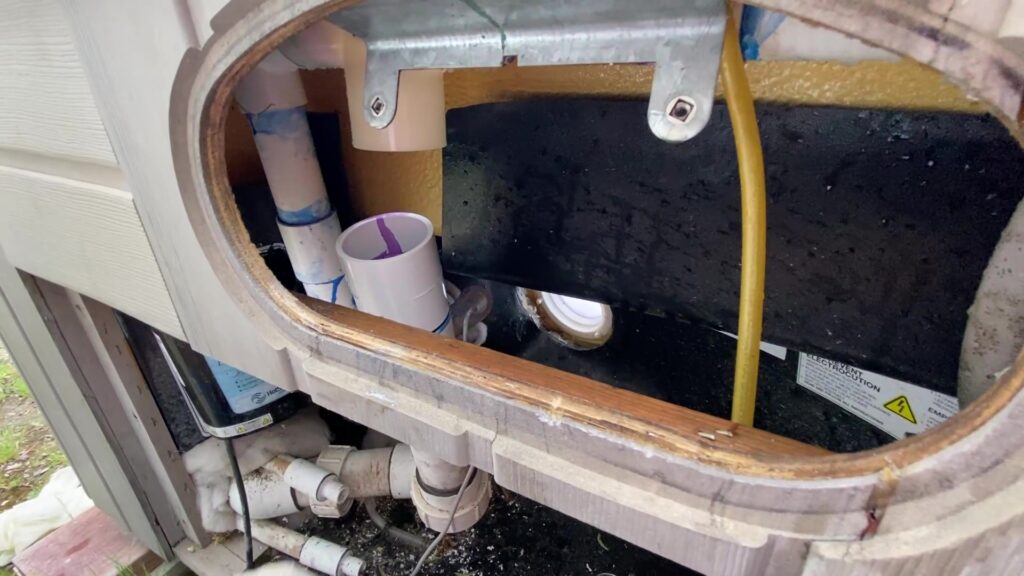
Step 16. Prime and glue the 2” PVC to the coupling and the diverter valve body.
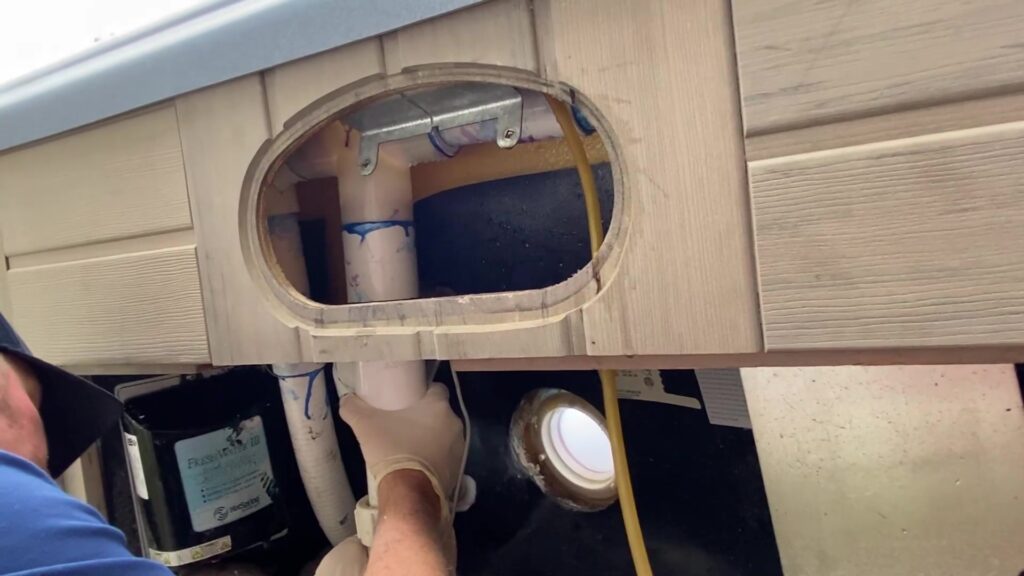
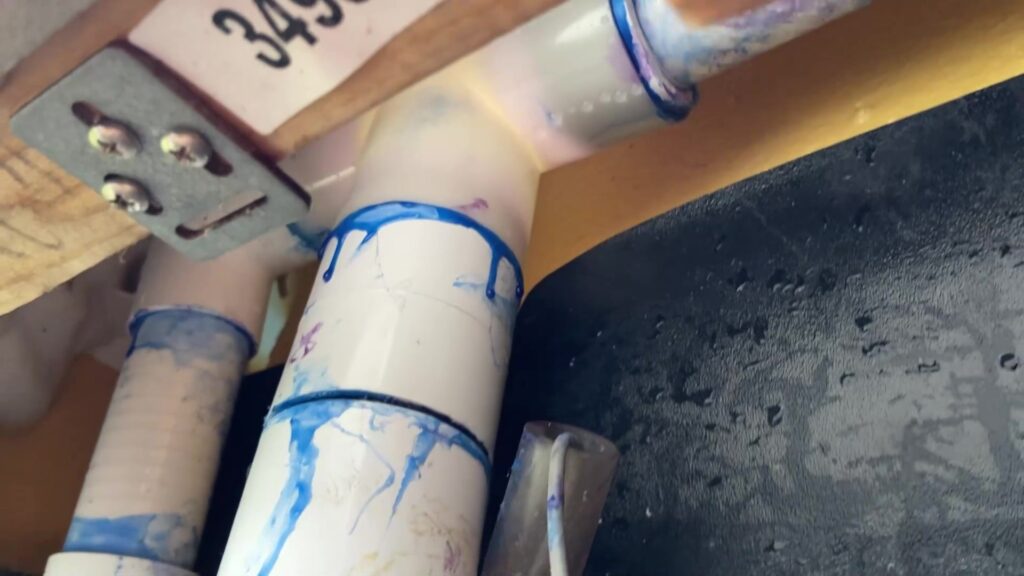
Good job!
Watch the video here! “How to Replace the Diverter Valve Collar and Diverter Body in a Hot Spring Tiger River and Hot Spot Spa”
Questions about your spa? Contact us! We are the top Hotspring spa parts retailer on the web.
Call us at (805)541-9000
Text us to receive technical support
In addition to “How to Replace the Diverter Valve Collar and Diverter Body in a Hot Spring Tiger River and Hot Spot Spa” we offer:
- Our Parts Finder which allows you to find exact-match replacements for your hot tub
- Free technical support that will allow you to maintain and repair your own spa accordingly
- Information regarding your products and their usage through our blog posts.
- Tutorials and assistance through our videos
- Follow us on our Facebook page
Our goal here at Backyard Plus is to help save you money by avoiding costly service calls for repairs that you can easily do yourself!
