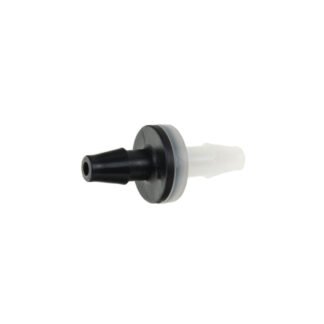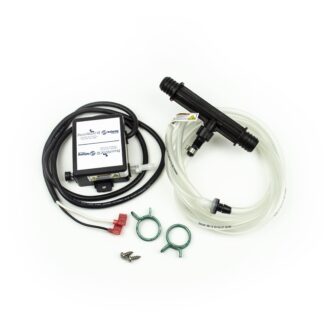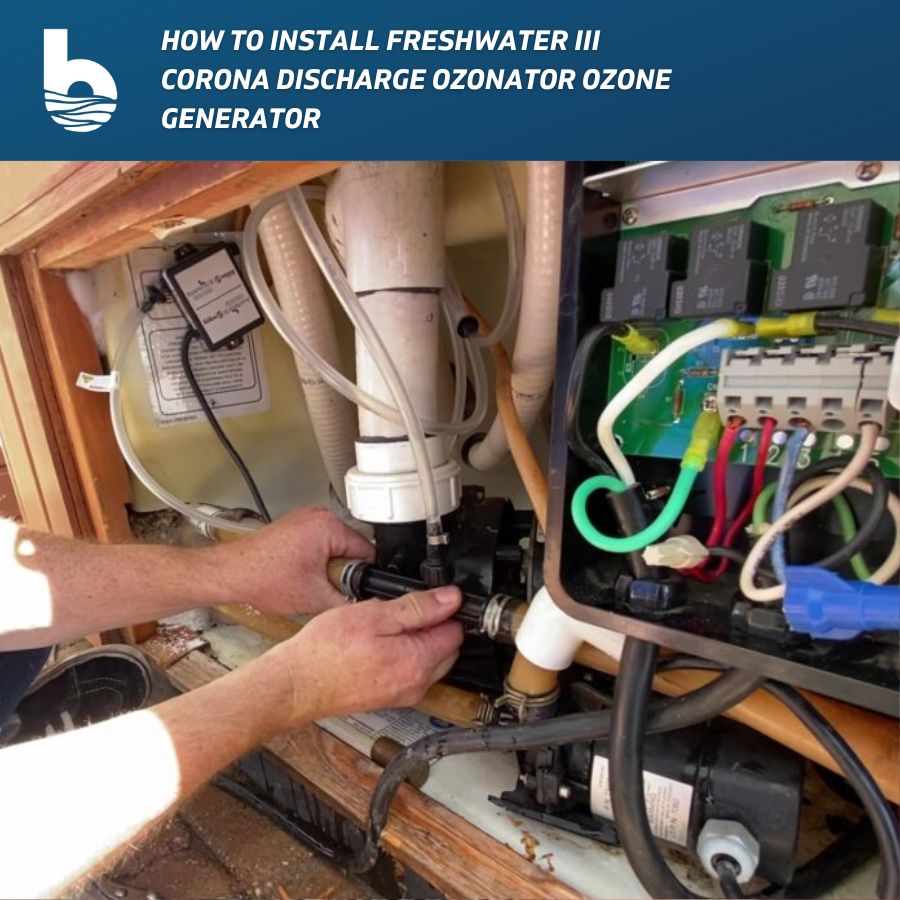
Welcome to Backyardplus! In this post, we show you how to install the Freshwater III Corona Discharge Ozonator on a Hot Spring, Tiger River, and Limelight spa. It is highly recommended to replace the injector, ozone resistant tubing, and check valve when replacing the ozonator. The 72602 Freshwater III Corona Discharge Ozonator comes with all of these parts! Before we get started, let’s go over the tools and parts you will need.
Tools You Will Need to Install the Freshwater III Corona Discharge Ozonator:
- Phillips head screwdriver
- Pliers
- Needle nose Vice Grips
- Hose pinching pliers x 2
- Wine corks x 2
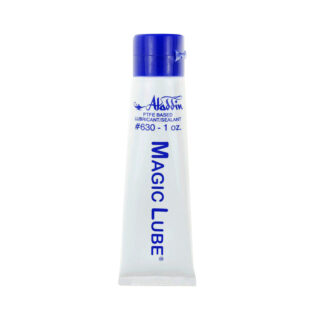
- Silicone grease
Parts You Will Need:
- FreshWater III Corona Discharge Ozonator Item #: 72602
- What’s included: Freshwater 3 High Output Ozone System w/ Direct Connect Power Cord, Injector, Ozone Resistant Tubing & Check Valve.
Step 1. Disconnect power from the spa.
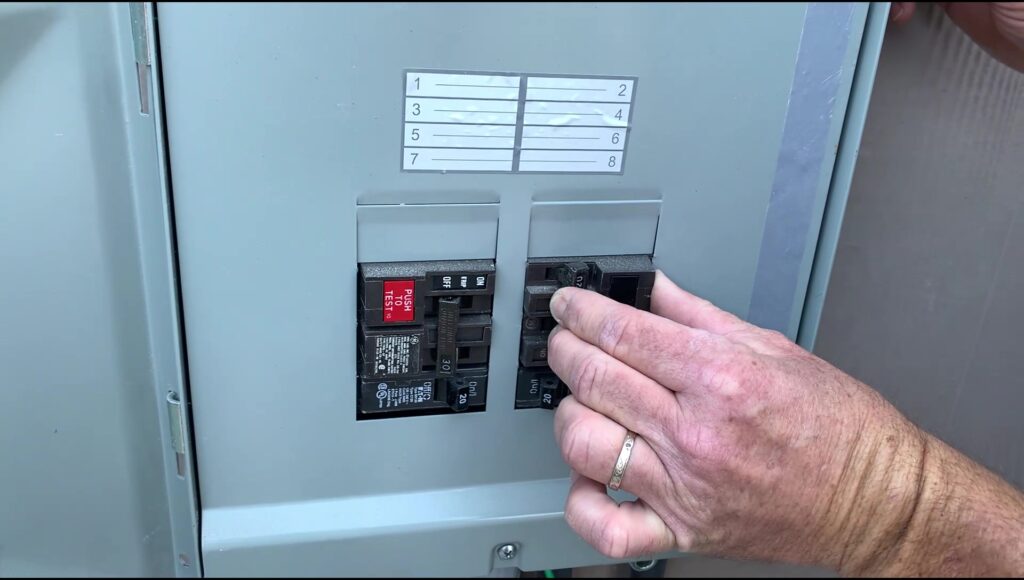
Step 2. Remove the equipment door and control box lid.
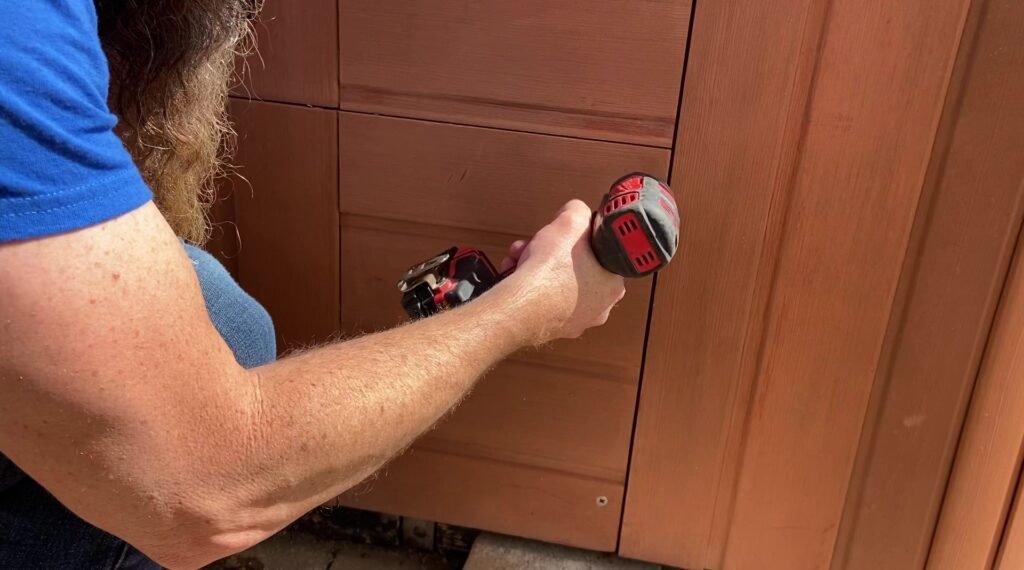
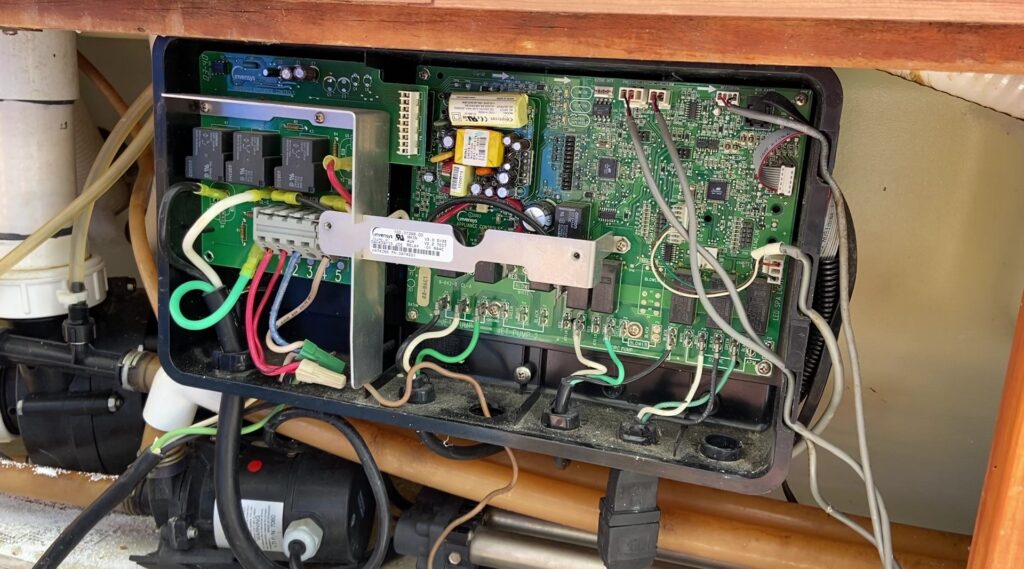
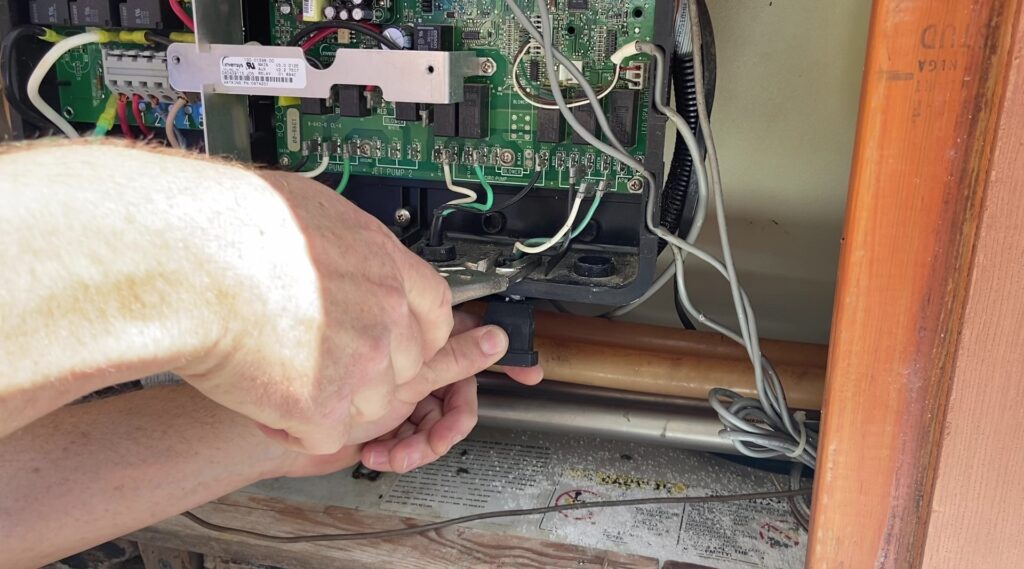
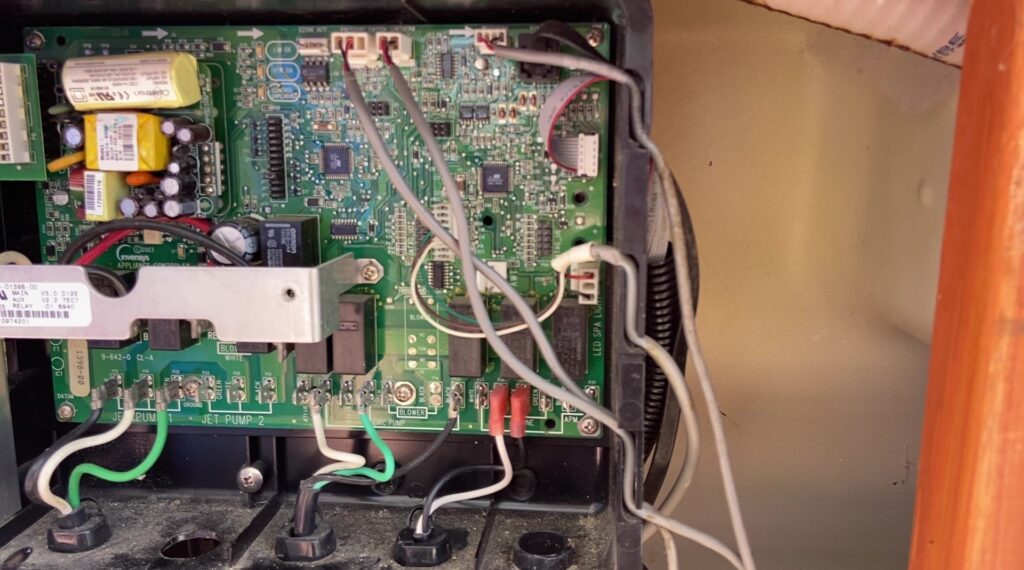
Step 3. Disconnect the old ozonator from the control box. Disconnect the black, white, and green wires from the Ozone terminals on the motherboard.
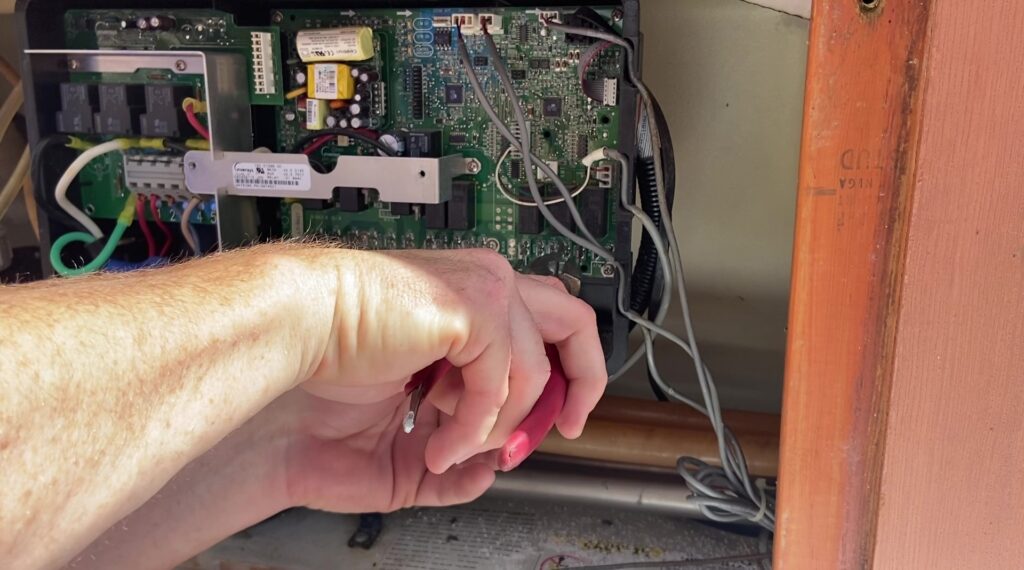
Step 4. Squeeze the strain relief bushing with your needle nose vice grips and pull the ozone cord through the bottom of the control box.
Step 5. Place your hose pinching pliers on each end of the black ozone injector. Pinch the tubing as tightly as you can.
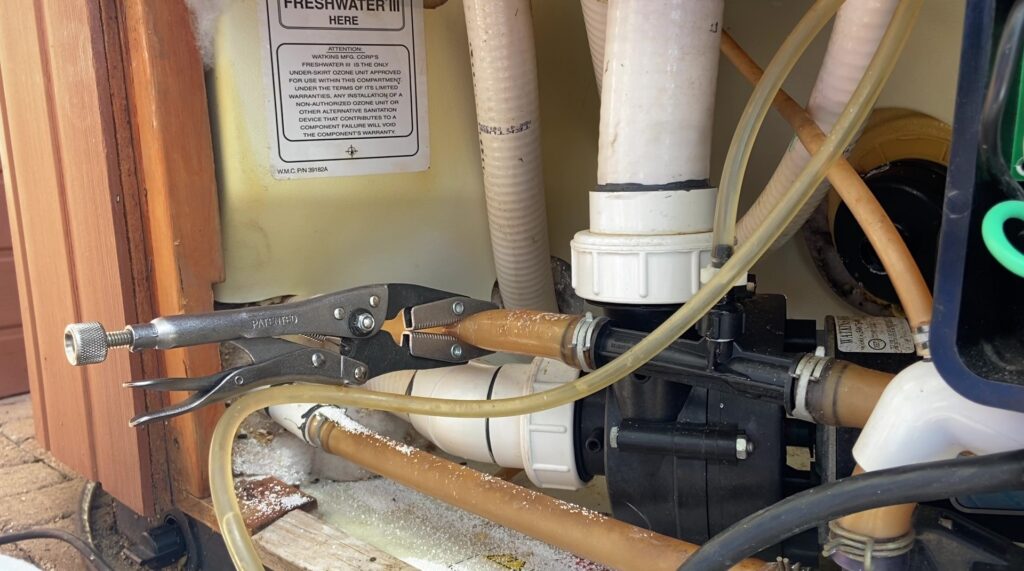
Step 6. Loosen and remove the two spring clamps from the black ozone injector.
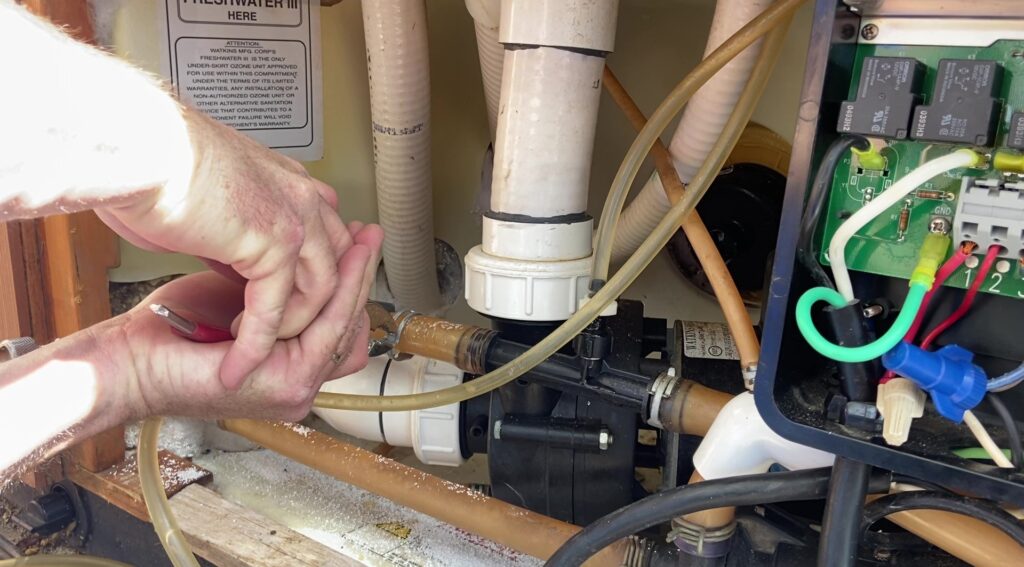
Step 7. Disconnect the tubing from each end of the injector and quickly insert the two wine corks.
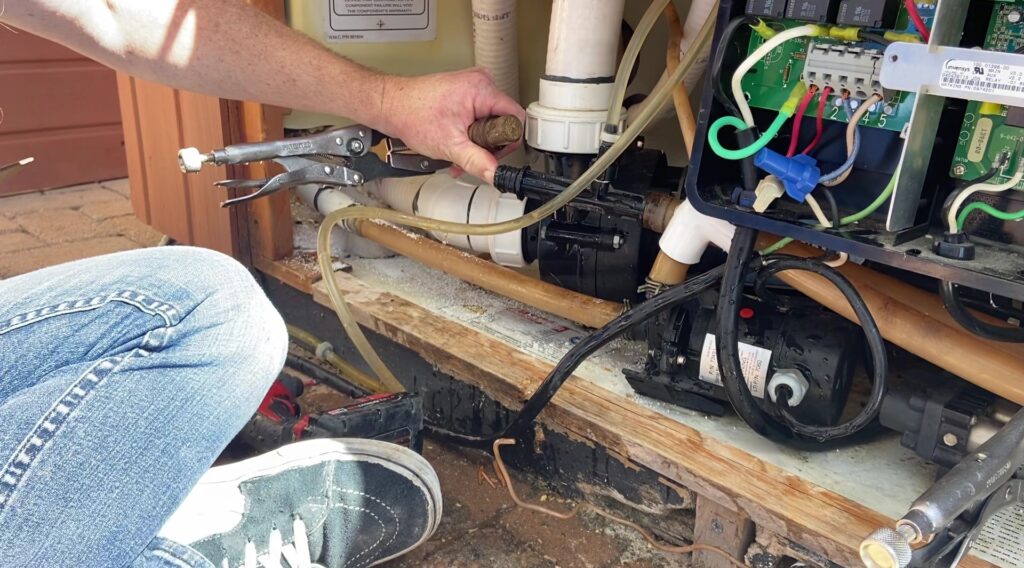
Step 8. Remove the old injector, tubing, check valve, and ozonator from the spa.
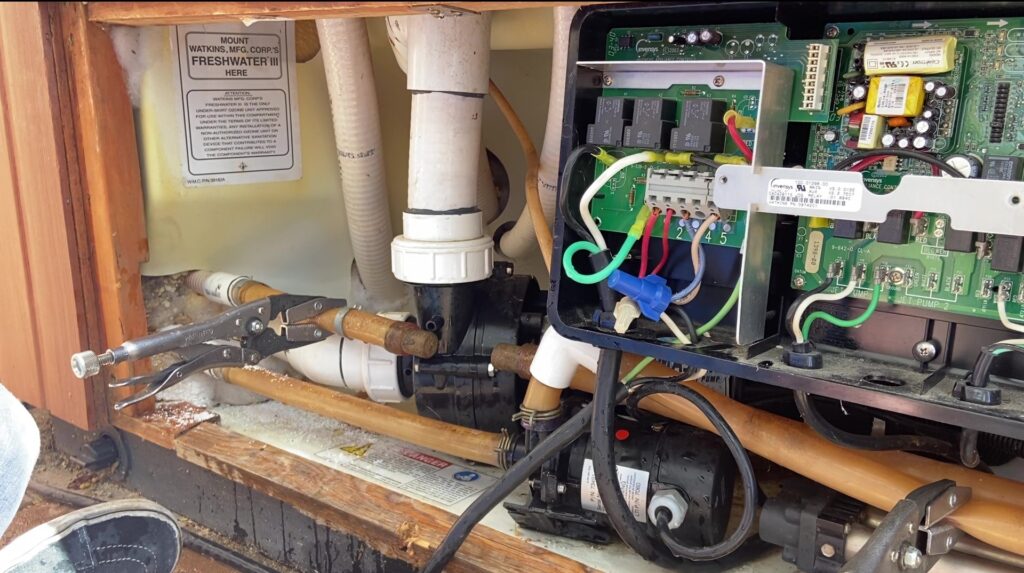
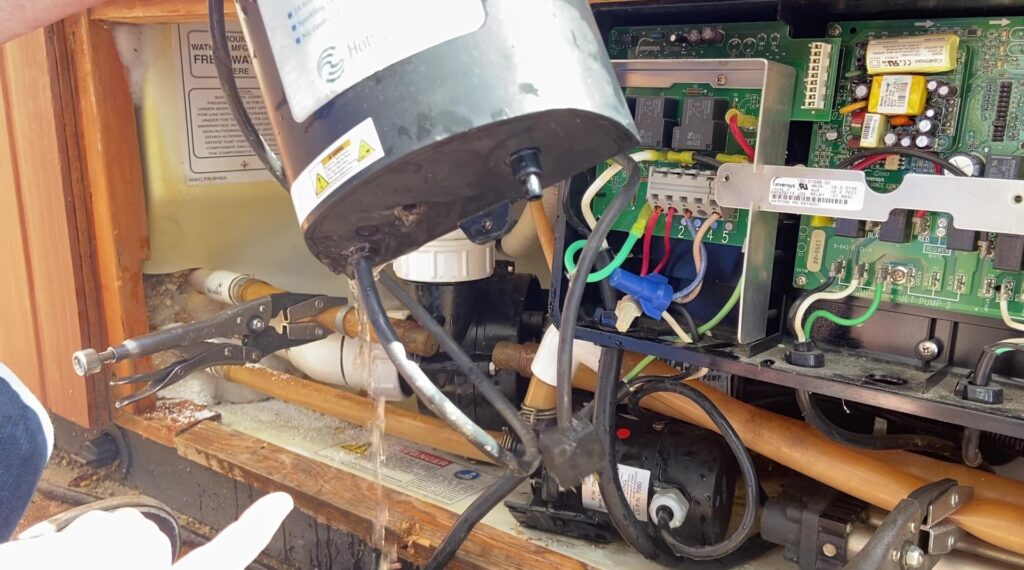
Notice how the old ozonator was filled with water. This happens when the check valve fails. It is highly recommended to replace the 1044101 1/4in ozone check valve every 2 years to prevent this from happening.
Step 9. Mount the new Freshwater III ozonator on the inside wall of the equipment compartment.
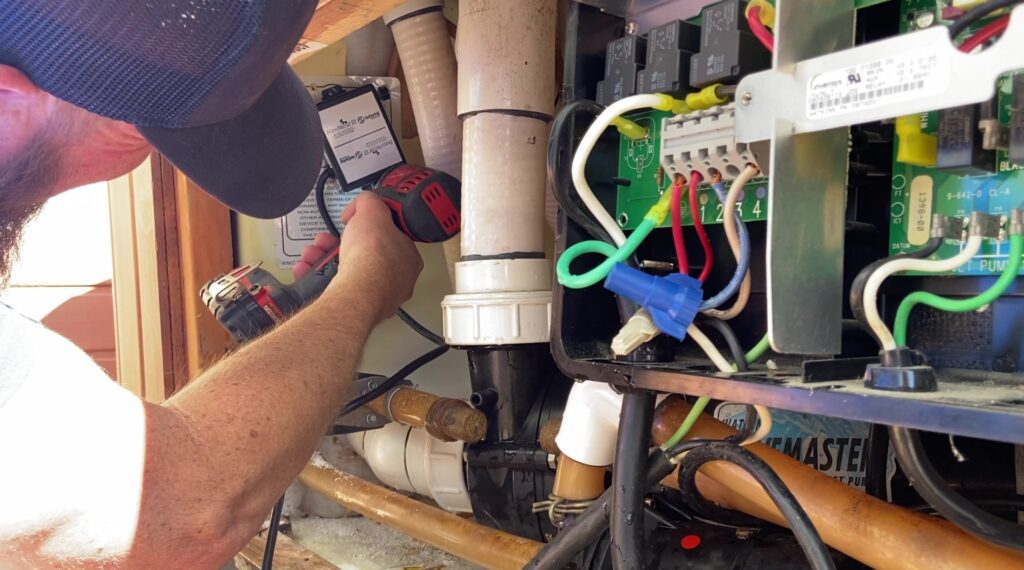
Step 10. Install the strain relief bushing on the ozonator cord. Squeeze the strain relief with your vice grips and route the cord through the bottom of the control box.
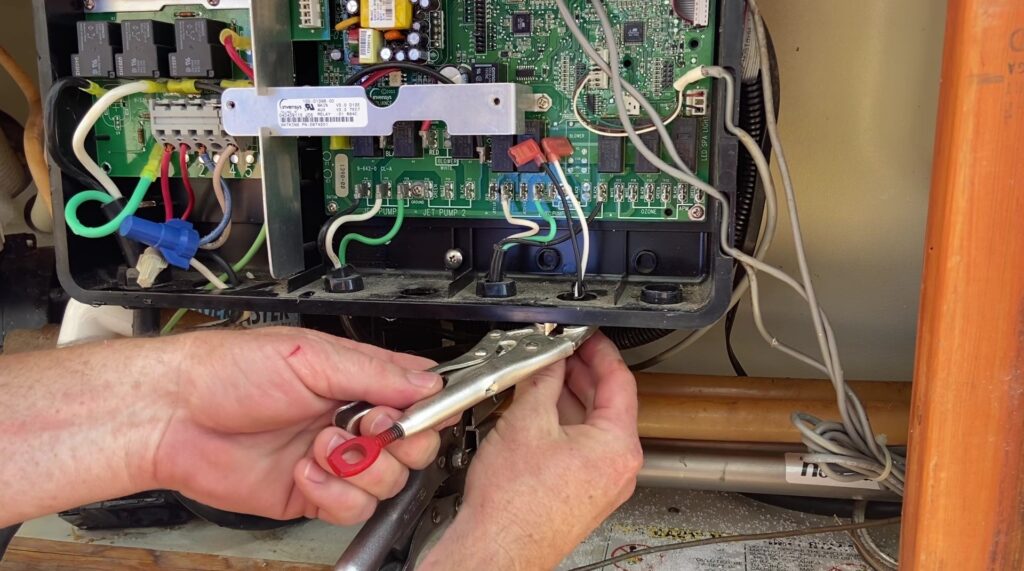
Step 11. Plug the black, and white ozonator wires into the ozone terminals. The new Freshwater III does not have a green ground wire.
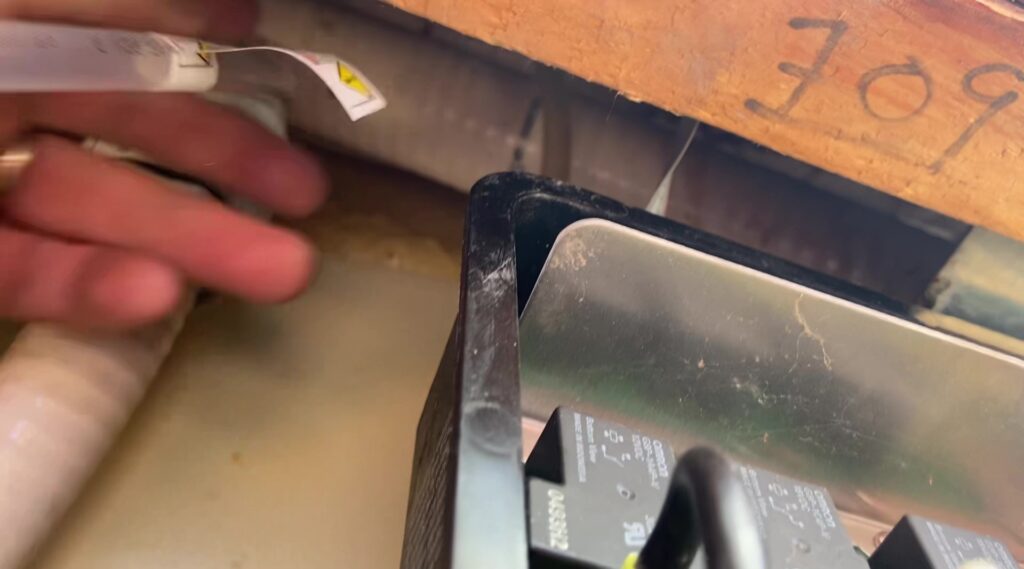
Step 12. Loop the ¼” ozone tubing around a pipe up high in the equipment compartment.
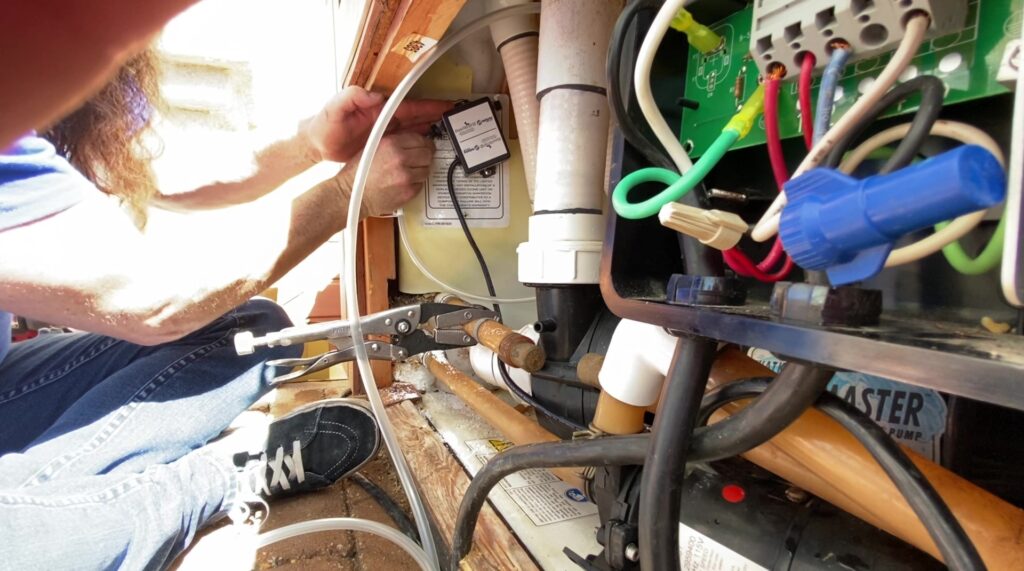
Step 13. Connect the ozone output tubing to the barbed nipple on the Freshwater III. You may need to widen the tubing with a screwdriver or soften it with a heat gun to get it to fit over the barbed nipple.
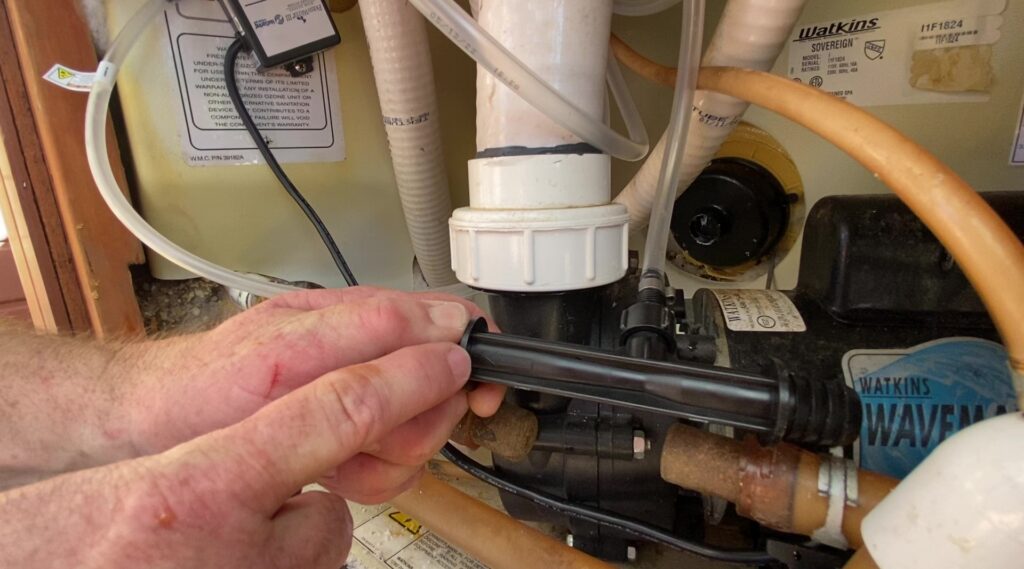
Step 14. Install the injector with the flow arrow going in the direction of the water flow. Cover the barbed nipples with silicone grease for ease of installation.
Step 15. Remove the wine corks. Quickly connect the tubing to the injector and install the spring clamps.
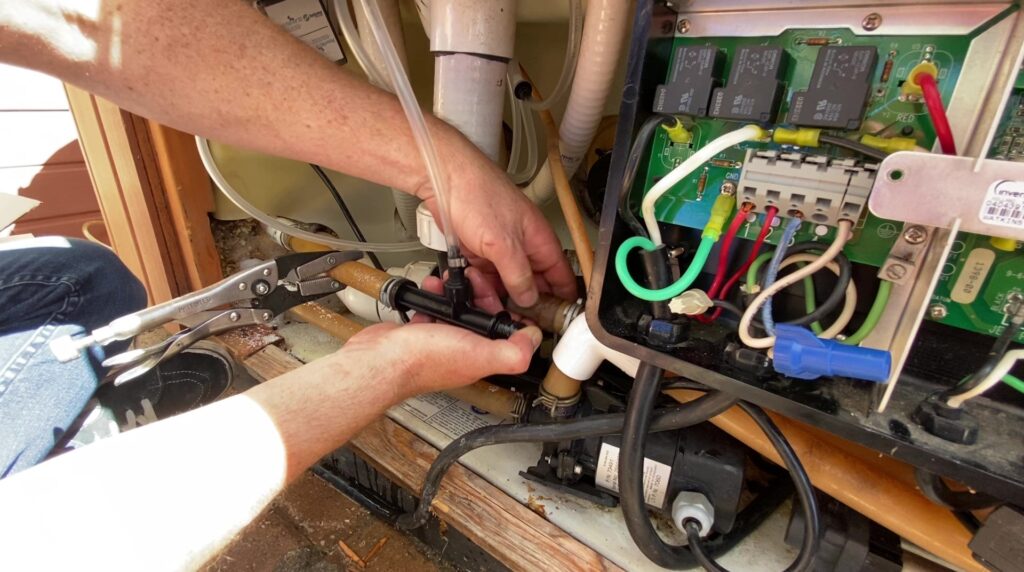
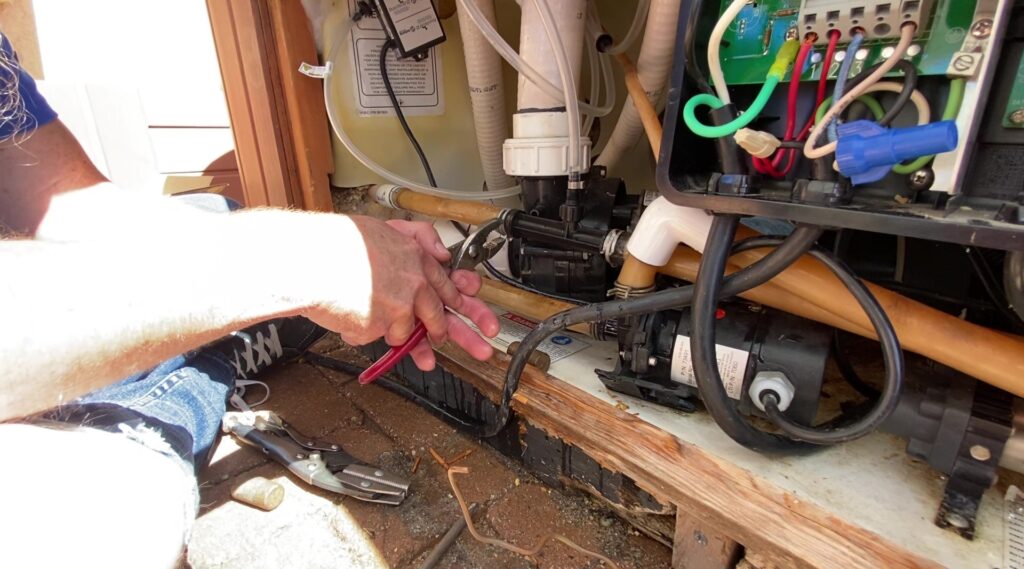
Step 16. Remove the hose pinching pliers.
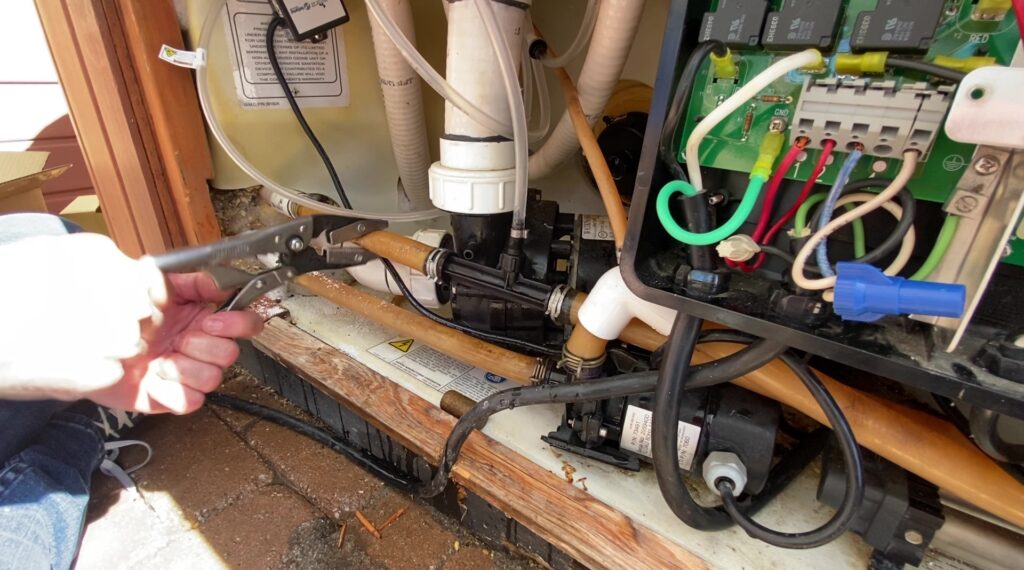
Good job!
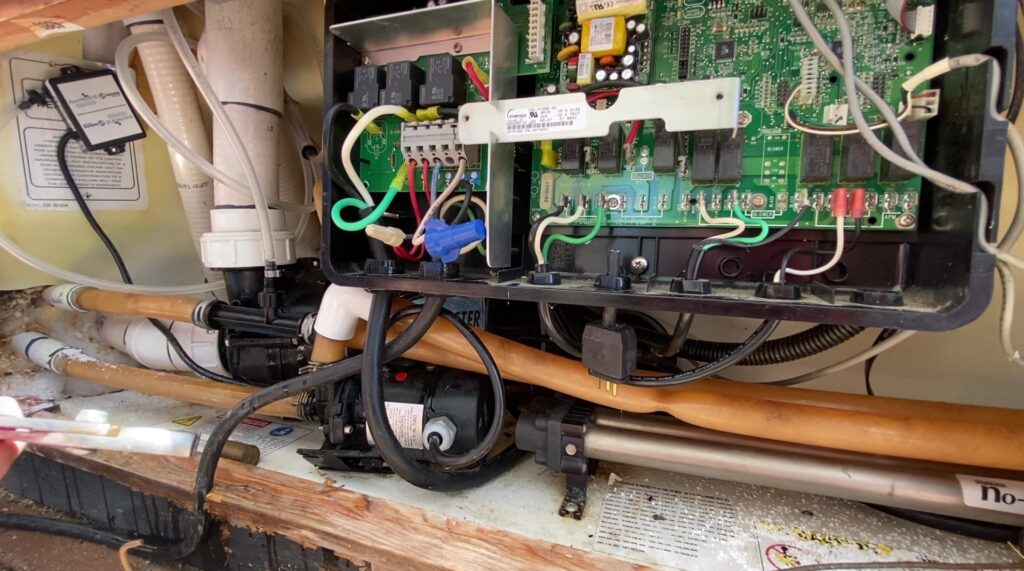
Watch the video here!
Questions about your spa? Contact us! We are the top Hotspring spa parts retailer on the web.
Call us at (805)541-9000
Text us to receive technical support
In addition to “How to Install the Freshwater III Corona Discharge Ozonator Ozone Generator on a Hot Spring, Tiger River, and Limelight Spa.” we offer:
- Our Parts Finder which allows you to find exact-match replacements for your hot tub
- Free technical support that will allow you to maintain and repair your own spa accordingly
- Information regarding your products and their usage through our blog posts.
- Tutorials and assistance through our videos
- Follow us on our Facebook page
Our goal here at Backyard Plus is to help save you money by avoiding costly service calls for repairs that you can easily do yourself!
