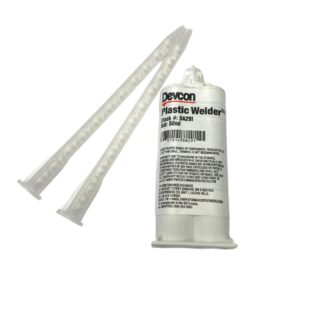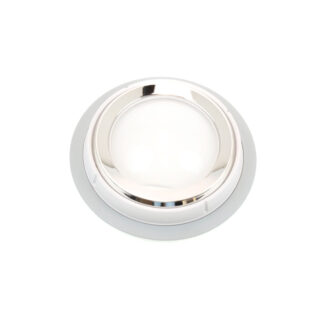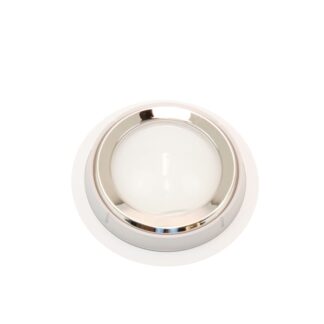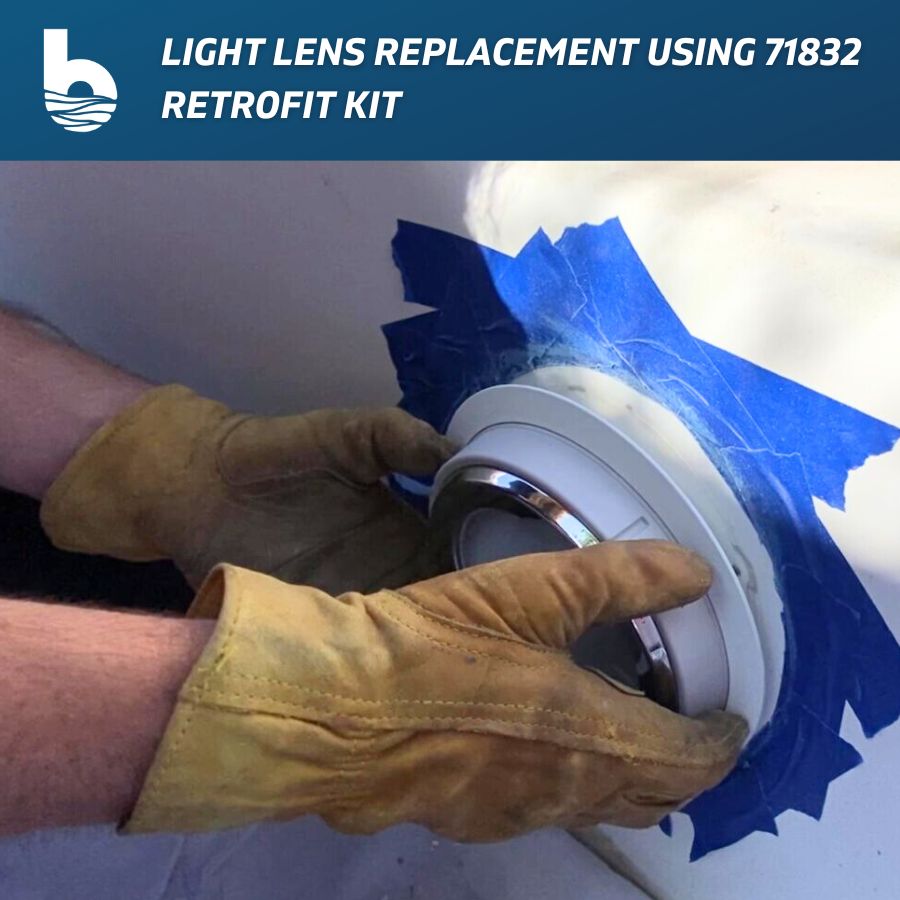
Welcome to Backyardplus! In this post we show you how to do a light lens replacement found on all white-colored 1989-1999 Hot Spring spa models with the 71832 Light Lens Retrofit Kit. For all Quarite shell and Tiger River spas, use Light Lens Retrofit Kit 71833. Before we get started, let’s go over the tools and parts you will need.
Tools You Will Need for Light Lens Replacement:
- Hammer
- Chisel
- Belt sander/ or sanding disc
- Round file
- Masking tape
- Drop cloth
- Dremel Moto-Tool / #426 Cut-Off Wheel (Used for lens removal from Quarite shell only)
Parts You Will Need:
- 71832 Light Lens Retrofit Kit
- 72961 Devcon Repair Adhesive Kit
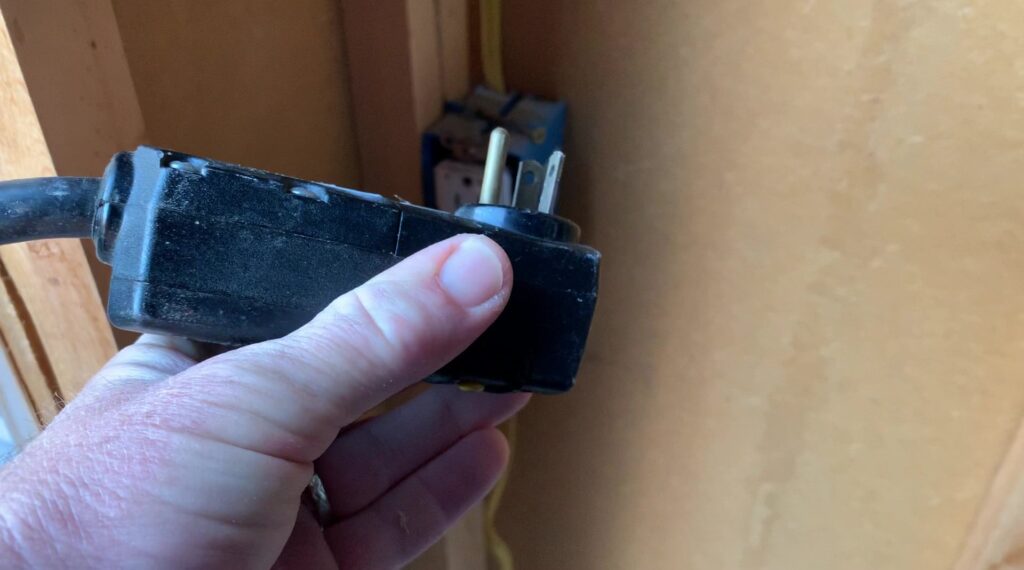
Step 1. Disconnect power from the spa.
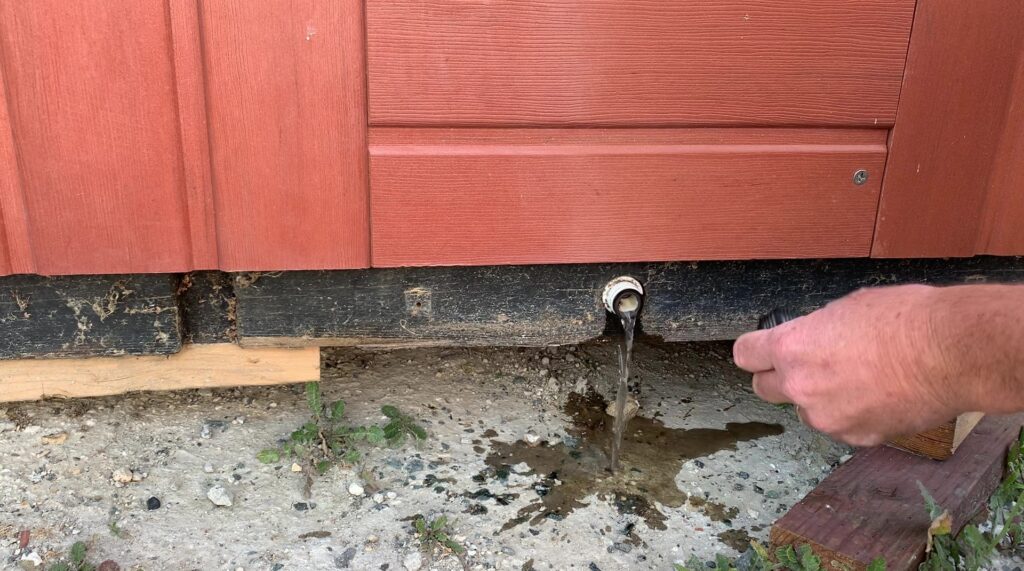
Step 2. Drain the spa.
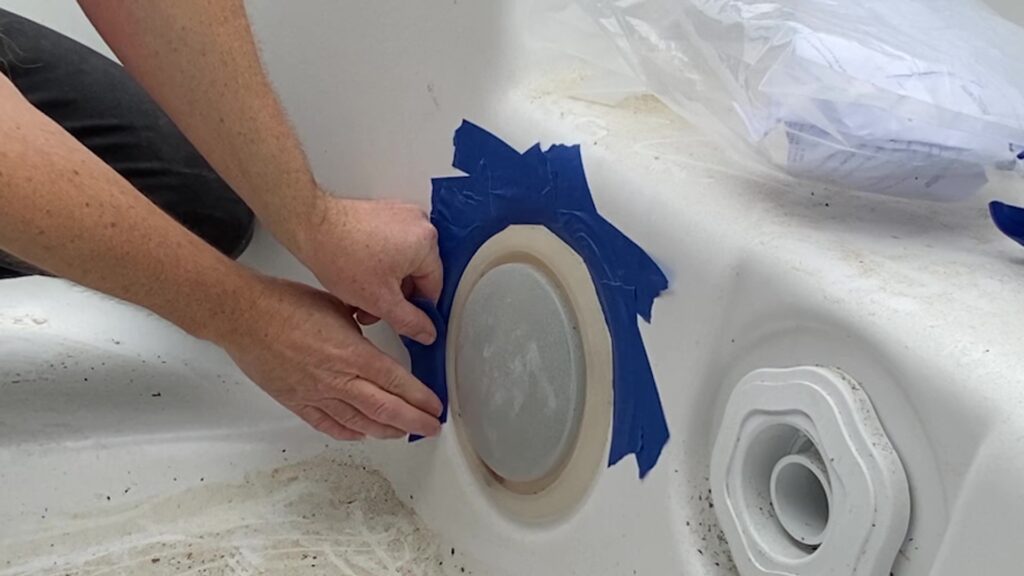
Step 3. Place masking tape on the spa shell around the perimeter of the light lens to protect the spa shell from damage.
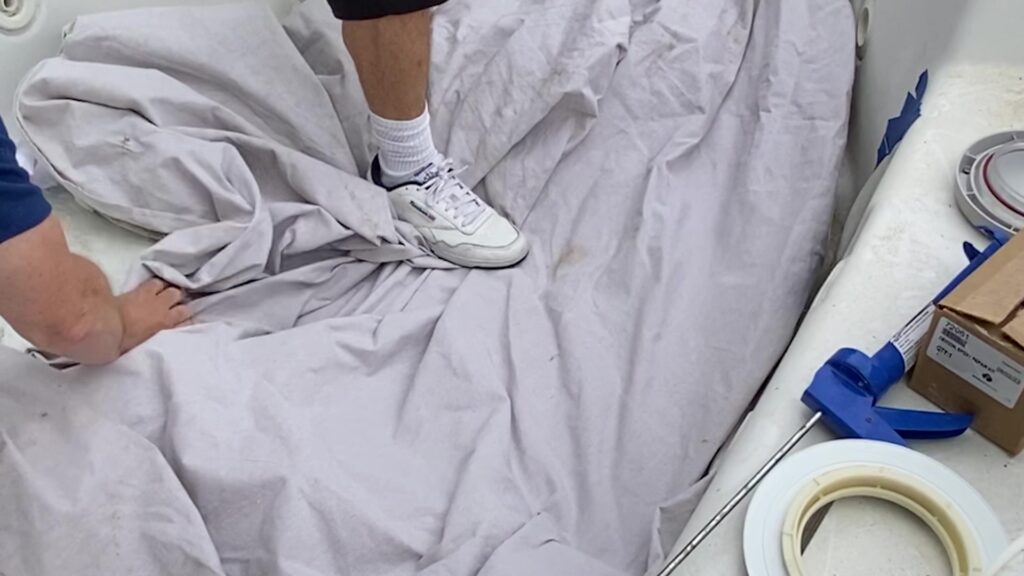
Step 4. Place a drop cloth inside the spa to protect the interior spa shell.
Step 5. Use the hammer and chisel and start at the top of the lens. Place the chisel between the lens and the shell and tap the chisel with a hammer until the lens begins to loosen. Caution: Too much force may damage the spa shell. Use the Quarite Instructions if the lens refuses to loosen from the shell.
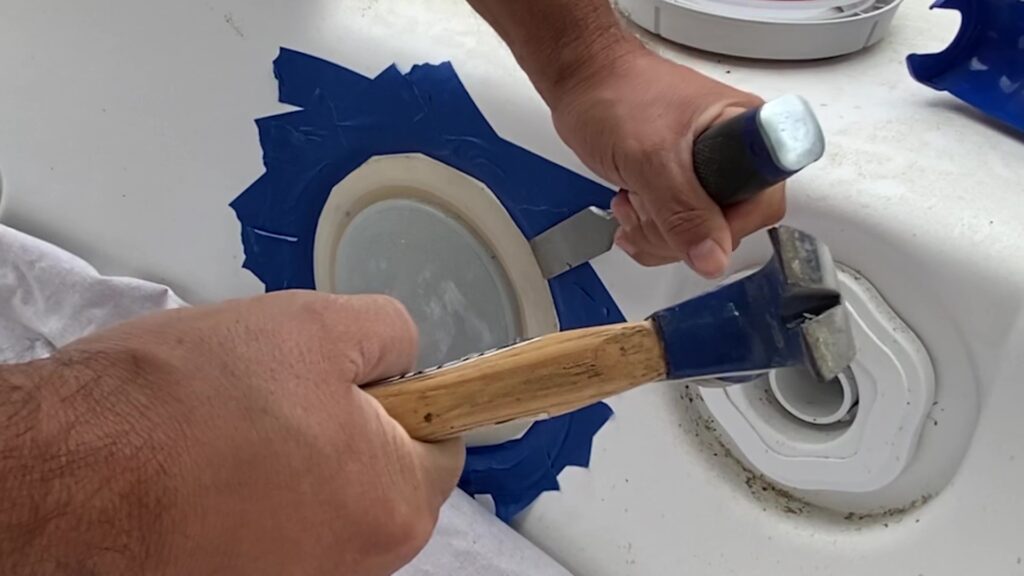
Step 6. Use light pressure on the chisel to lift the light lens from the spa shell. Continue to move around the perimeter of the lens until the lens can be removed from the spa shell.
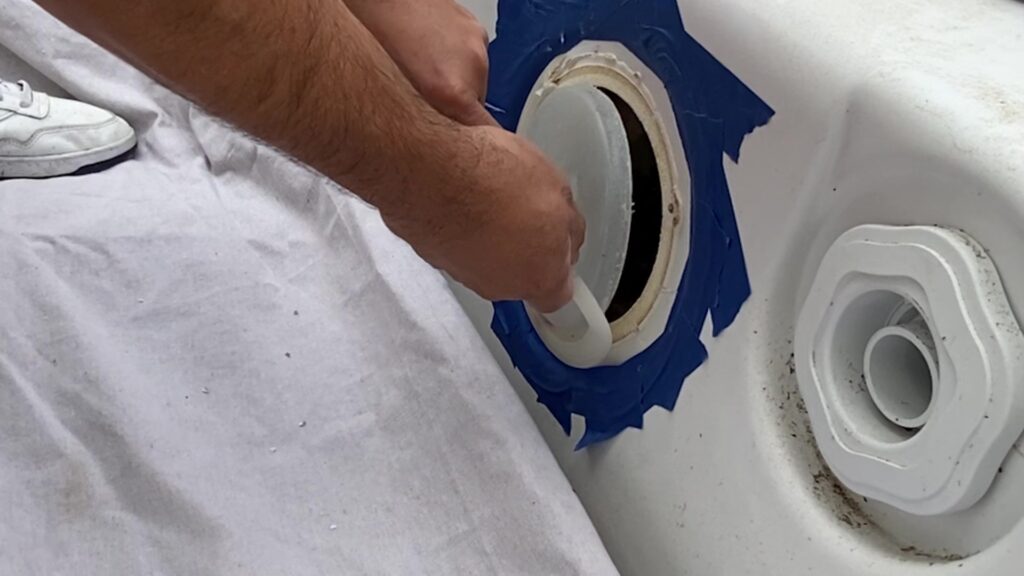
Light Lens Removal – Quarite Shell (Granite like Shell)
- Use the Dremel tool with a #426 Cut-Off Wheel to cutout the lens diameter by staying approximately 1″ away from the edge. Be careful – Do not cut into the shell.
- When completed you should have a large hole where the light lens was and approximately 1″ of the lens surrounding the hole attached to the Quarite.
- Use the Dremel Moto-Tool with a #426 Cut-Off Wheel and place 12 relief cuts into lens material surrounding the hole in the spa shell.
- Make the relief cuts on the surrounding lens, and also make the relief cuts where the lens material is seated inside the shell hole.
Important: Be very careful when making the relief cuts not to cut into the shell. When using the Dremel Tool the position of the tool is very important, make sure the rotation of the wheel forces you into the light lens rather than into the shell. - SLOWLY breakaway SMALL pieces by tapping on a chisel (beveled edge towards shell) with a hammer between the relief cuts of the remaining lens.
- Chisel between the adhesive (chlorine resistant epoxy) and the light lens to prevent any damage to the shell.
- More relief cuts (as described above) may be necessary if the entire lens doesn’t break away.
Step 7. After the entire lens is removed, use the belt sander or sanding disc to sand down the existing epoxy, which remains on the light lens bonding area of the spa shell. This bonding area should be sanded until smooth. If necessary, use the round file to smooth the inner surface of the lens cutout in the spa shell.
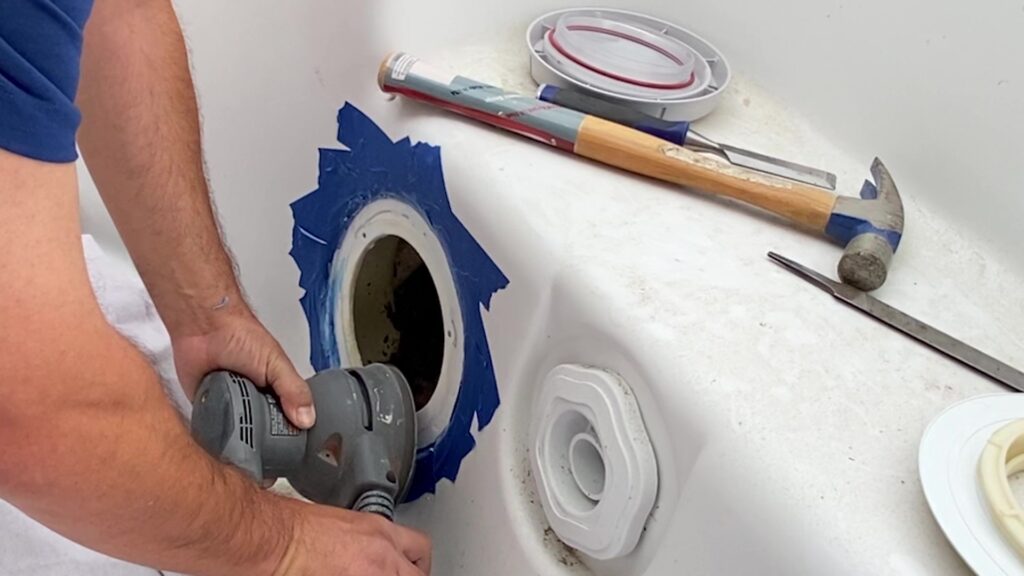
Step 8. After sanding the bonding area, clean the surface to remove any debris. After the area is clean, thoroughly dry the area to ensure proper bonding of the adhesive during installation.
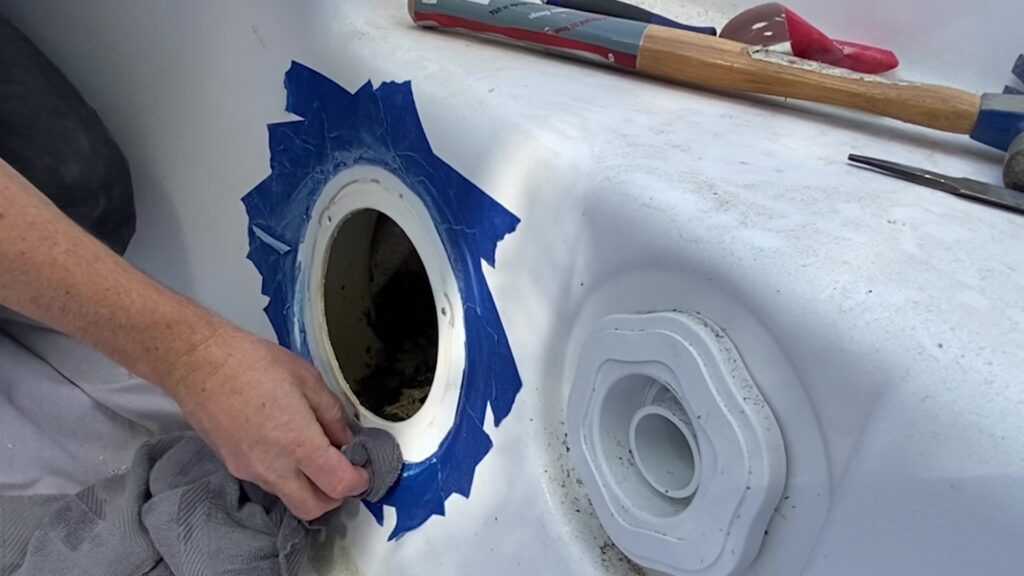
Step 9. Dry fit the new lens into place. If the lens does not fit into the hole, repeat from step 7 above until the lens fits properly.
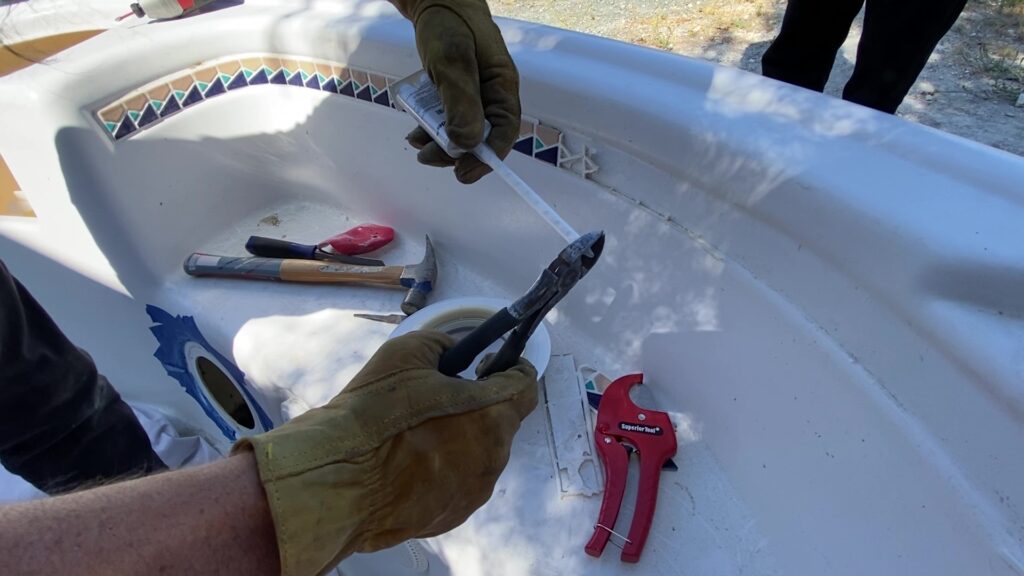
Step 10. Assemble the Repair Adhesive applicator and place assembly into a standard caulking gun.
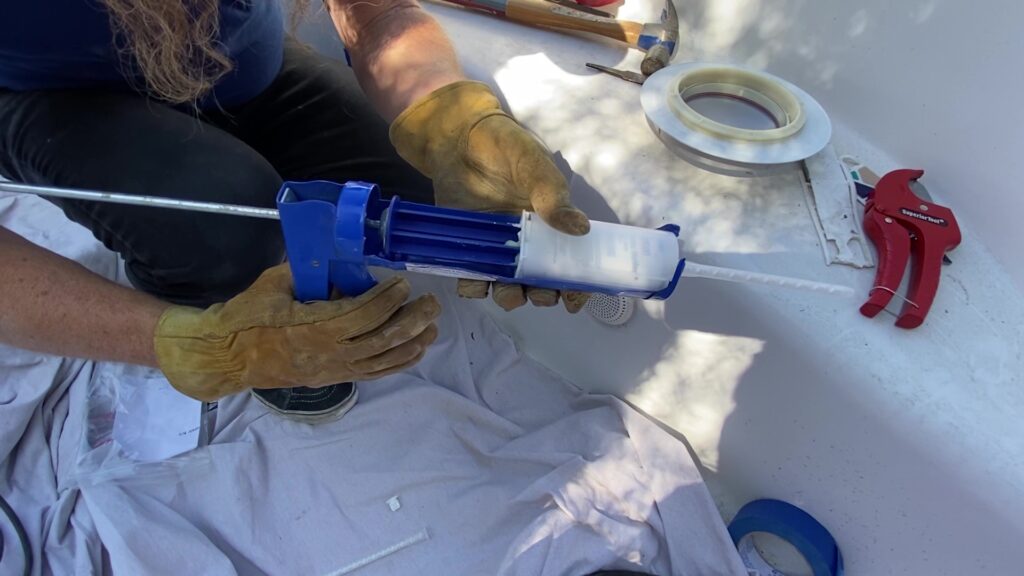
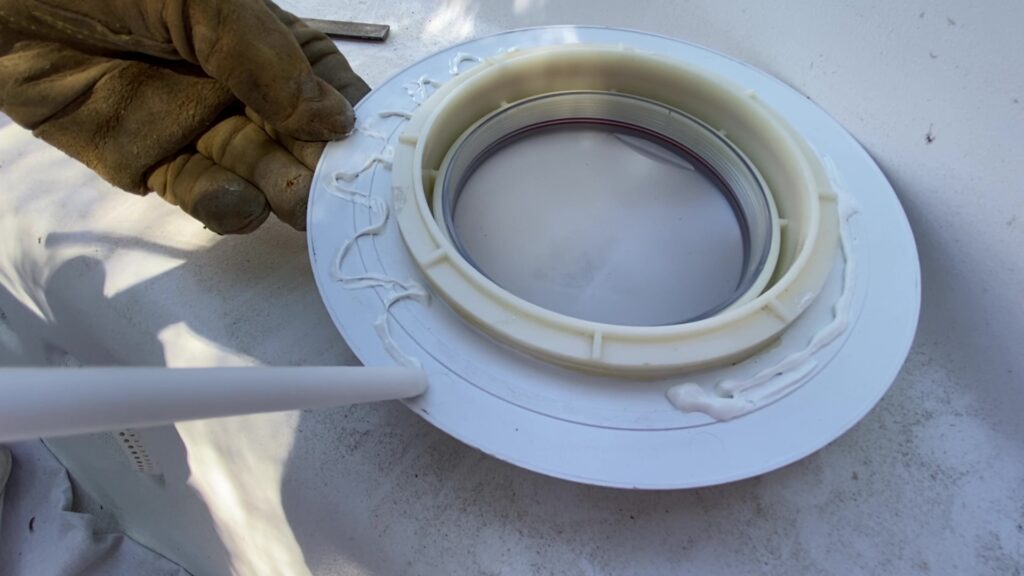
Step 11. Apply a 3/8″ bead of the Repair Adhesive completely around the perimeter bonding surface of the lens in a snake like pattern.
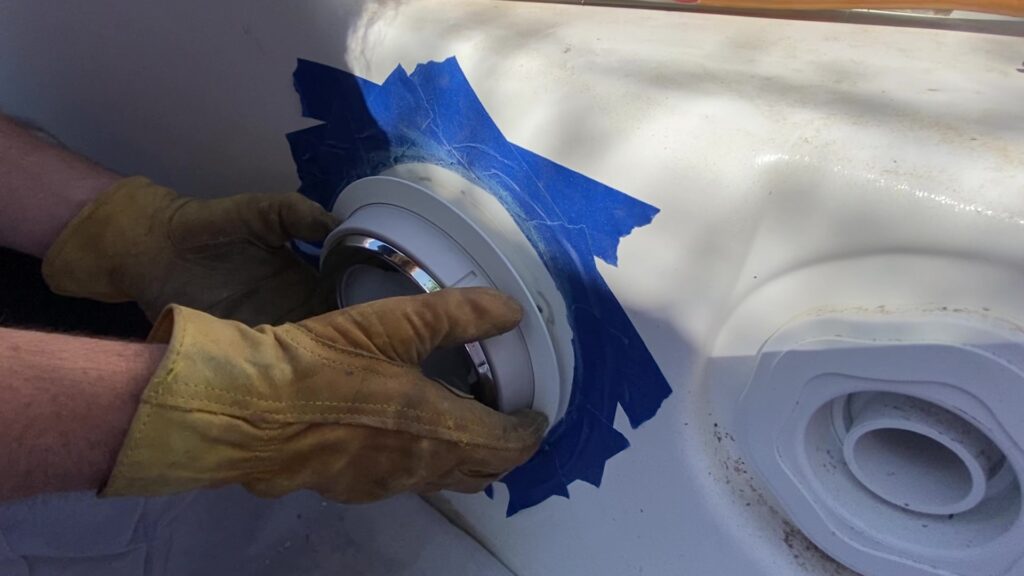
Step 12. Apply the lens to the prepared surface of the spa shell. Press the lens into place. Give the light lens a ¼ turn to ensure the adhesive is uniformly compressed behind the outer ring of the lens.
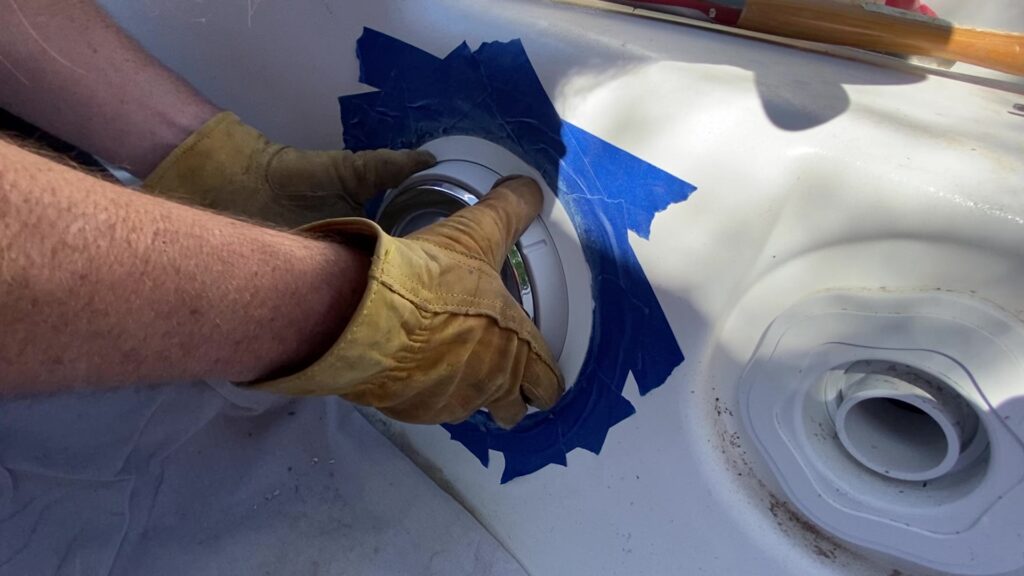
Step 13. Use a minimum of two strips of masking tape to hold the light lens into place, if the spa shell is not flat enough to allow the lens to seat properly, use a brace to apply enough pressure for proper adhesion.
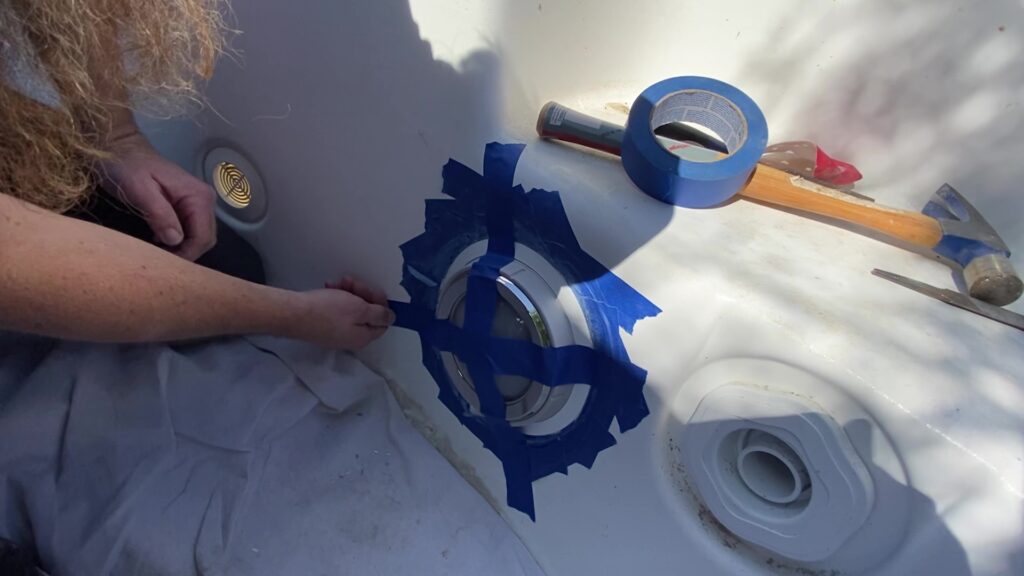
Step 14. The light lens adhesive requires 24 hours for a complete cure. Remove the masking tape from the light lens before refilling the spa on the following day.
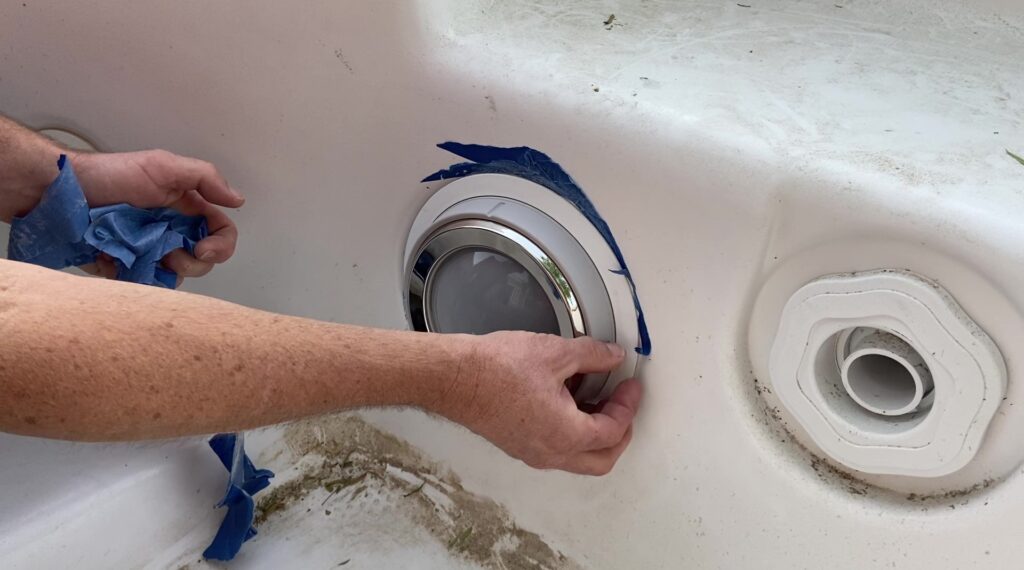
Good job!

Watch the video here! “Light Lens Replacement in Your 1989-1999 Hot Spring with the 71832 Light Lens Retrofit Kit”
Questions about your spa? Contact us! We are the top Hotspring spa parts retailer on the web.
Call us at (805)541-9000
Text us to receive technical support
In addition to “Light Lens Replacement in Your 1989-1999 Hot Spring with the 71832 Light Lens Retrofit Kit” we offer:
- Our Parts Finder which allows you to find exact-match replacements for your hot tub
- Free technical support that will allow you to maintain and repair your own spa accordingly
- Information regarding your products and their usage through our blog posts.
- Tutorials and assistance through our videos
- Follow us on our Facebook page
Our goal here at Backyard Plus is to help save you money by avoiding costly service calls for repairs that you can easily do yourself!
